VMware vs. Hyper-V: Side-by-Side Comparison
If you curious why migrate VMware to Hyper-V, check this table to learn their differences.
| Feature | VMware vSphere | Microsoft Hyper-V |
| Type | Type-1 bare-metal hypervisor | Type-1 bare-metal hypervisor |
| Virtual Disk Format | VMDK | VHD/VHDX |
| Live Migration | vMotion (requires vCenter) | Live Migration & Quick Migration (no extra management server) |
| Clustering | vSphere HA/DRS | Failover Cluster |
| Max Snapshot per VM | 32 | 64 |
| Windows Integration | Require VMware Tools | Native built-in support |
| Licensing Model | Subscription-only (perpetual licenses discontinued in 2024) | Included with Windows Server; free standalone Hyper-V Server |
So, through the table you know the the main reason organizations migrate from VMware to Hyper-V is to reduce virtualization licensing costs while benefiting from native Windows integration and built-in high-availability features.
Pre-Migration Planning: Essential Preparations
Thorough planning resolves compatibility issues early and reduces migration risks. Verify the following:
1. Source Environment
VMware ESXi Host
VMware vCenter Server
Healthy virtual machines
Recent VM backups
2. Destination Environment
Hyper-V hosts
Windows Server 2022 or Windows Server 2025
Adequate CPU, RAM, and storage capacity
Configured virtual switches and networking
3. Guest OS Preparation
For Windows VMs:
For Linux VMs:
How to Migrate VMware to Hyper-V (4 Ways)
Here introduces 4 ways to VMware to Hyper-V migration, using Windows Admin Center, SCVMM, PowerShell-based VMDK-to-VHDX conversion, or Vinchin Backup & Recovery. If you need the simplest way, skip to way 4.
Way 1. Using Windows Admin Center VM Conversion Extension
Unlike traditional V2V conversion tools, VM Conversion Extension uses online synchronization and Change Block Tracking (CBT) to reduce the final cutover window.
Step 1. Install the VM Conversion Extension
1. Open Windows Admin Center, click Settings
2. Select Extensions, search for VM Conversion (Preview)
3. Click Install

Step 2. Connect to the Hyper-V Host
1. Open Windows Admin Center Home
2. Add or select your Hyper-V host or Failover Cluster
3. Connect to the destination Hyper-V environment
Step 3. Connect to VMware vCenter
1. Open Extensions > VM Conversion (Preview)
2. Click Connect to vCenter
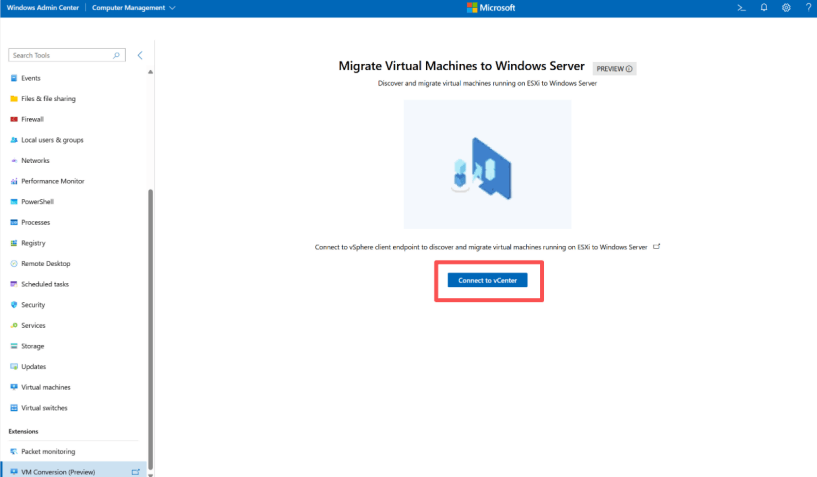
3. Enter vCenter FQDN, username, and password
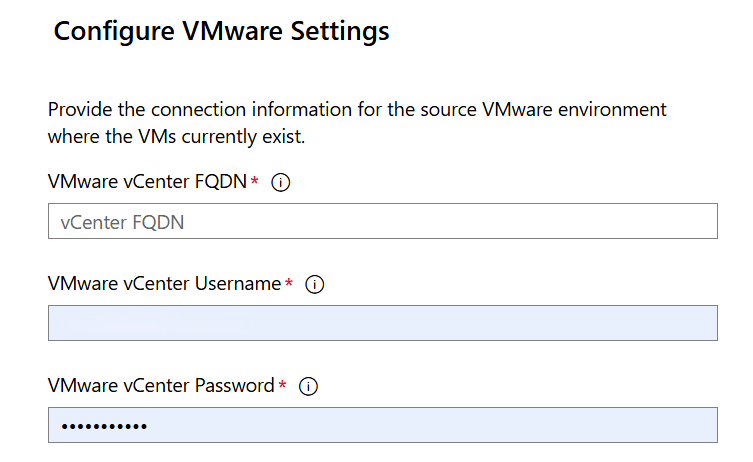
4. Click Connect
Step 4. Synchronize VMware VMs
1. Select the VMware VMs to migrate
2. You can choose up to 10 VMs simultaneously
3. Click Synchronize
4. Specify the storage location on the Hyper-V host, and start synchronization
5. Wait for the sync to complete
Step 5. Start the Migration
1. Open the Migrate tab, select the synchronized VM
2. Click Migrate and confirm the migration

Way 2. Migrate VMware to Hyper-V with SCVMM
System Center Virtual Machine Manager (SCVMM) provides a built-in Virtual-to-Virtual (V2V) Conversion feature and it perform an offline migration.
Step 1. Add VMware vCenter Server to SCVMM
1. Open VMM Console
2. Navigate to Fabric > Servers > vCenter servers > Add > Add Resources > VMware vCenter Server

Step 2. Run V2V Conversion
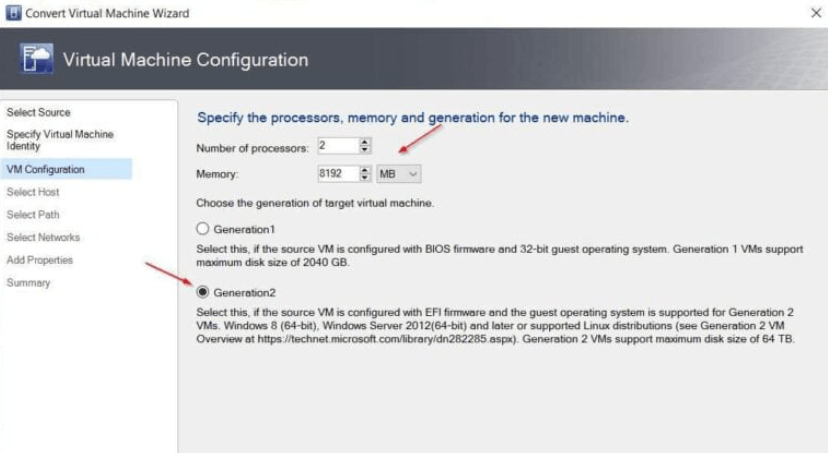
1. Go to VMs and Services > Home > Convert Virtual Machine
2. Click Browse to pick the stopped VMware VM, click OK

3. Rename VM (optional) > add description > b
4. Set vCPUs, Memory (enable Dynamic Memory if desired)
Select Generation 1 (BIOS) or Generation 2 (UEFI) (match VMware firmware) > Next
5. Choose target Hyper-V host/host group > Next
6. Choose storage folder for VHDX > Next
7. Map VMware port group to Hyper-V logical network/virtual network/VLAN > Next
8. Add Properties > review > Next
9. Check the settings > click Finish

Way 3. PowerShell + Manual VMDK to VHDX Conversion
This method is for standalone VMDK files (no vCenter/ESXi connection needed) and requires manual VM creation in Hyper-V.
Step 1. Install MVMC PowerShell Module
You need this to convert VMDK to VHDK.
# Download and install MVMC (if not installed) # Direct download link: https://www.microsoft.com/en-us/download/details.aspx?id=42497 # After installation, import the module Import-Module "C:\Program Files\Microsoft Virtual Machine Converter\MvmcCmdlet.psd1"
Step 2. Convert VMDK to VHDX (Dynamic)
Run this PowerShell command as Administrator:
ConvertTo-MvmcVirtualHardDisk ` -SourceLiteralPath "D:\VMs\YourVM-disk1.vmdk" ` -DestinationLiteralPath "D:\Hyper-V\YourVM-disk1.vhdx" ` -VhdFormat Vhdx ` -VhdType DynamicHardDisk
Step 3. Convert to Fixed VHDX
For production performance:
Convert-VHD ` -Path "D:\Hyper-V\YourVM-disk1.vhdx" ` -DestinationPath "D:\Hyper-V\YourVM-disk1-fixed.vhdx" ` -VHDType Fixed
Step 4. Create a New Hyper-V Virtual Machine
1. Open Hyper-V Manager
2. Click New > Virtual Machine

3. Name your VM > set Generation 2 (modern OS) or Generation 1 (old OS)
4. Assign RAM and configure Network Switch
5. Choose Attach a virtual hard disk later, and then will attach the converted VHDX manually
Step 5. Attach the Converted VHDX
1. Go to VM Settings
2. Under IDE Controller 0 or SCSI Controller
3. Click Hard Drive > Add
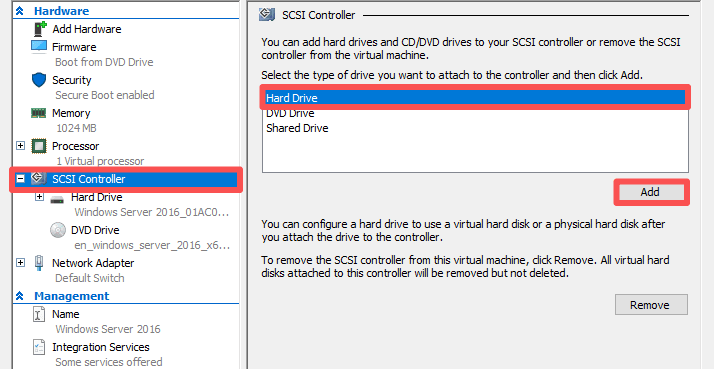
4. Select Browse and choose your .vhdx file
5. Apply > OK
Way 4. Using Vinchin Backup & Recovery (Simplest)
For organizations running business-critical workloads, minimizing service interruptions is often a top priority. Vinchin Backup & Recovery offers a more streamlined approach by combining data protection and cross-platform migration into a single workflow.
Vinchin enables organizations to migrate VMware workloads directly to Hyper-V through its instant recovery and cross-platform recovery capabilities.
For production environments where downtime must be kept to a minimum, Vinchin supports incremental synchronization technologies (CBT, forever incremental backup, differential backup, and SpeedKit) that significantly reduce the final cutover window.
Migrating dozens or even hundreds of virtual machines manually can quickly become complex and time-consuming. Vinchin provides centralized management that allows administrators to handle backup, recovery, and migration tasks through a single console.
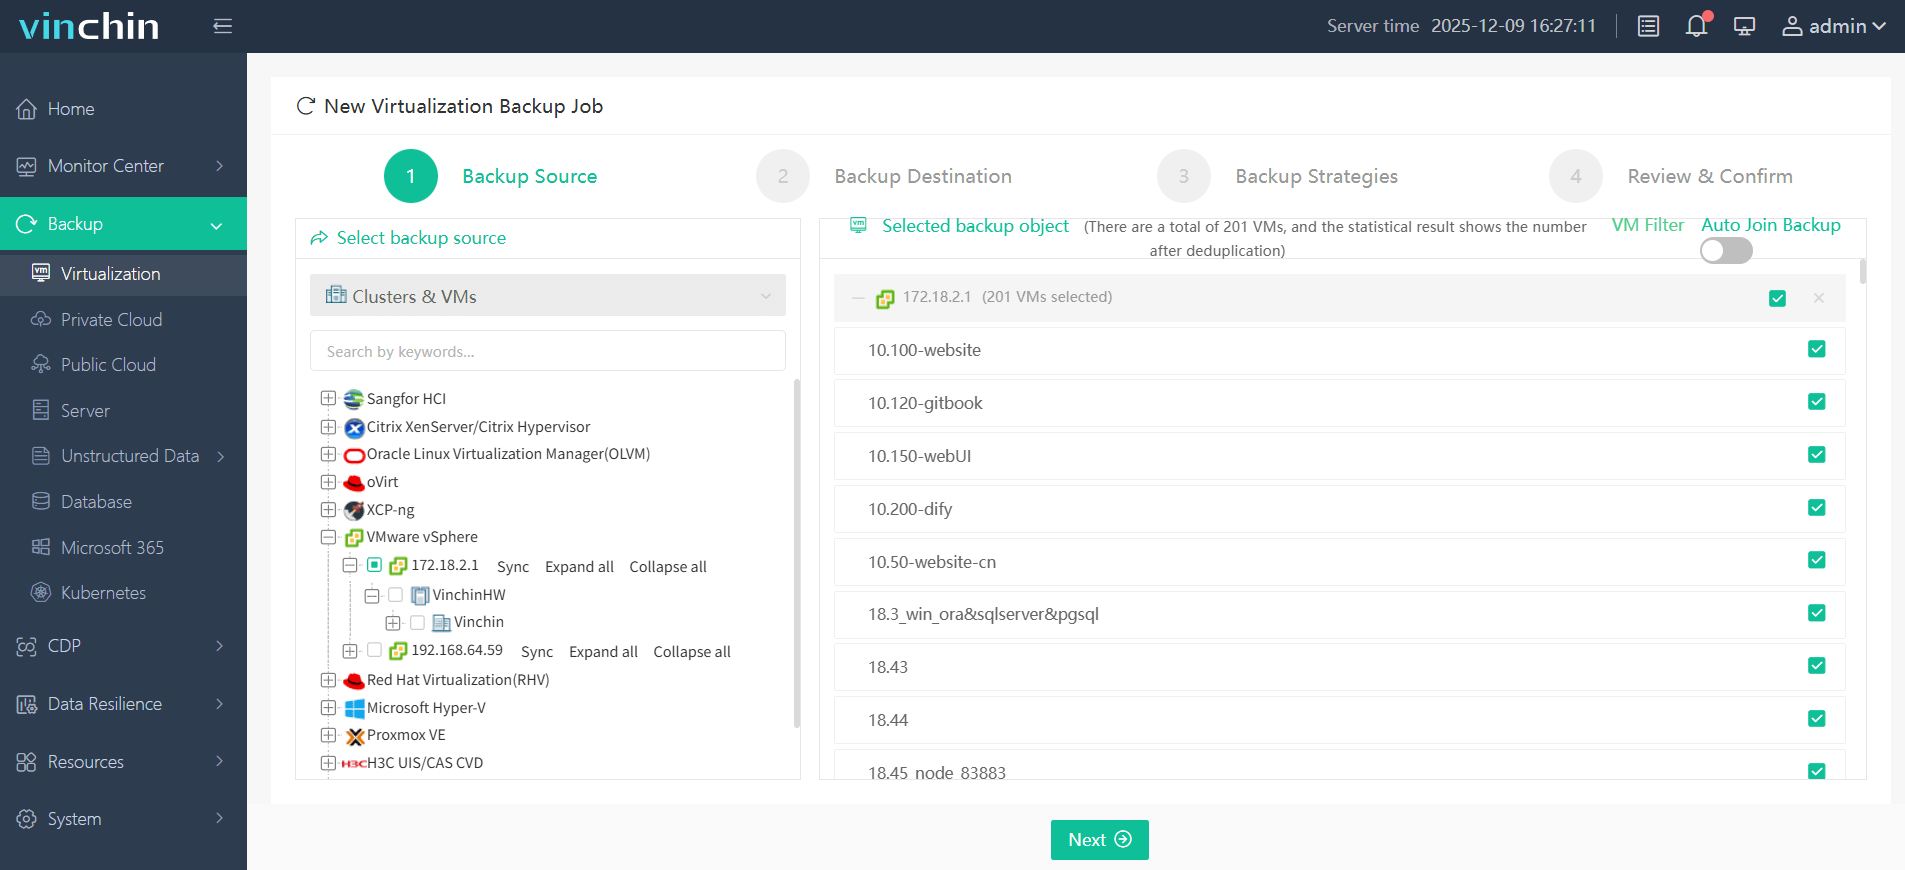
Step 1. Backup your VMware VMs in Vinchin Backup & Recovery
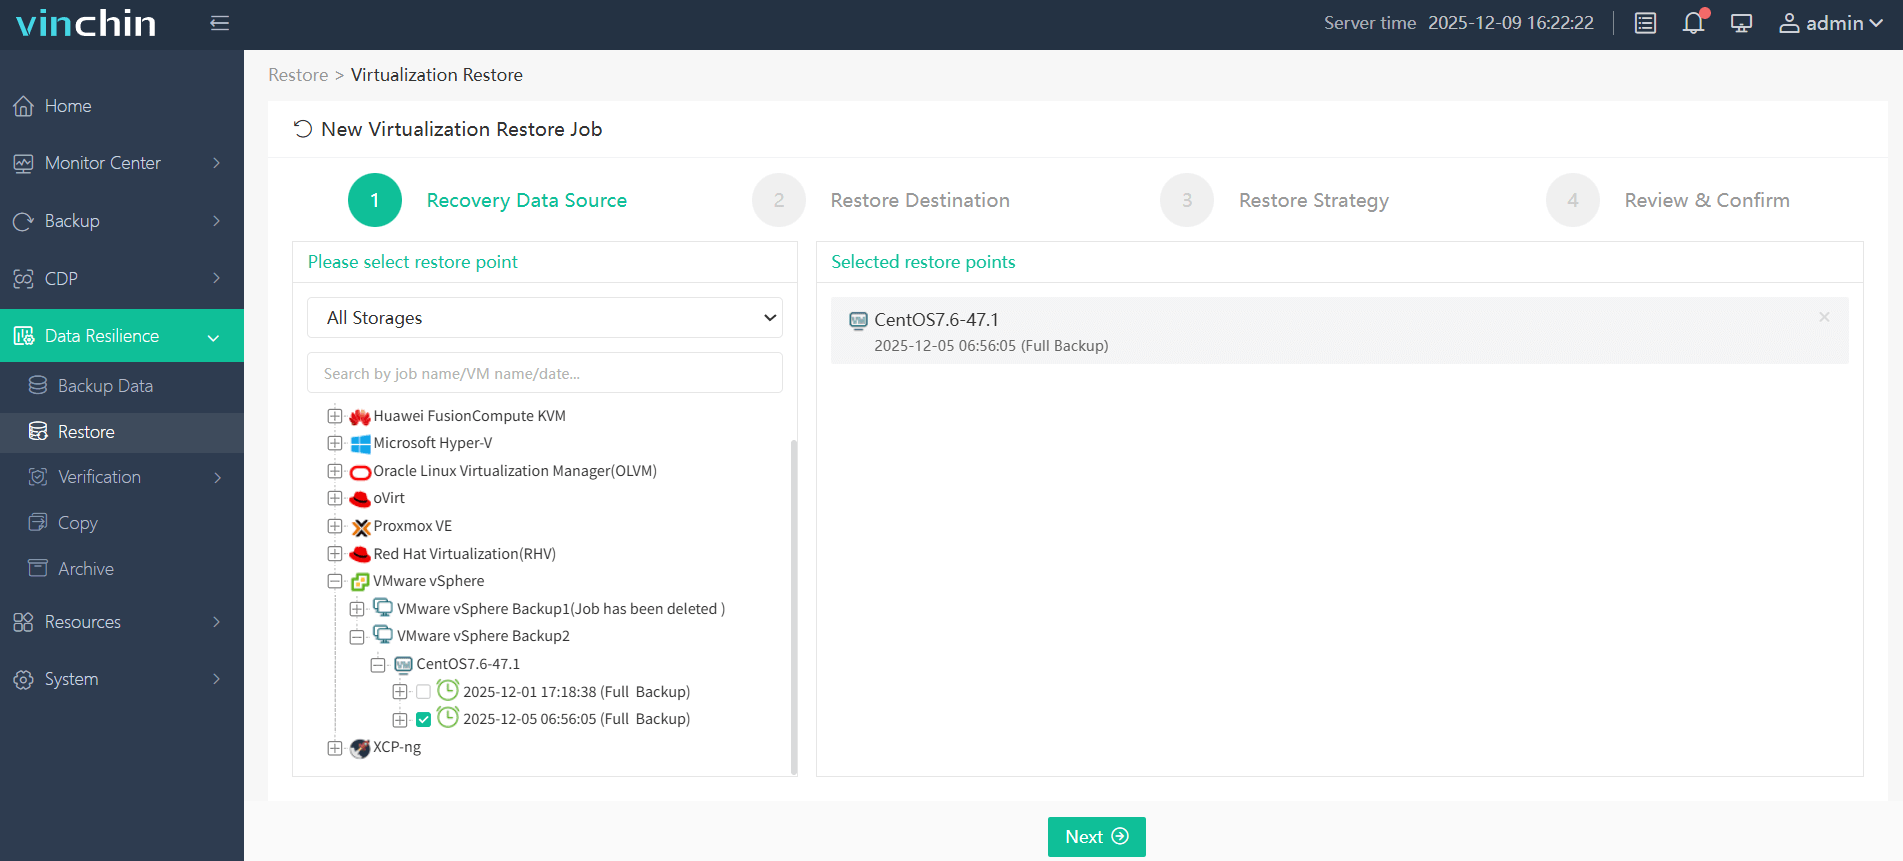
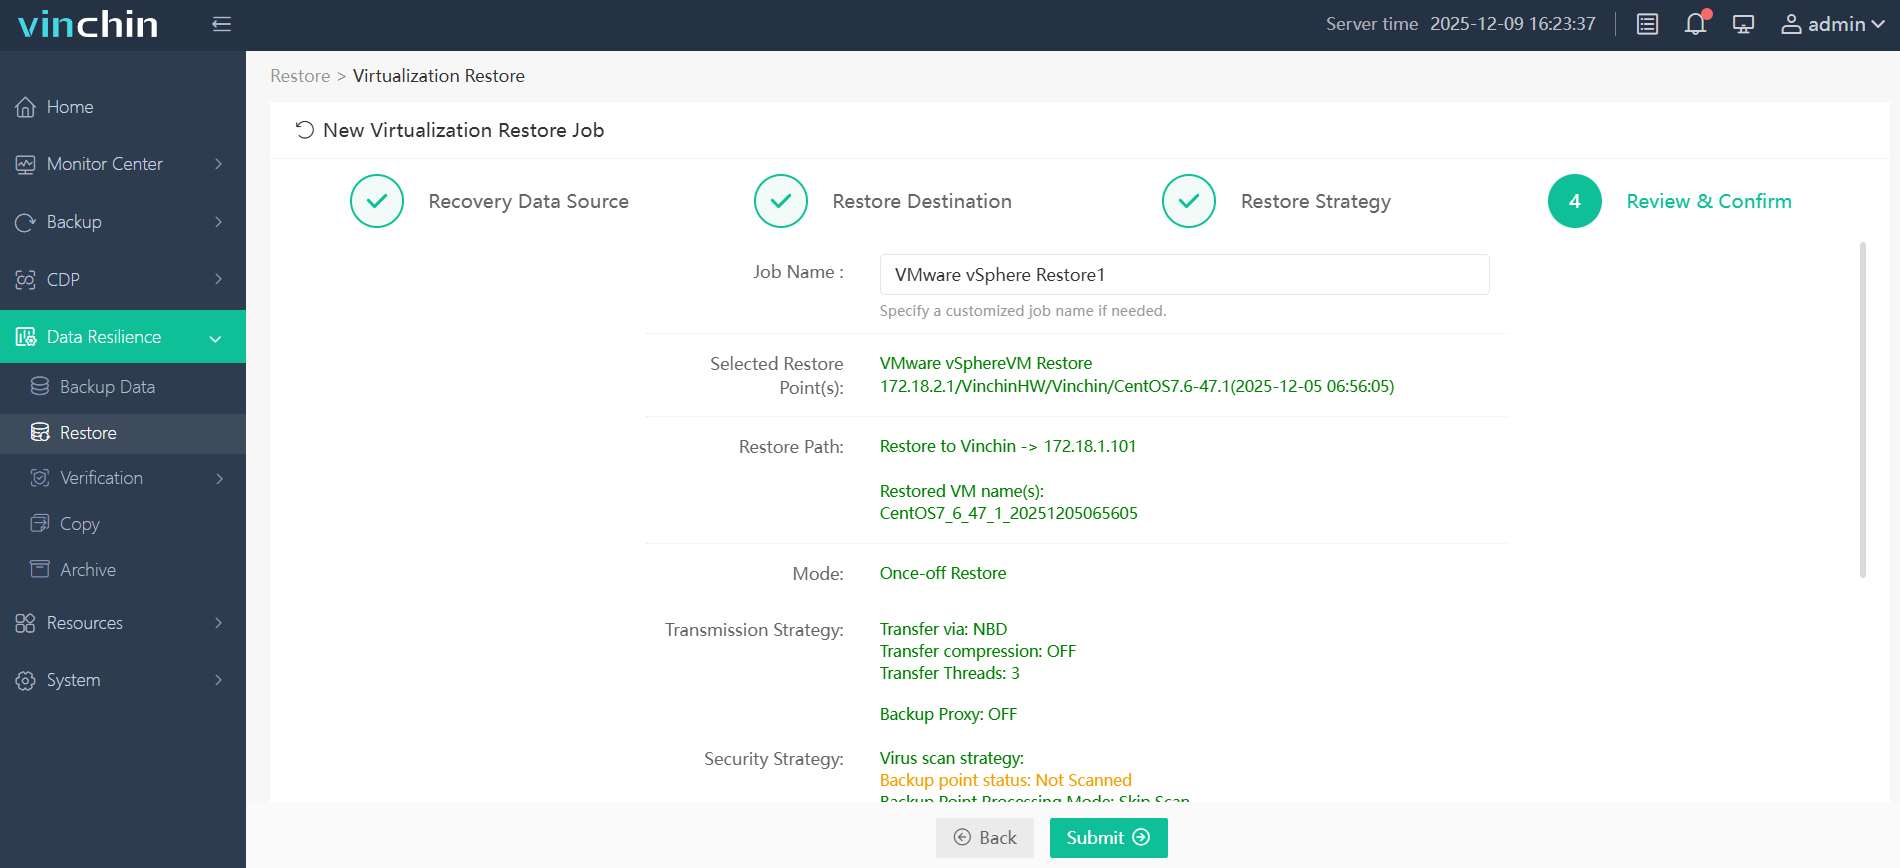
Step 2. Go to Data Resilience > Restore, choose the VMware VM backup as the recovery data source
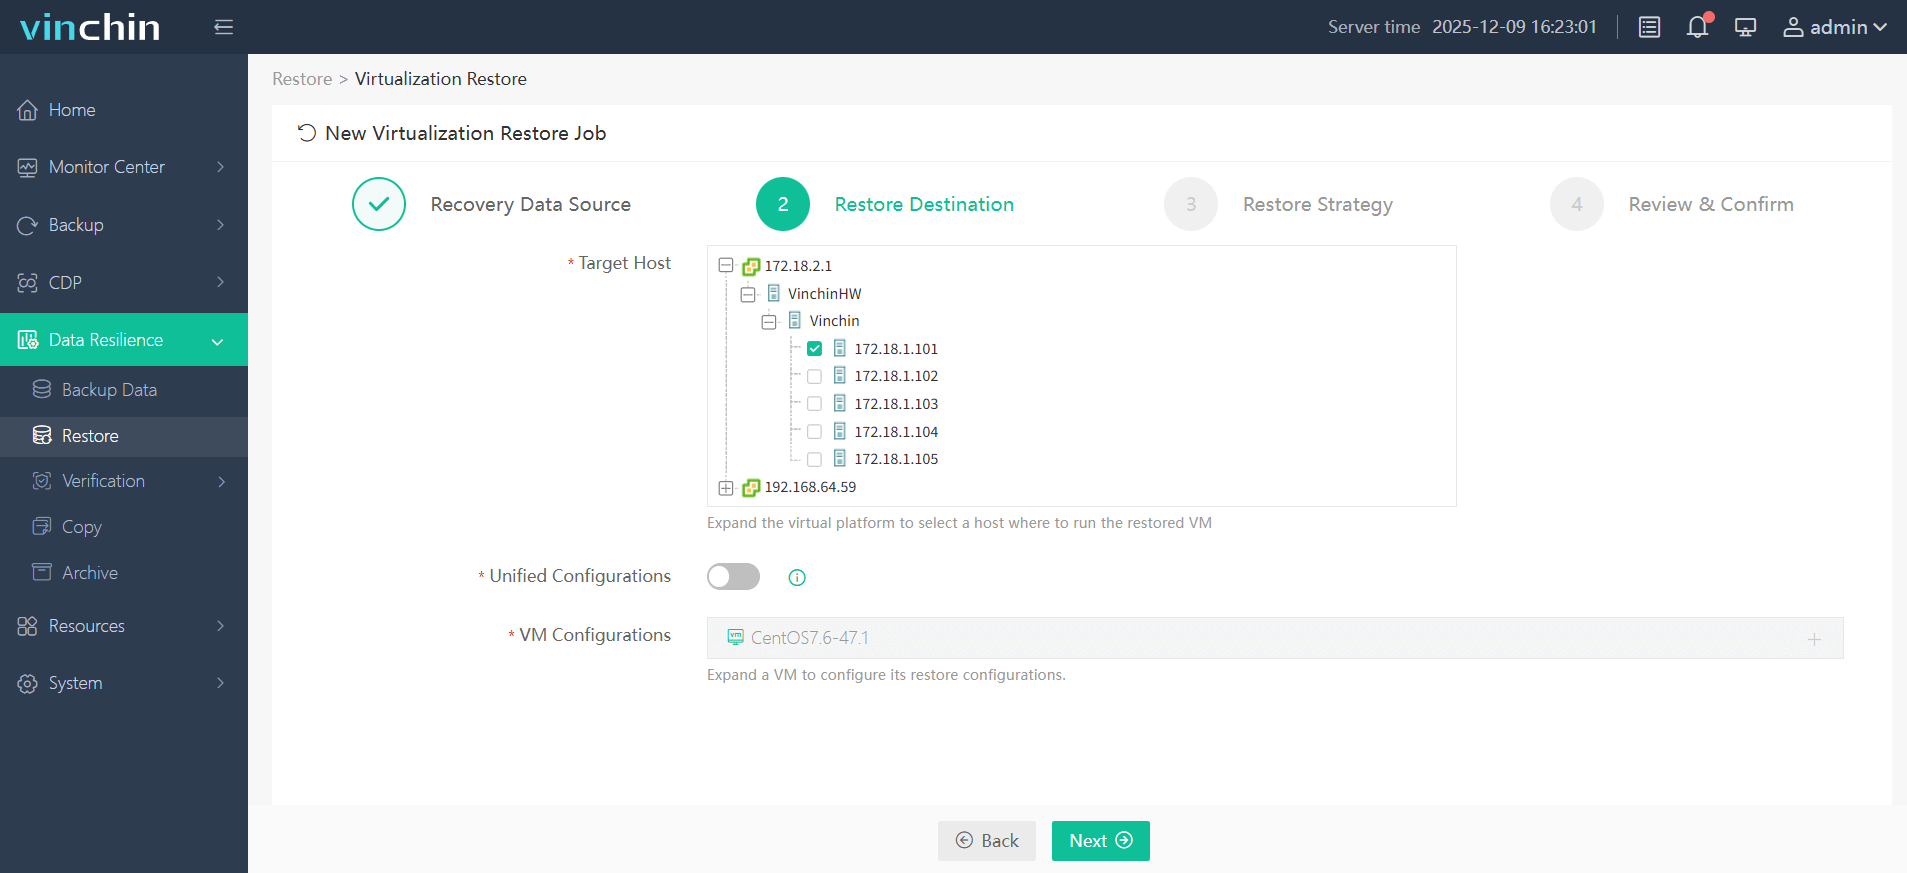
Step 3. In the Restore Destination, choose the Hyper-V as the target host
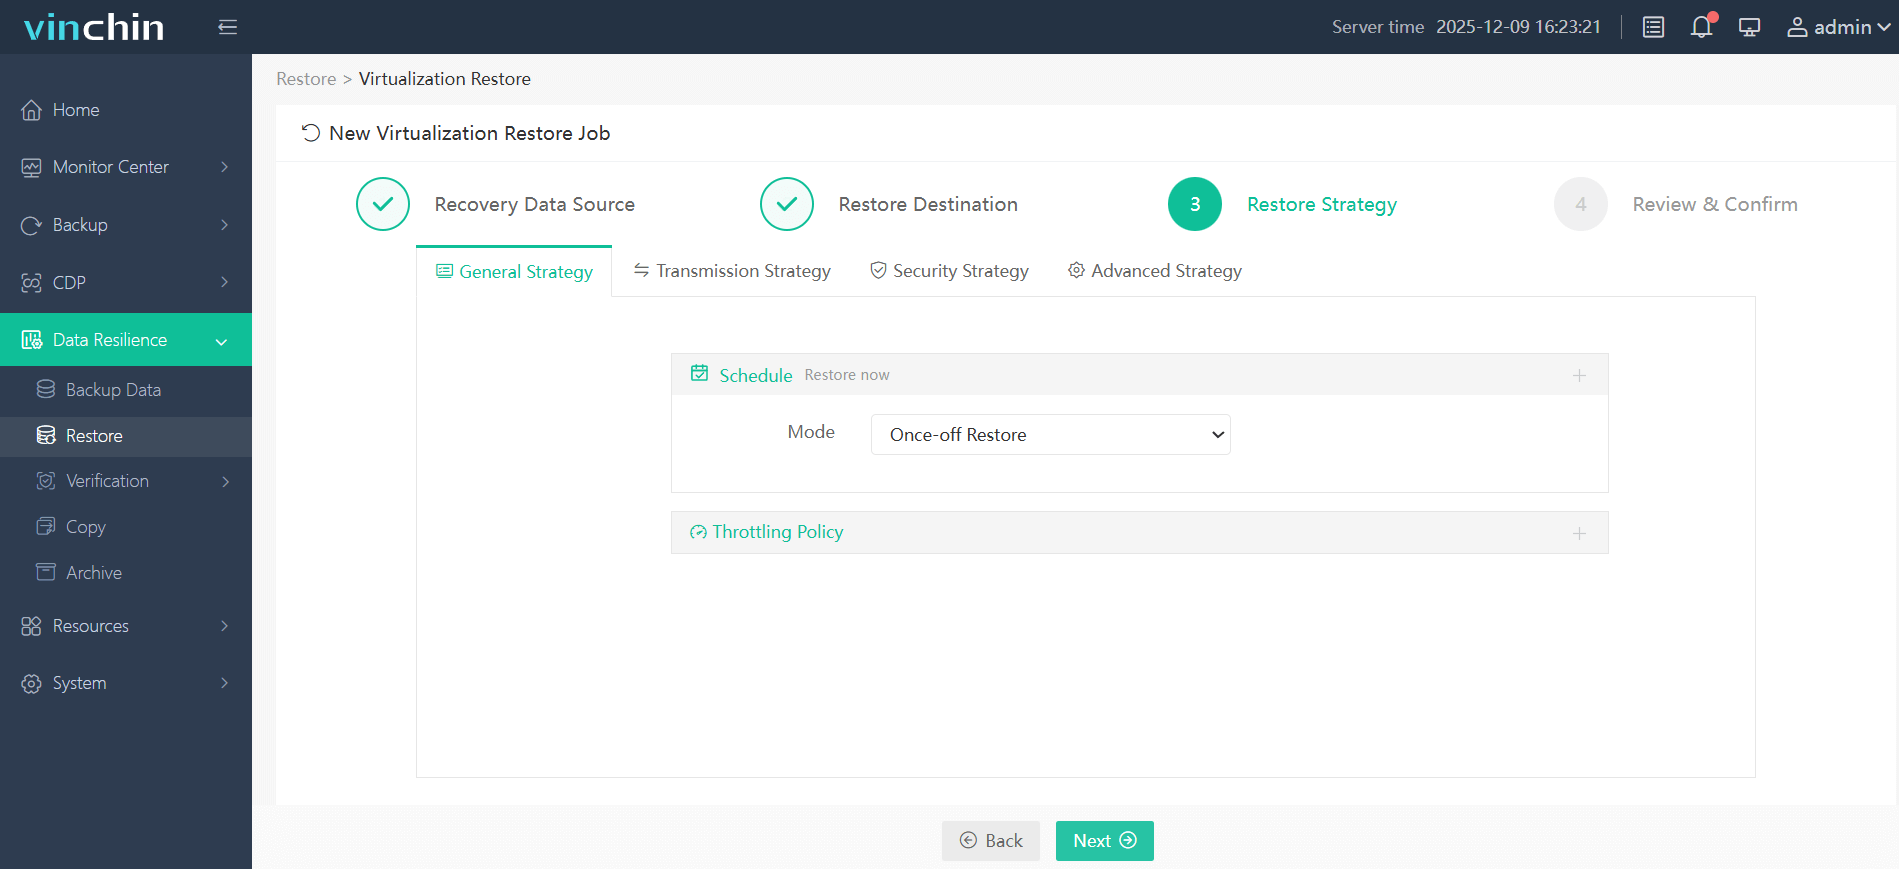
Step 4. Configure your desired restore strategies
Step 5. Review and confirm your restore settings, then click Submit
Just try out Vinchin Backup & Recovery now and get the full featured free trial for 60 days!
FAQs about VMware to Hyper-V Migration
Q1: Will my IP address change after migrating from VMware to Hyper-V?
A1: Not necessarily. If the Hyper-V network is configured similarly to the VMware environment and connected to the same VLANs or subnets, the VM can usually retain its original IP configuration. However, network adapter settings should always be verified after migration.
Q2: Can I migrate VMware linked clones / snapshots directly to Hyper-V?
A2: Linked clones and active VMware snapshots cannot be migrated as-is. You must first consolidate all snapshots and convert linked clones to full base disks in VMware before starting V2V or disk conversion. Hyper-V does not recognize VMware snapshot chains.
Q3: My converted VM shows a black screen and won't boot in Hyper-V. How to fix?
A3: This usually happens due to leftover VMware storage/network drivers or incorrect firmware (BIOS/UEFI). Disable Secure Boot temporarily in Hyper-V VM settings, remove leftover VMware drivers in safe mode, and recheck disk controller assignment (IDE/SCSI).
Conclusion
Migrating from VMware to Hyper-V can reduce costs and simplify management. Whether you choose Windows Admin Center, SCVMM, manual disk conversion, or Vinchin Backup & Recovery, proper planning and backups are essential for a smooth and successful migration. Vinchin further simplifies the process by combining backup, recovery, and cross-platform migration in one solution.


