Can You Migrate a VM Between XenServer Pools?
Yes, but not the same way you migrate a VM within a resource pool.
XenServer supports live migration only between hosts that belong to the same pool and share compatible storage and networking resources. When you need to migrate a VM to another XenServer pool, the destination pool is treated as an independent environment. This means VM metadata, storage mapping, and network configurations must be recreated or transferred during the migration process.
The good news is that there are multiple ways to accomplish this task. Some methods are built into XenCenter, while others rely on shared storage or backup software to simplify the migration.
The best option depends on several factors, including:
VM size and disk capacity
Whether both pools use shared storage
Acceptable downtime
Available network bandwidth
Disaster recovery requirements
The following comparison will help you decide which method best suits your environment.
Comparison of XenServer Cross-Pool Migration Methods
| Method | Downtime | Difficulty | Best For |
| Export & Import | High | Easy | Small environments and occasional migrations |
| Shared Storage Migration | Low | Medium | Pools sharing the same storage repository |
| Restore from Backup | Medium | Easy | Disaster recovery and infrastructure migration |
| VM Replication | Very Low | Medium | Continuous protection and business continuity |
Method 1: Export and Import the VM
Exporting a VM as an XVA file and importing it into another pool is the simplest way to perform XenServer migration between pools. Although the VM must be powered off during the process, this method works in almost any XenServer environment without requiring shared storage.
Step 1. Shut down the VM
Shut down the VM from the guest OS or XenCenter to ensure all data is written to disk before migration.
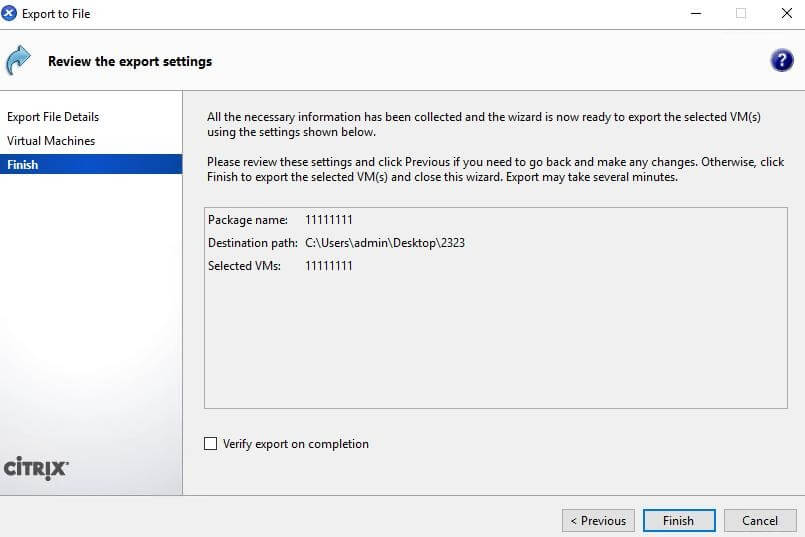
Step 2. Export the VM
In XenCenter:
1. Connect to the source pool.
2. Right-click the target VM and select Export.
3. Choose XVA as the export format.
4. Specify a local or network location to save the file.
5. Click Finish and wait for the export to complete.
Step 3. Copy the XVA File
Copy the exported XVA file to a location accessible by the destination XenServer pool.
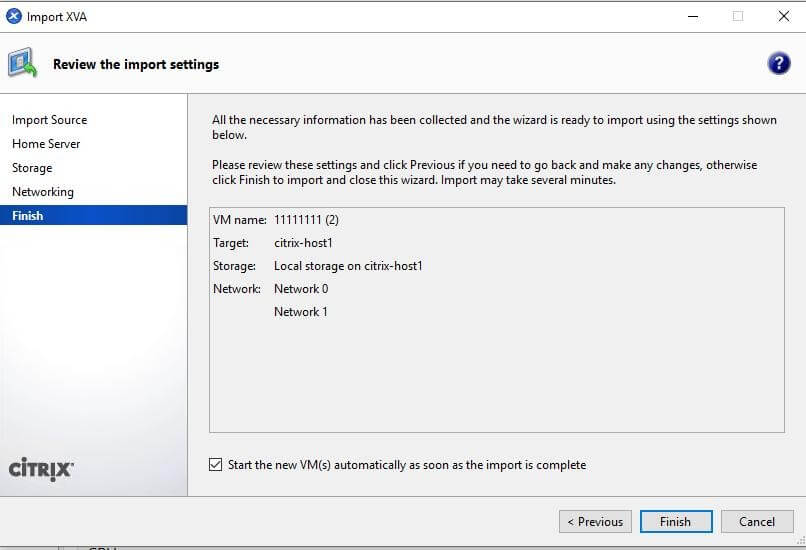
Step 4. Import the VM
In XenCenter, connected to the destination pool:
1. Click Import.
2. Select the exported XVA file.
3. Choose the target host and storage repository.
4. Configure CPU, memory, and network settings.
5. Review the settings and start the import.
Step 5. Verify the migration
After the import is complete, power on the VM and verify that it operates normally.
Method 2: Migrate XenServer Between Pools Using Shared Storage
If both XenServer pools can access the same shared Storage Repository (SR), you can migrate the VM without copying its virtual disks. This method reduces migration time and is suitable for environments using shared SAN or NAS storage.
Step 1. Connect the Shared Storage
Attach the same SR to both the source and destination pools, and verify that it is accessible from all hosts.
Step 2. Shut Down the VM
Power off the VM to ensure data consistency before migration.
Step 3. Register the VM
In the destination pool, register the VM using the existing virtual disks stored on the shared SR.
Step 4. Configure the VM
Assign the VM to the correct storage, virtual network, and host if required.
Step 5. Verify the Migration
Start the VM and confirm that the operating system, storage, network, and applications are working properly.
Method 3: Restore XenServer VM to Another Pool from Backup
Unlike the export/import method, backup-based migration allows you to restore the VM directly to a new pool without manually copying virtual disks. It also provides an additional layer of data protection, ensuring that you can roll back if anything goes wrong during the migration.
Vinchin Backup & Recovery supports agentless backup and flexible recovery for XenServer environments. It enables administrators to restore VMs directly to a different pool with just a few clicks while maintaining data consistency. The solution simplifies XenServer cross-pool migration, minimizes downtime, and ensures business continuity during infrastructure upgrades, hardware replacement, or disaster recovery.
Step 1. First, create a backup of the VM from the source XenServer pool, then follow the restore steps.

Step 2. Next, go to the VM Backup > Restore page and select the backup storage you created before as the restore point.
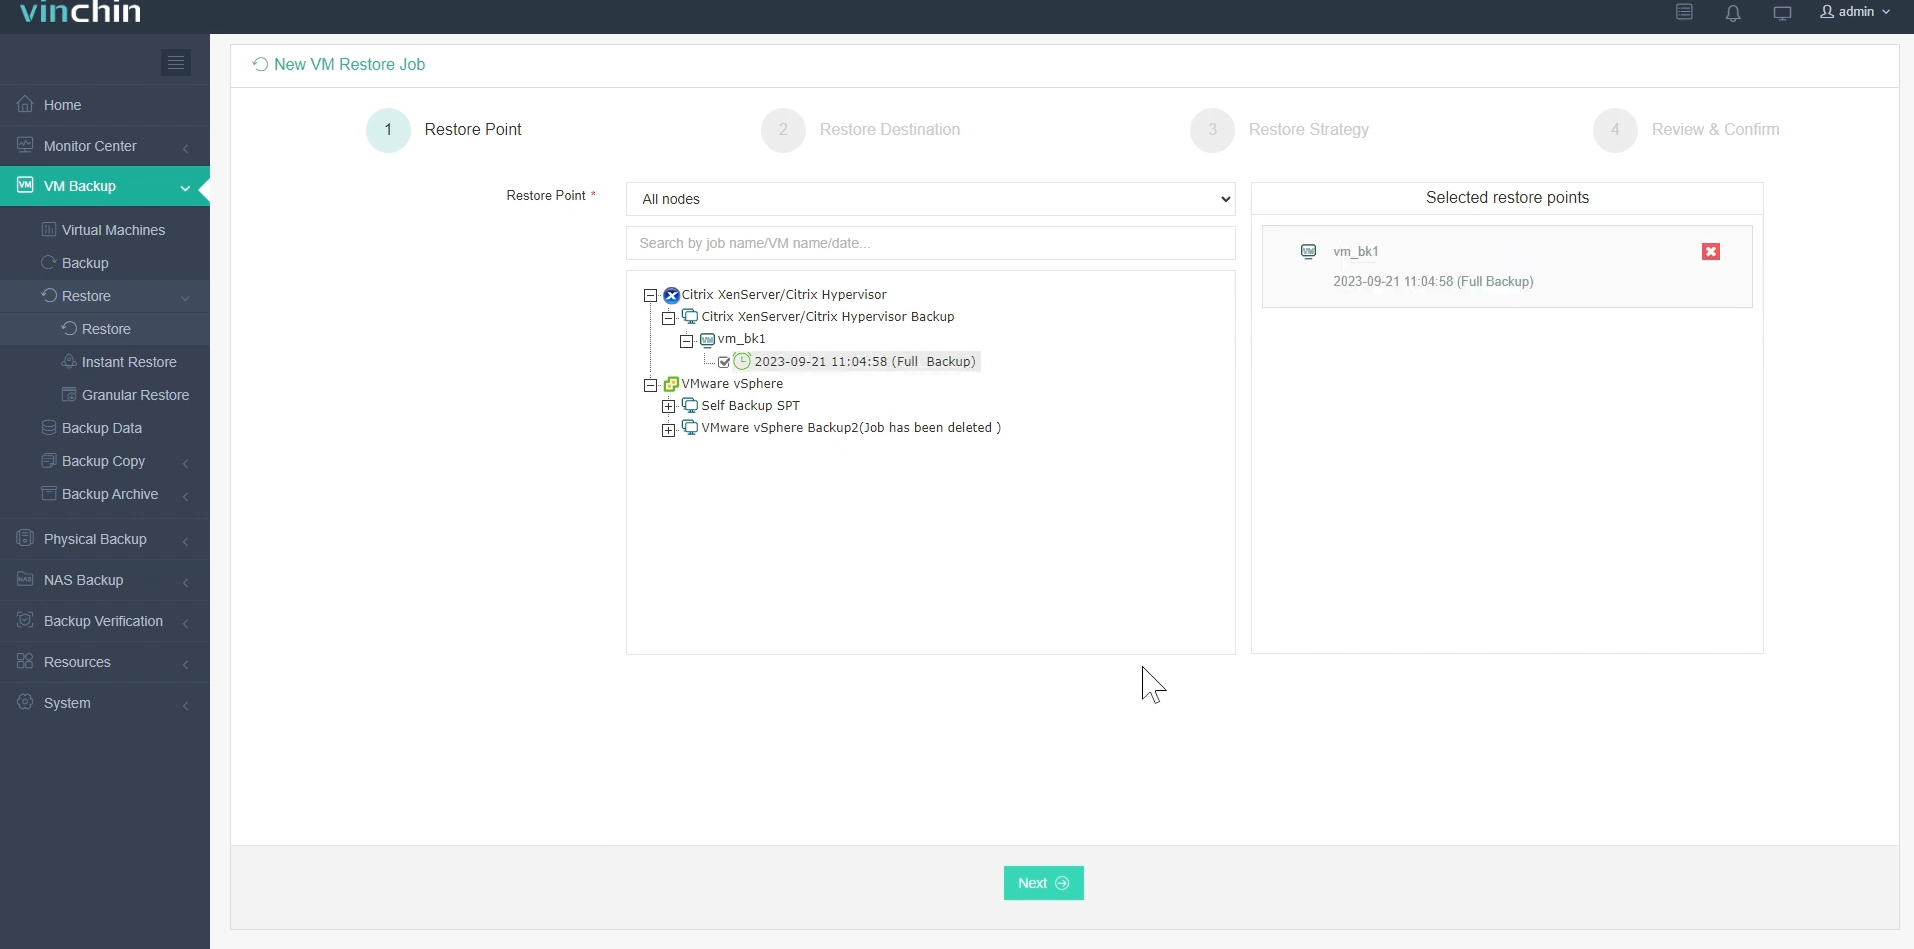
Step 3. Choose the XenServer host with another pool as the target restore destination, and complete relevant VM settings.
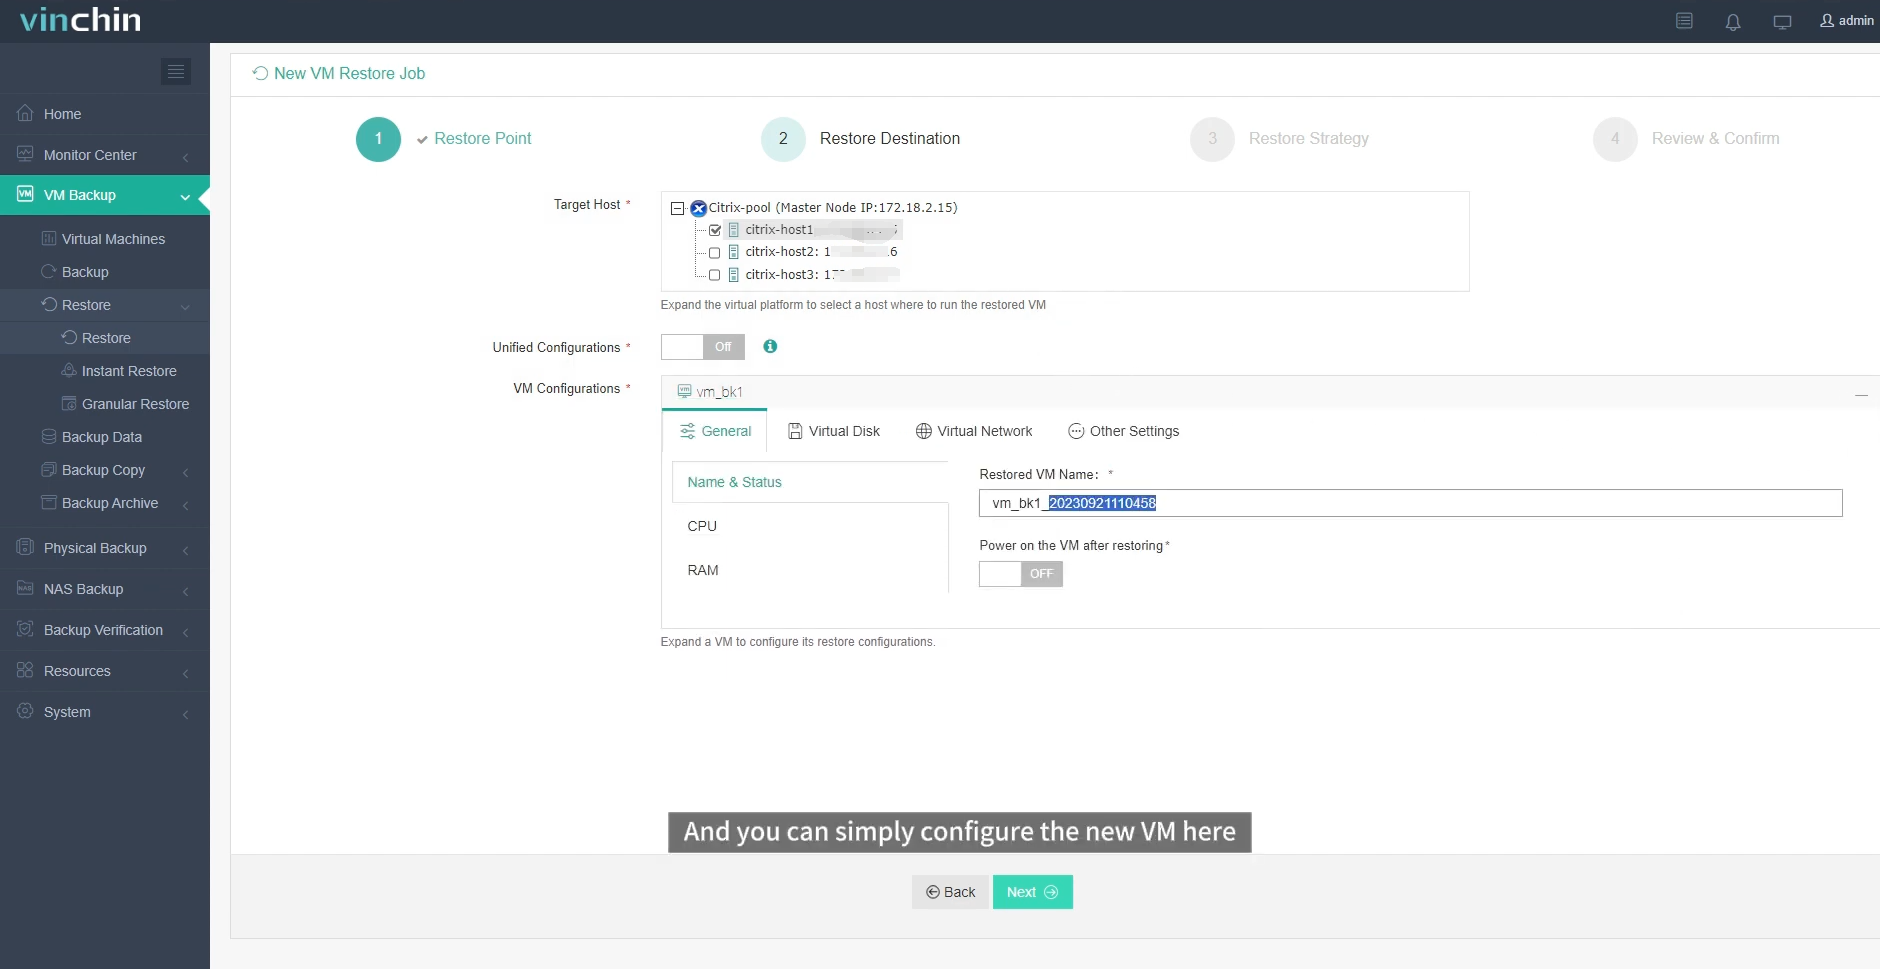
Step 4. Customize the restore strategies. Restore the backup right now or schedule it daily, weekly, or monthly, combined with time windows.
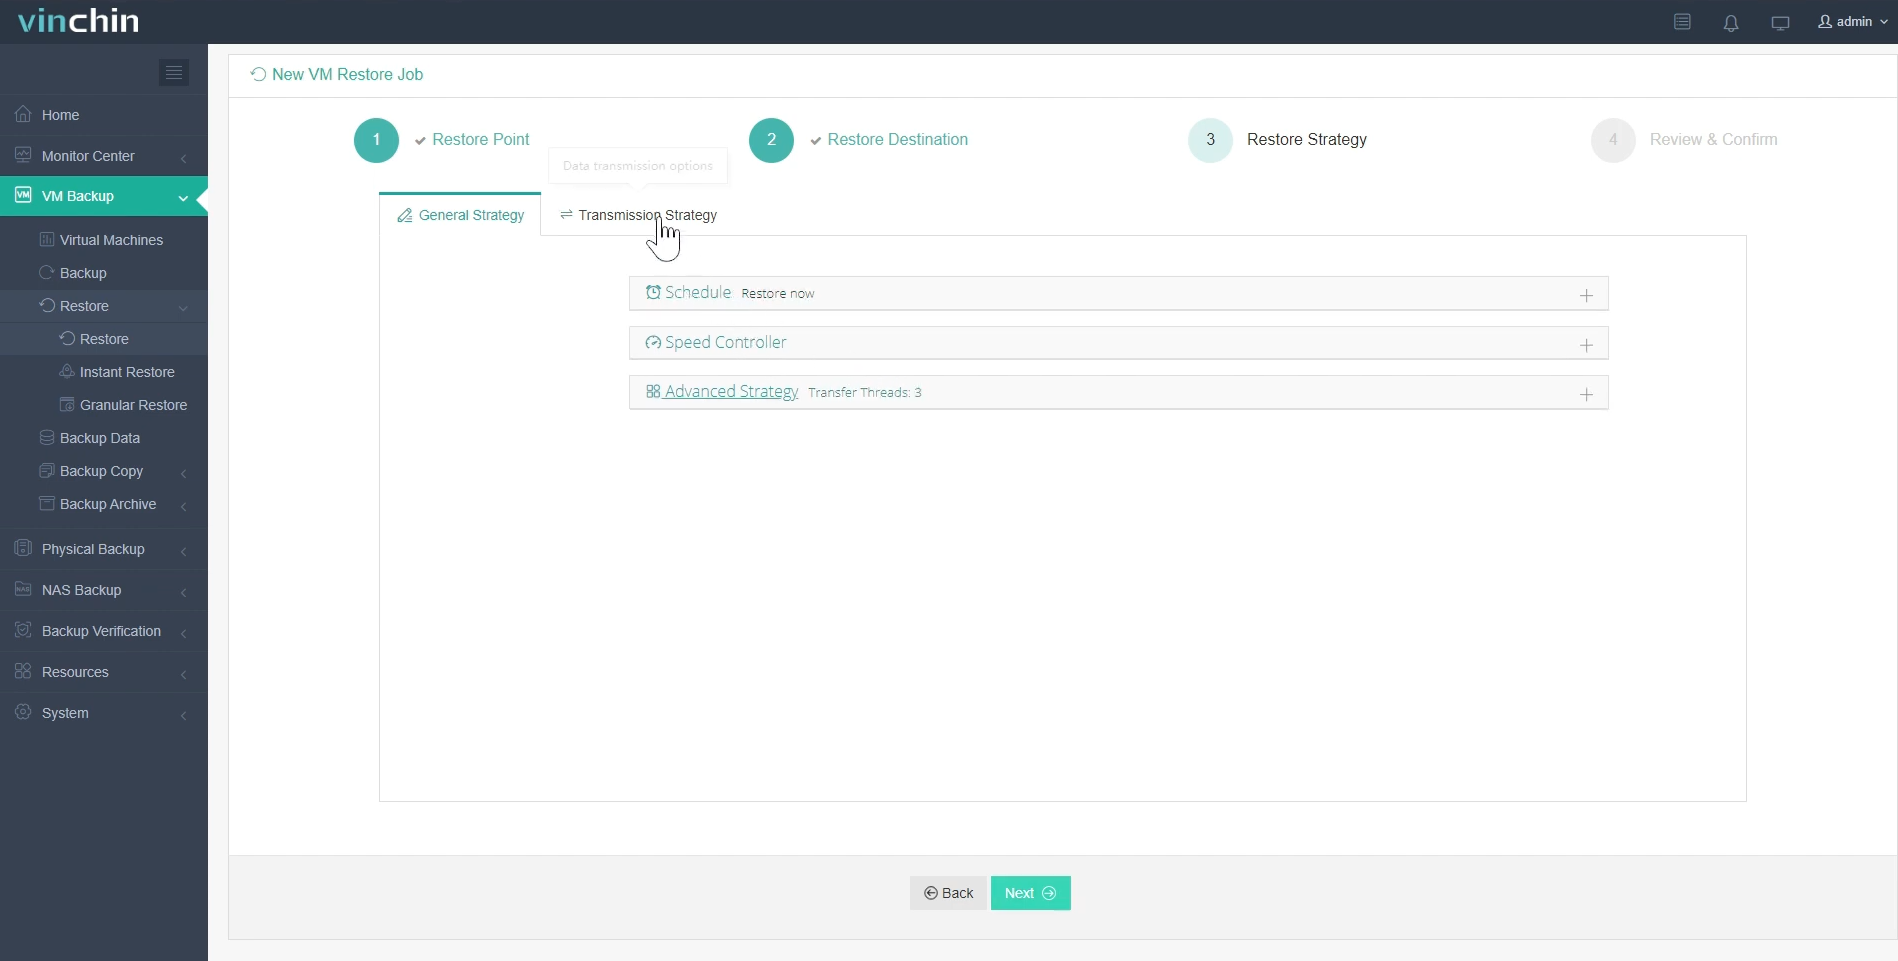
Step 5. Review all the options and click Submit to initiate the task.
Vinchin Backup & Recovery is compatible with dozens of virtualization platforms, helping organizations protect critical workloads with reliable backup and disaster recovery. Download the 60-day free trial to experience all premium features before making a purchase.
Method 4: Replicate the VM to Another Pool
VM replication continuously synchronizes a VM to another XenServer pool, allowing you to perform a planned failover with minimal downtime. It is commonly used for disaster recovery and business continuity.
Step 1. Prepare the Destination Pool
Ensure the destination pool has sufficient CPU, memory, storage, and network resources.
Step 2. Create a Replication Task
Select the source VM, specify the destination pool and storage, then configure the replication schedule.
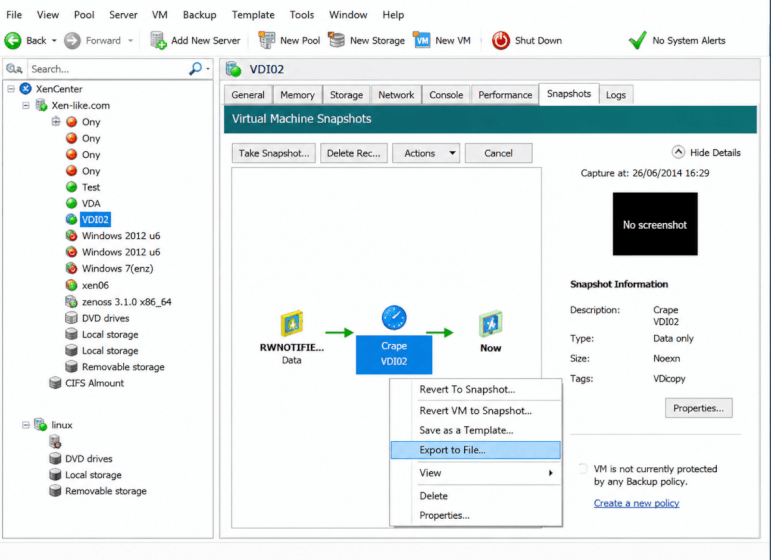
Step 3. Run the Initial Synchronization
Start the first replication to copy the entire VM to the destination pool.
Step 4. Synchronize Incremental Changes
Allow the replication job to continuously synchronize changed data blocks until the migration is ready.
Step 5. Perform the Failover
Stop the source VM, run a final synchronization, and power on the replicated VM in the destination pool.
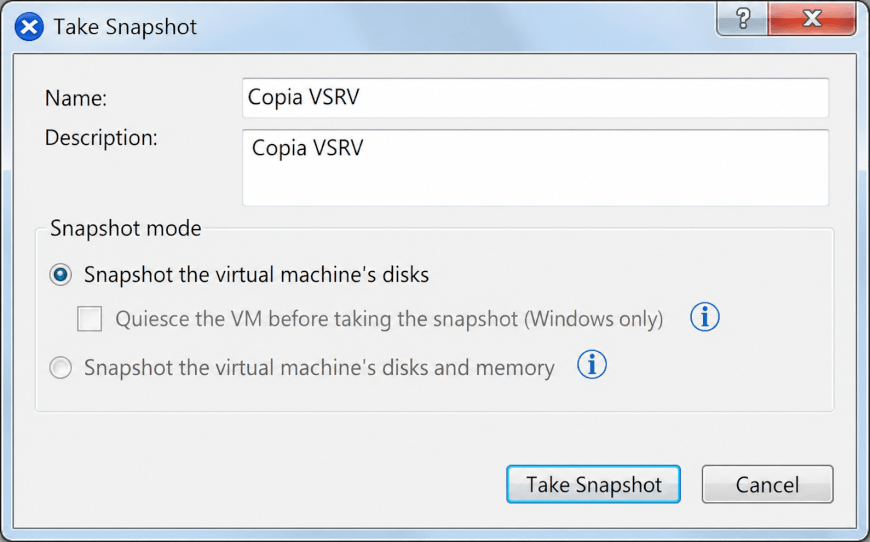
Step 6. Verify the Migration
Confirm that the operating system, applications, storage, and network services are running normally.
Recommended Practices to Migrate XenServer VMs Between Pools
Regardless of which migration method you choose, following a few best practices can significantly reduce the risk of migration failures.
Always create a recent backup before making any infrastructure changes.
Verify that the destination XenServer version is compatible with the source environment.
Ensure the target pool has sufficient CPU, memory, and storage resources.
Check that storage repositories are healthy and accessible.
Validate virtual network mappings before powering on the migrated VM.
Schedule migrations during maintenance windows whenever possible.
Test critical applications after migration instead of only confirming the VM boots successfully.
Monitor CPU, memory, storage, and network performance during the first few hours after migration.
Update monitoring, backup, and disaster recovery policies after the VM has been successfully migrated.
XenServer Migrate VM Between Pools FAQs
Q1: Can XenServer perform live migration between different pools?
No. Native live migration is designed for hosts within the same resource pool. To migrate a VM across pools, you'll need to use export/import, shared storage, backup restoration, or replication.
Q2: Does exporting a VM preserve snapshots?
In most cases, exporting a VM as an XVA file does not preserve the complete snapshot chain. If snapshot preservation is important, using a backup solution is generally a better choice.
Q3: Can I migrate a running VM to another pool?
Native cross-pool live migration isn't supported. Most migration methods require shutting down the VM before transferring it. Replication-based solutions can significantly reduce downtime by synchronizing data in advance.
Conclusion
The best way to migrate a VM between XenServer pools depends on your infrastructure, downtime requirements, and recovery objectives. Whether you choose export/import, shared storage, backup and restoration, or replication, careful planning and validation will help ensure a secure and successful XenServer cross-pool migration.