-
Backup Windows 10/11 to QNAP
-
Backup Linux to QNAP
-
Backup Mac to QNAP
-
Backup Operating Systems to QNAP with an Integrated Solution
-
Conclusion
Synology and QNAP are advanced Network Attached Storage (NAS) device providers with powerful processors, multiple hard drive bays, and support for various RAID configurations. If you are using one of them, you can backup one to another for extra copies.
QNAP is user-friendly and scalable, and offers a wide range of applications, including media streaming and remote access. QNAP also provides excellent customer support and is a reliable solution for personal and business data storage and backup needs. This article shows how to backup Windows 10/11/Linux/Mac OS to QNAP for safety.

Backup Windows 10/11 to QNAP
1. On Windows 10:
Click the Windows icon> click gear icon> open Settings.
Click Update & security>Backup >Go to Backup and Restore (Windows 7).
On Windows 11:
Go to Control Panel/ System and Security> Backup and Restore (Windows 7).
1. Click Set up backup.
2. Click Save on a network and Browse for QNAP NAS. Enter username and password.
3. Choose the backup destination (NAS).
4. Let Windows choose or Let me choose for backup files.
5. Click Change schedule for automatic backup to NAS.
6. Click Save settings and run backup.
Backup Linux to QNAP
1. Log in to the QNAP as an admin and go to Control Panel> Network & File Services> Telnet /SSH to enable Allow SSH connection.
2. Issue mkdir /mnt/nfsfolder for a local mount point.
3. Mount Linux NFS share in the QNAP NAS.
[/] # mount -t nfs -o rw -O user=admin,password=mypassword share_path
[/] # df
share_path 297.8G 63.9G 234.0G 21% /mnt/nfsfolder
[/] # ls -l /mnt/nfsfolder/
4. Ru rsync.
[/] # rsync -avz --progress /mnt/nfsfolder/* /destination/share/path/
Backup Mac to QNAP
You can use QTS 4.3.0 or later and HBS 3 to backup your Mac to QNAP NAS.
Using QTS
1. Optionally create a specialized backup user and shared folder on Time Machine.
a. Go to Control Panel> Privilege> Users> Create> Create a User>enter username and password> Create.
b. Go to Control Panel> Privilege> Shared Folders> Create> Shared Folder>enter the folder name> Next> give the user RW privileges> check Set this folder as the Time Machine backup folder (macOS)> Finish.
2. Set QTS to use SMB 3.
Go to Control Panel> Network & File Services> Win/Mac/NFS > Microsoft Networking> Advanced Options> under Highest SMB version choose SMB 3> Apply.
3. Set Time Machine to use QNAP NAS as a backup.
a. Open Mac Finder> Go> Connect to Server> input smb://<NAS name.local or IP address>Connect.
b. Input name and password, or enter your domain credentials if your NAS is a domain member, or your dedicated Time Machine user account created before> Connect.
c. Choose the NAS shared backup folder> OK.
d. Start Time Machine and click Select Backup Disk.
e. Choose the shared backup folder and hit Use Disk.
f. Enter the user details (NAS user/dedicated Time Machine user)> Connect.
Using HBS 3
1. Create the shared Time Machine account.
Start HBS 3> Services> Time Machine> select Use shared Time Machine account> input a password for the account> set a storage quota optionally: choose Maximum and specify a value for the backup which fails if exceeds> Apply.
2. Set Time Machine to use QNAP NAS as a backup destination.
a. Open Mac Finder> Go> Connect to Server> input smb://<NAS name.local or IP address>Connect.
b. Input the username TimeMachine and password set before.
c. Start Time Machine and click Select Backup Disk.
d. Choose the shared backup folder TMBackup and hit Use Disk.
e. Enter the user details (TimeMachine + password) or enter your domain credentials if your NAS is a domain member> Connect.
3. Find the backups under TMbackup shared folder.
Backup Operating Systems to QNAP with an Integrated Solution
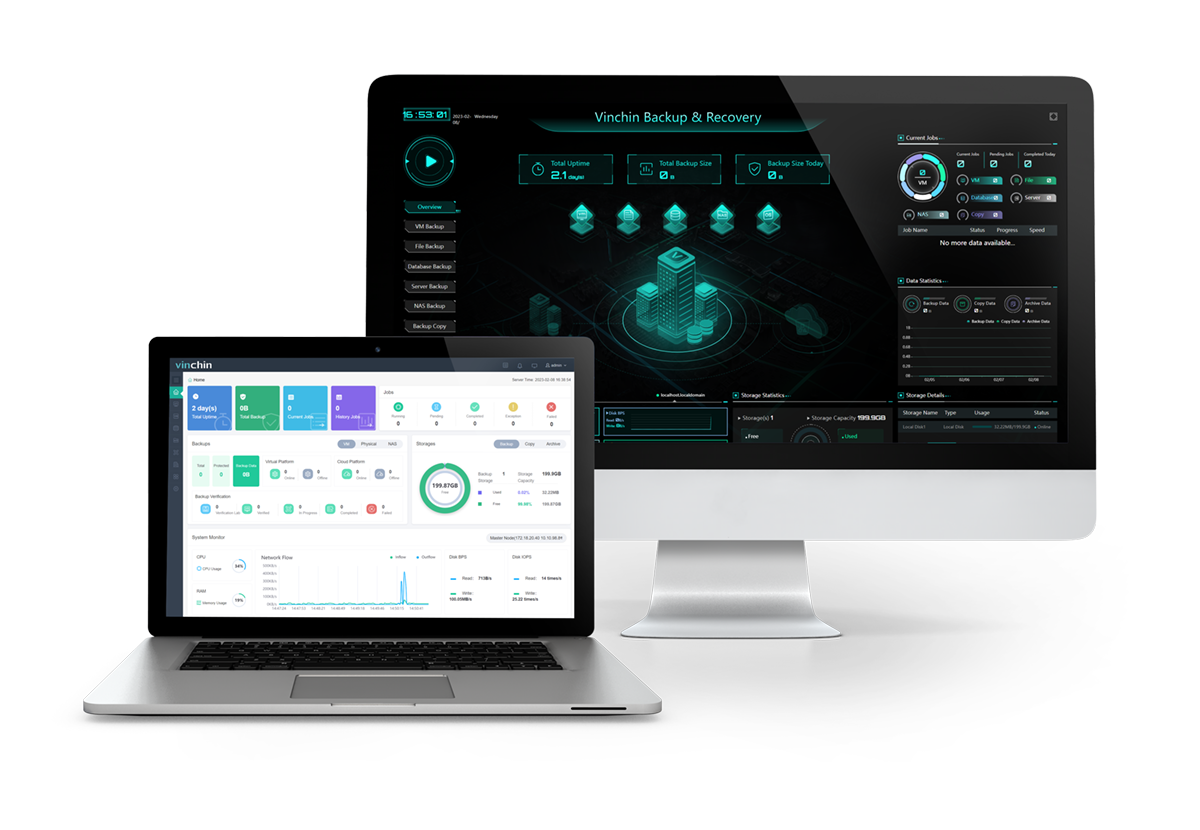
You can backup Windows 10/11 and Linux and its distributions to QNAP or any other NAS like Synology/WD under CIFS/NFS protocols with Vinchin Backup & Recovery.
It supports Windows 8 ~ 11, Windows Server 2008R2 SP1 ~ 2022, RedHat Enterprise Linux 6(6.0/6.8), 7(6.2/7.6), 8(8.0/8.1), CentOS Linux 6(6.5/6.9), 7(7.2/7.6/7.7/7.9), 8(8.0/8.3).

This backup solution features automatic data backup on schedule, one-click Full/Incremental/Differential backup, backup file type filter, data compression and encryption with the AES-256 standard, and multiple scan and transfer threads.
It also restores Linux & Windows servers NAS to a new or original path of NAS Share/File Server.
Download the 60-day free trial.
Easy OS Backup to QNAP
1. Download the physical server agent on the login page, add the agent under Resources, and upload the license.
2. Add your QNAP NAS to Vinchin software on the Resources> NAS Shares page.
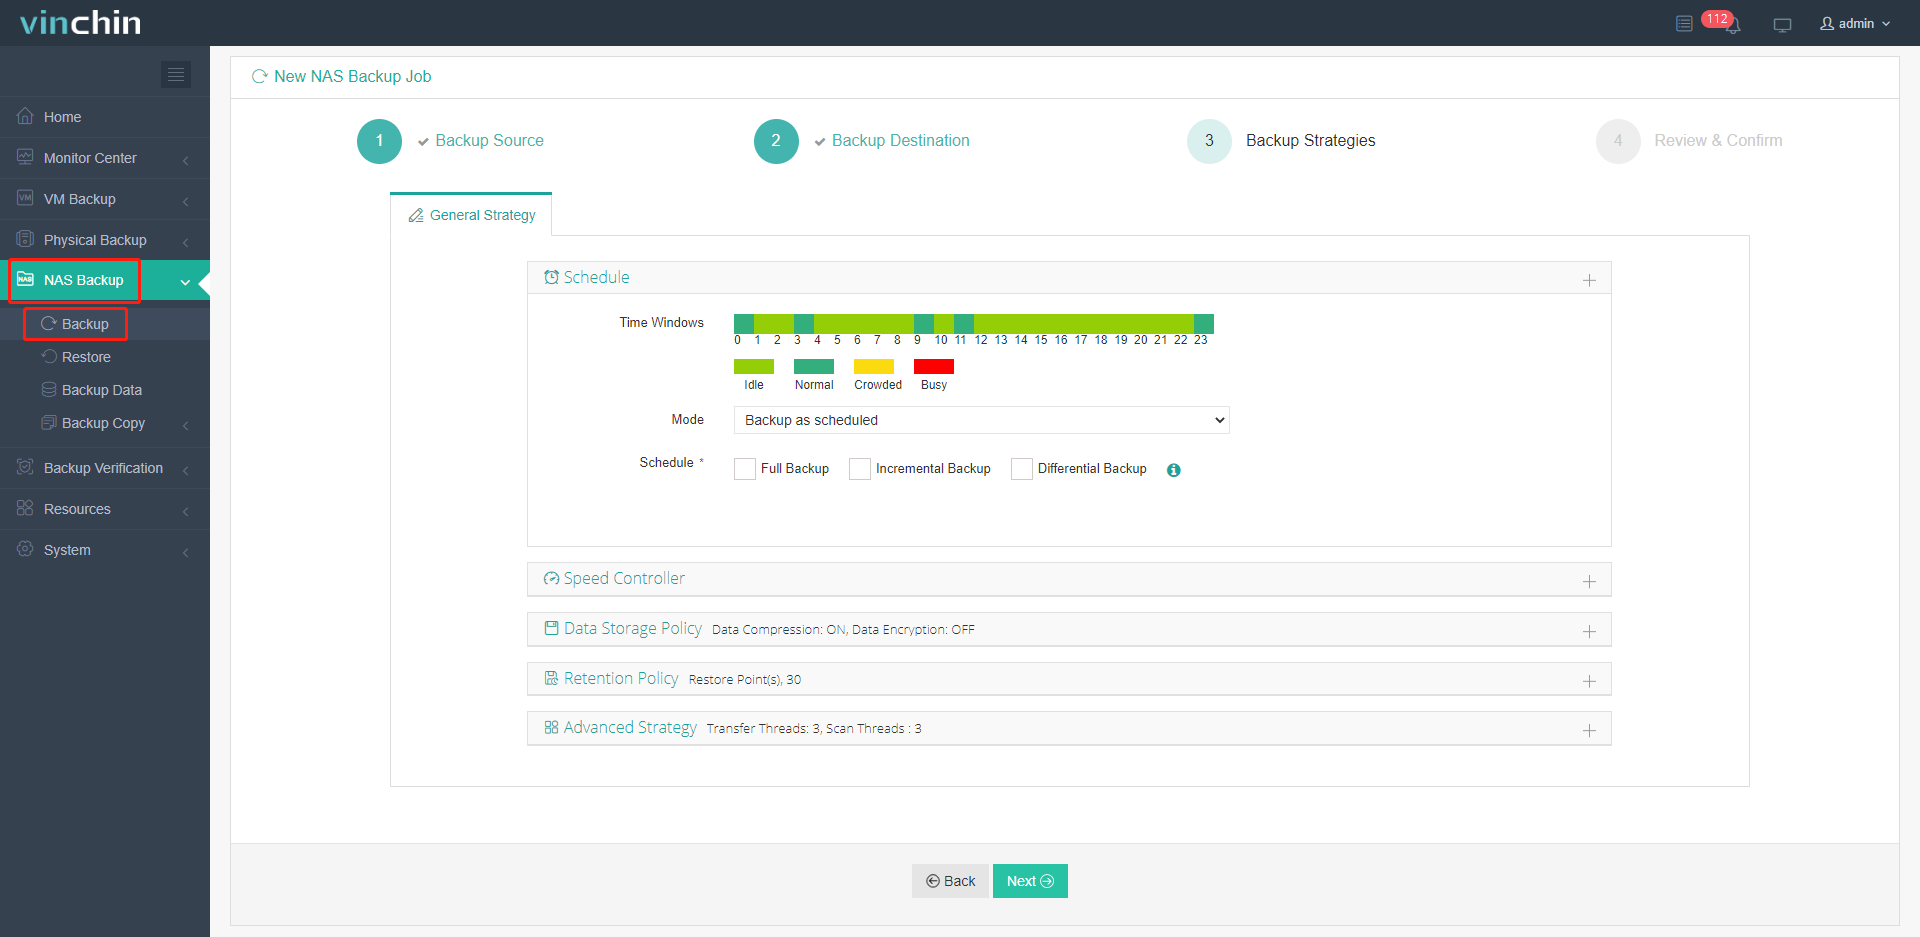
3. Go to NAS Backup> Backup, and select the added NAS share and source files/folders. You can customize a wildcard to filter certain types of files.
4. Choose QNAP NAS storage here as a backup destination.
5. Specify the backup settings.
6. Review and finish. The job will run on schedule.

Conclusion
Backing up your PC to a NAS has benefits such as data protection, accessibility, cost-effectiveness, built-in backup software, and scalability, making it a great option for businesses or individuals with large amounts of data to back up.
You can backup Windows/Linux/Mac to QNAP NAS with Backup and Restore, QTS, and HBS, but you can use an all-in-one solution that backs up and restores virtualizations, databases, physical servers, and NAS.
Share on:


