-
What is an OVA/OVF file?
-
Why import OVA or OVF into Proxmox?
-
Steps to import OVA/OVF into Proxmox
-
Simplify your Proxmox VE VM protection
-
Proxmox import OVA/OVF FAQs
-
Conclusion
Proxmox VE is a comprehensive open-source server management platform that integrates KVM hypervisor and LXC containers, software-defined storage, and networking functionality on a single platform. It provides the ability to manage virtual machines, containers, highly available clusters, storage and network with an integrated, easy-to-use web interface. One common task that users might need to perform is importing OVA /OVF files into Proxmox. These file formats are often used to distribute pre-configured virtual machines.
What is an OVA/OVF file?
OVA and OVF are standards developed by the Distributed Management Task Force (DMTF) for packaging and distributing virtual appliances.
OVF is a standardized format for packaging and distributing virtual machines. It is an open standard that provides a vendor-neutral, portable, and extensible way to package and distribute software applications. OVF files contain metadata and one or more VM disk images, making it easy to transport virtual appliances across different virtualization platforms.
OVA is a specific implementation of the OVF standard. An OVA file is a single file distribution of an OVF package. It is essentially a tar archive that includes the OVF descriptor file and all associated VM files, such as virtual disks. OVA simplifies the distribution of virtual appliances by packaging all the necessary components into a single file.
Why import OVA or OVF into Proxmox?
Importing these files lets you reuse existing appliances or move workloads from other hypervisors without rebuilding them from scratch. This saves time when consolidating infrastructure after mergers, testing new platforms before production rollout, or deploying pre-built solutions like firewalls or monitoring stacks.
However, there’s a catch: Proxmox cannot run an OVA directly unless you’re on version 8.3+ with GUI support—and even then some manual work may be needed if your source VM uses rare configurations or drivers incompatible with KVM/QEMU virtualization standards.
Choosing the right import method reduces downtime and ensures that migrated VMs boot reliably on their new host hardware.
Steps to import OVA/OVF into Proxmox
1. Copy the OVA file to the Proxmox server using SCP or another file transfer method. You can place it in a directory accessible by Proxmox, such as /var/lib/vz/template/. Here I log into the Proxmox host using WinSCP and uploaded the OVA file.

2. SSH into your Proxmox server using a terminal or SSH client. Here I use PuTTY on my Windows system. You can download it from PuTTY official website.
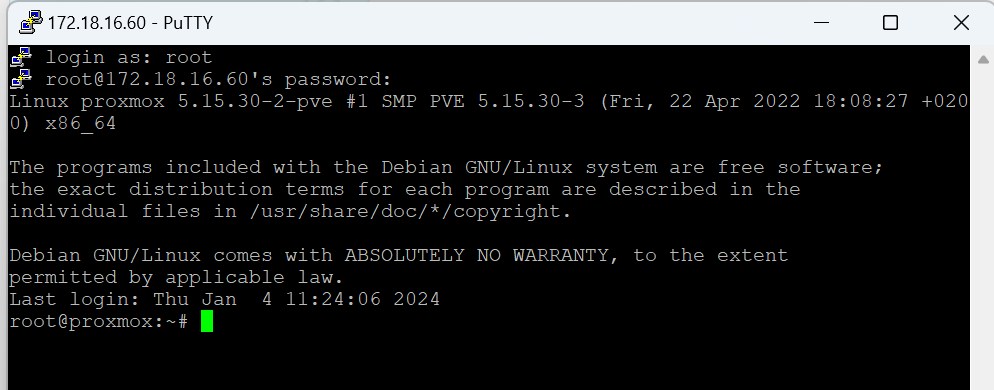
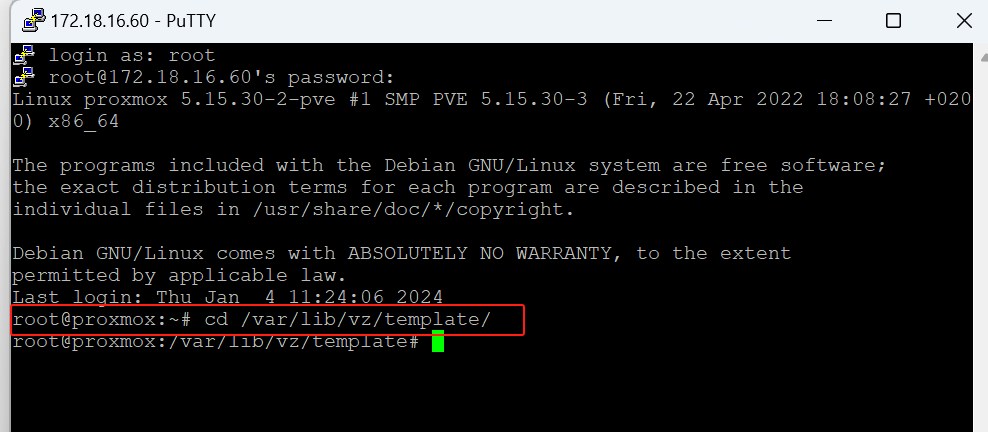
3. Navigate to the directory where you copied the OVA file. For example:
cd /var/lib/vz/template/
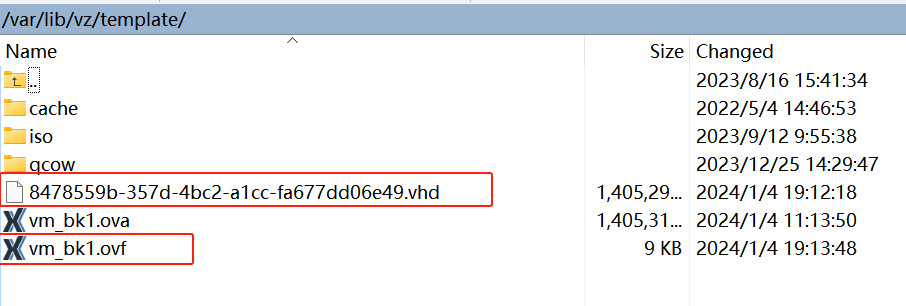
4. Extract the OVA file using the tar command. Replace ova_file.ova with the actual filename of your OVA file:
tar -xf ova_file.ova

5. Once the extraction is complete, you should have several files, including a disk image file(Here I got this in VHD format) and an OVF file.
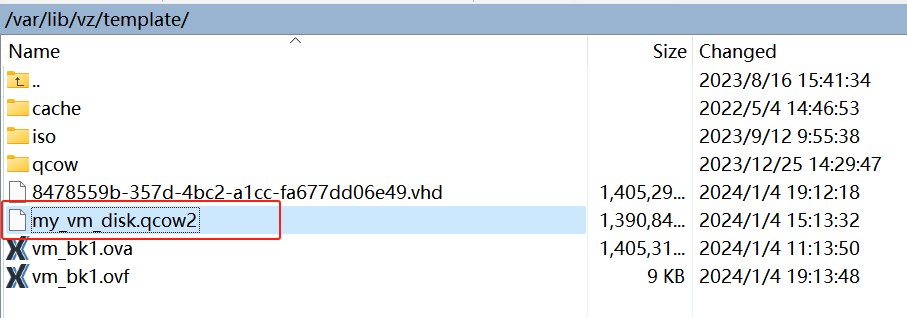
6. Convert the VHD disk image to a Proxmox-compatible format (raw or qcow2) using the qemu-img command. Replace disk_image.vhd with the actual filename of your VHD file and converted_image.qcow2 with the desired output filename:
qemu-img convert -f vpc -O qcow2 disk_image.vhd converted_image.qcow2

Here I have got the QCOW2 format disk image.
7. Create a new VM in Proxmox.
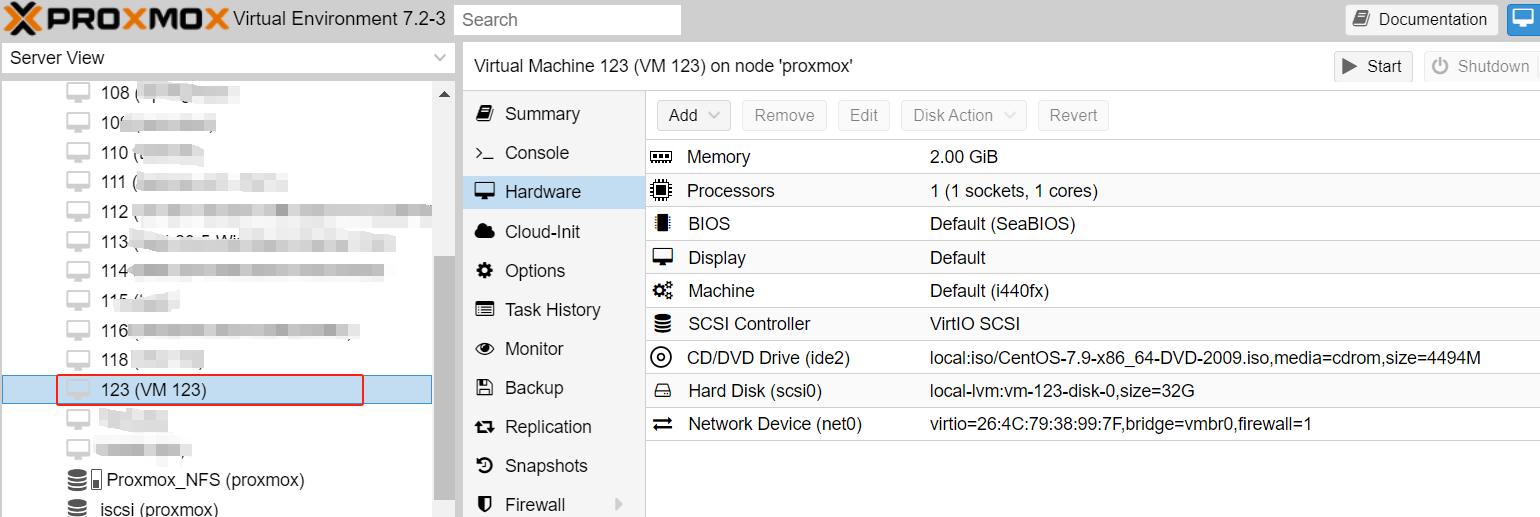
8. Use the following command to import the image file into the newly created virtual machine:
qm importdisk <vm-id> <filepath/vm-name>.qcow2 <storage-id>
For example:
qm importdisk 123 /var/lib/vz/template/my_vm_disk.qcow2 local-lvm

Successfully imported disk as “unused0:local-lvm:vm-123-disk-1”
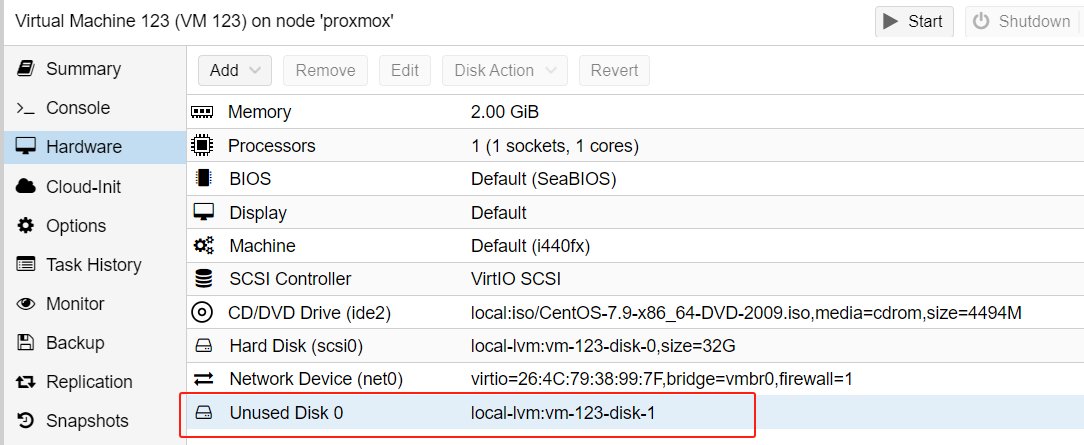
9. Attach the imported disk to the virtual machine. You can use the qm set command with the --scsihw and --virtio0 options to attach the disk. Here’s an example command:
qm set 123 -scsi0 local-lvm:vm-123-disk-1
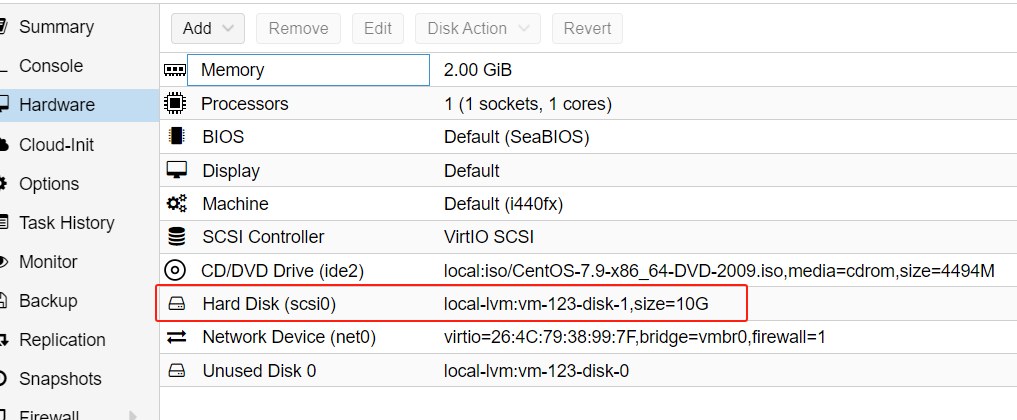
Once the import is complete, you can start the virtual machine and access it through the Proxmox web interface.
Simplify your Proxmox VE VM protection
Vinchin Backup & Recovery is a professional solution for virtual machine backup and recovery that provides comprehensive data protection solutions for virtualized environments. It is a robust Proxmox VE environment protection solution, which provides advanced backup features, including automatic VM backup, agentless backup, LAN/LAN-Free backup, offsite copy, instant recovery, effective data reduction, cloud archive and etc., strictly following 3-2-1 golden backup architecture to comprehensively secure your data security and integrity in Proxmox VE beyond replication.
Besides, data encryption and anti-ransomware protection offer you dual insurance to protect your Proxmox VE VM backups. You can also simply migrate data from a Proxmox host to another virtual platform and vice versa.
It only takes 4 steps for you to backup Proxmox VE VMs:
1. Select the backup object.
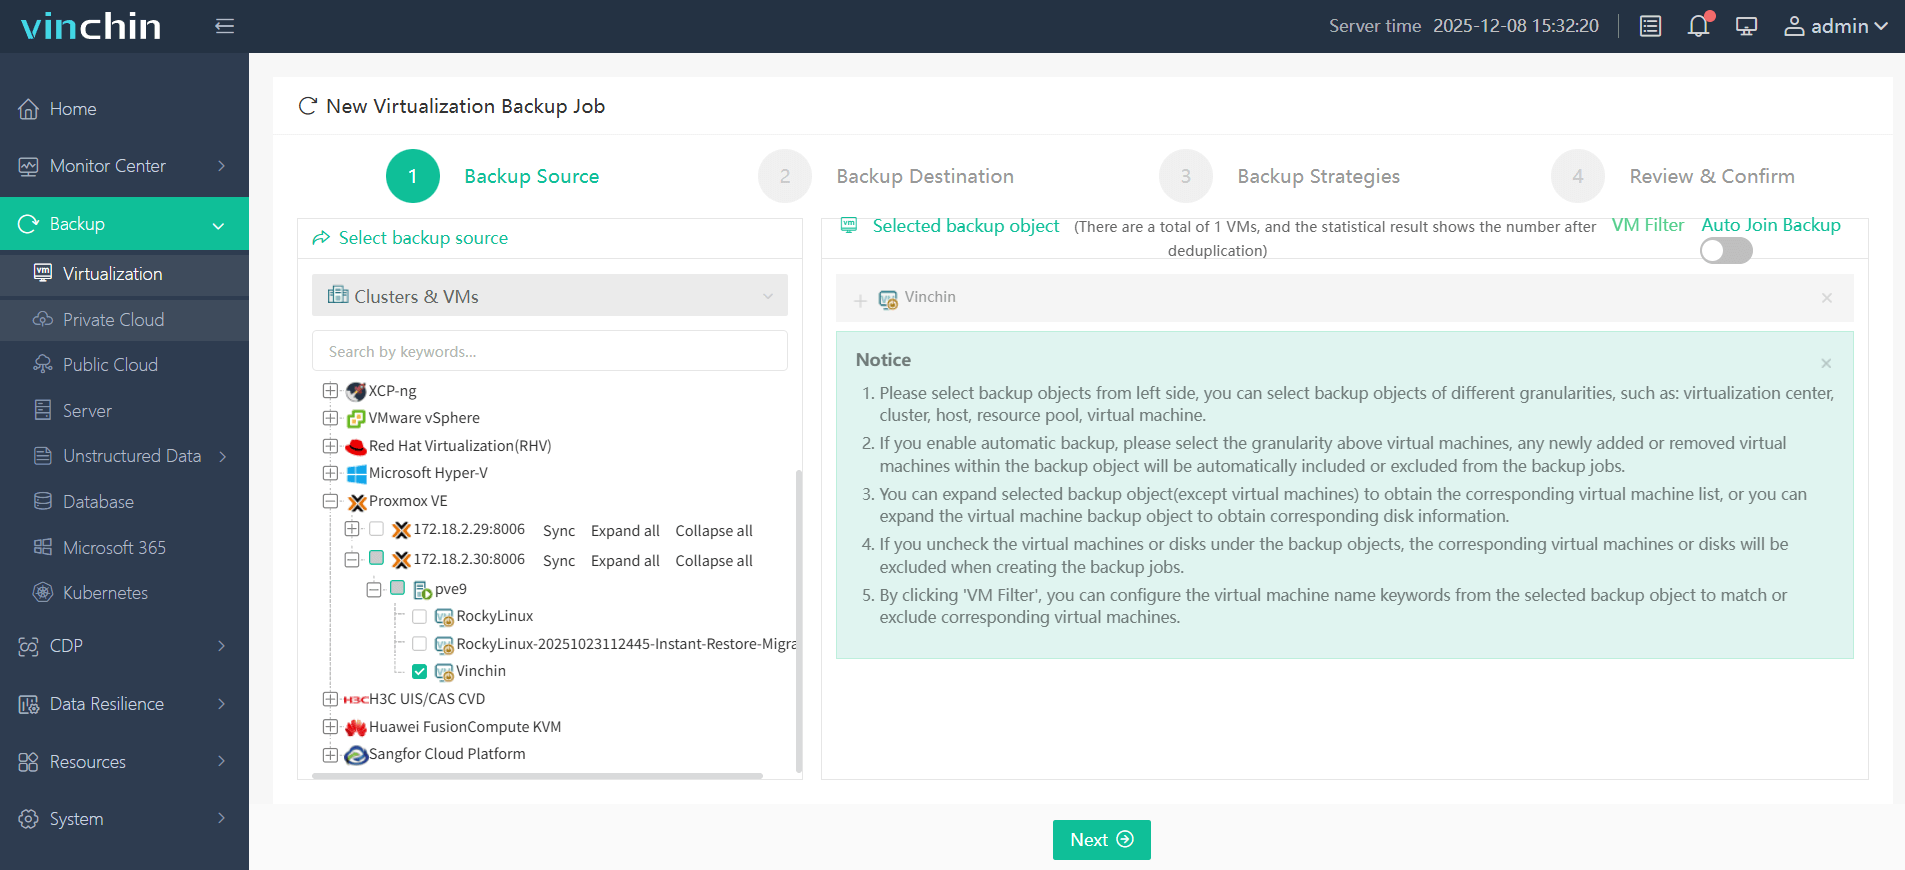
2. Select backup destination.
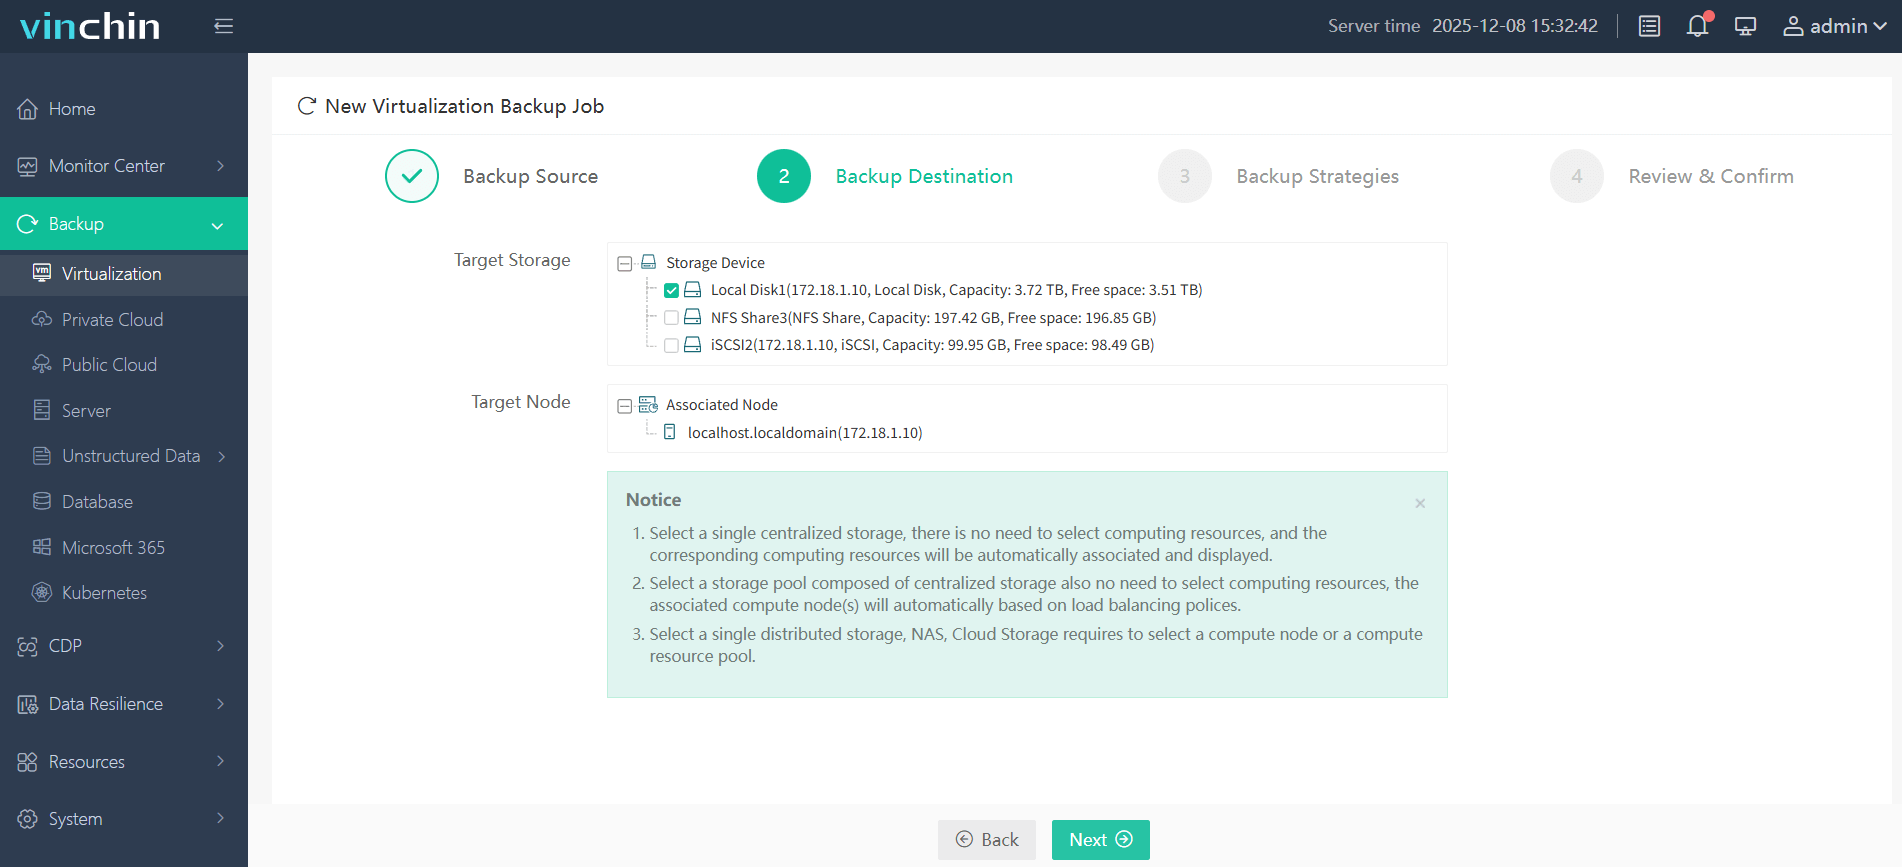
3. Select backup strategies.
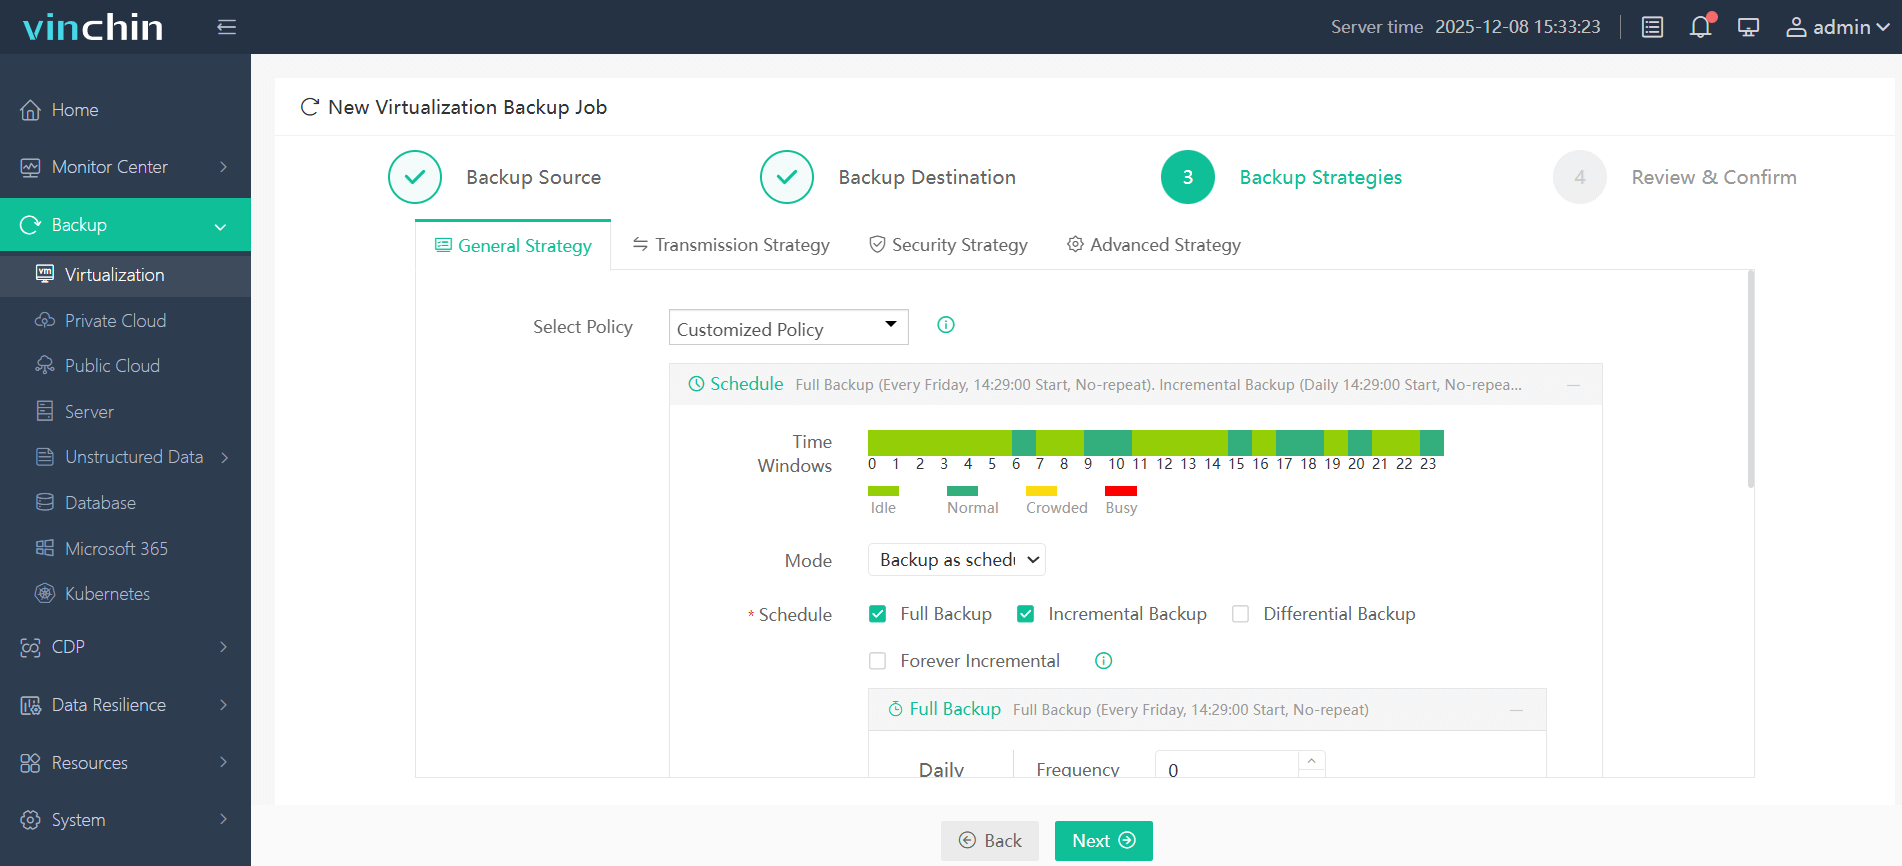
4. Review and submit the job.
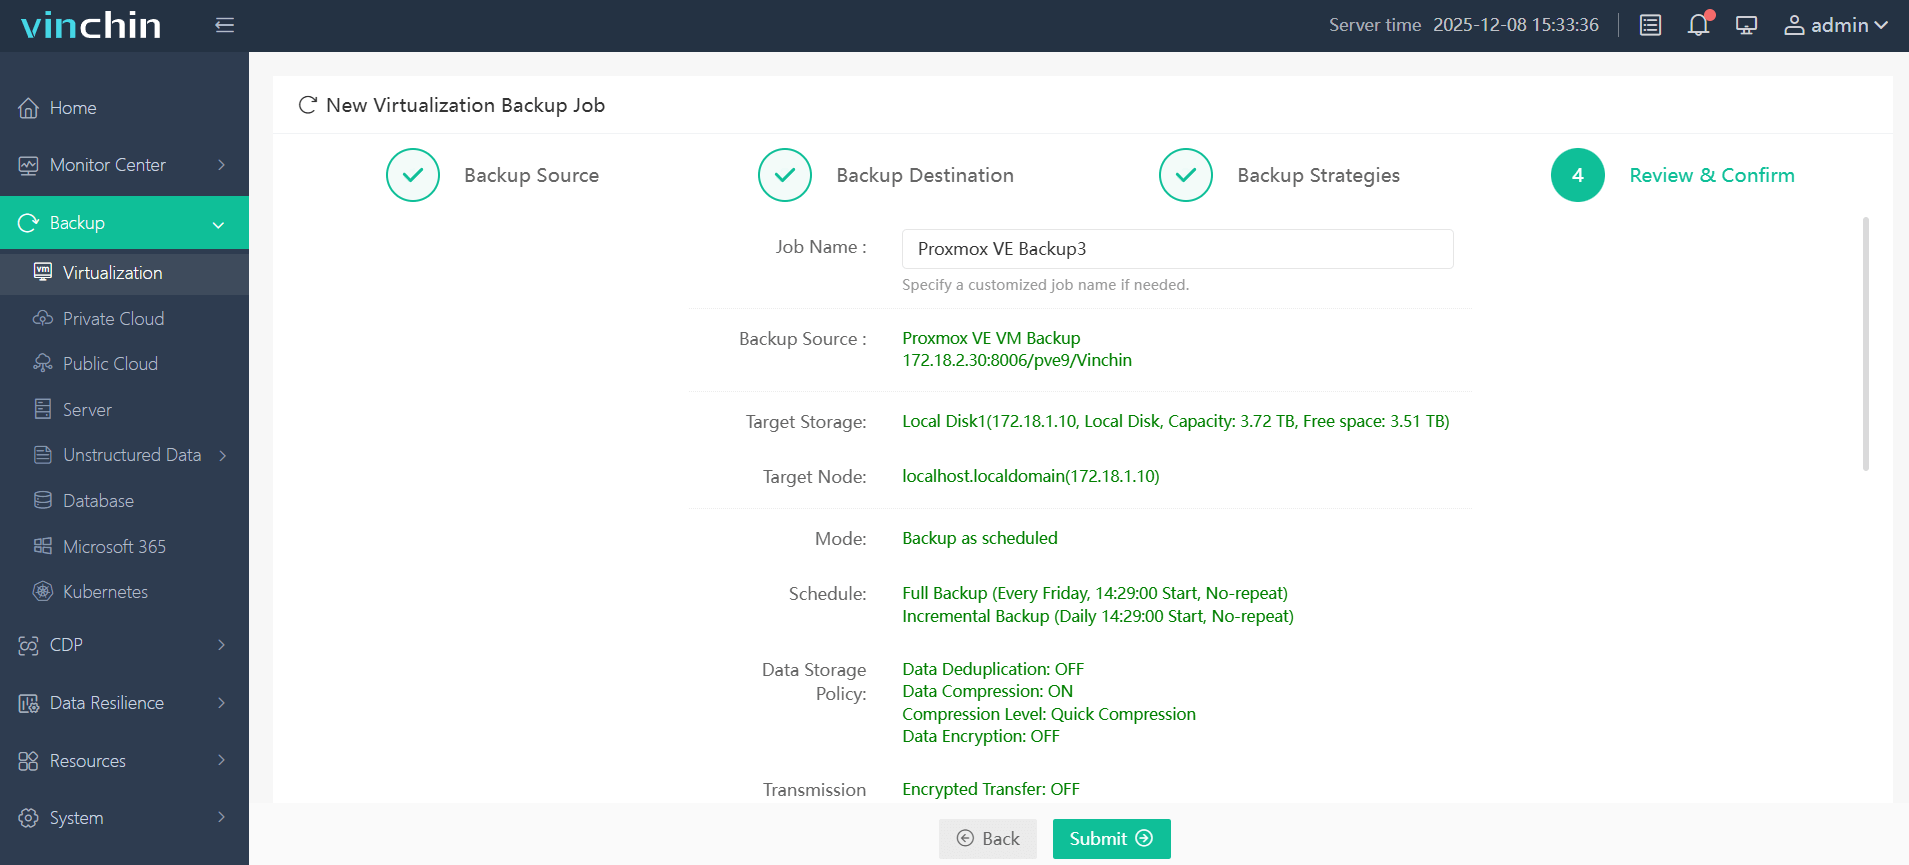
Vinchin Backup & Recovery has been chosen by thousands of companies worldwide. You can start leveraging this powerful system with a 60-day full-featured trial! Share your specific Proxmox VE environment needs with us, and we will provide a custom solution that fits seamlessly with your IT infrastructure.
Proxmox import OVA/OVF FAQs
1.Q: Can I import OVA into VMware?
A: Yes, you can import OVA into VMware using vCenter or OVF Tool. vCenter will help you deploy OVA and OVF step by step with import wizard and OVF Tool will let you easily complete it with commands.
2. Q: How to convert OVA /OVF to migrate from VMware to Hyper-V?
A: OVA /OVF template can't be directly used on Hyper-V, but if you need the VMware VM data, you can extract the virtual disk, vmdk file, from OVA/OVF template to vhd virtual disk and then import it via Hyper-V Manager.
Conclusion
While Proxmox VE does not directly support OVA/OVF files, they can be imported into Proxmox after conversion to a supported format. This process involves extracting and converting the OVA/OVF file, importing it to Proxmox, and then configuring a VM to use the imported disk. By following these steps, you can efficiently import OVA/OVF files into your Proxmox environment.
Share on:


