-
What is psycopg2?
-
Method 1: Connecting With psycopg2 Connect
-
Method 2: Secure Connection Using psycopg2 Connect
-
How to Protect Database With Vinchin Backup & Recovery
-
psycopg2 Connect FAQs
-
Conclusion
Connecting Python applications to PostgreSQL database is a daily task for many operations administrators. The psycopg2 library is a trusted tool for this job. But how do you use psycopg2 connect safely and efficiently? In this guide, we’ll start from the basics, move through secure connections, explore advanced options like connection strings and pooling, then tackle common errors. By the end, you’ll be ready to connect your apps to PostgreSQL with confidence—and keep your data safe.
What is psycopg2?
psycopg2 is a PostgreSQL adapter for Python that lets your scripts communicate directly with PostgreSQL databases. It follows the Python DB API 2.0 standard, so if you’ve used other database connectors in Python before, it will feel familiar. psycopg2 stands out because it’s fast, reliable under load, supports advanced PostgreSQL features like server-side cursors and notifications—and has been battle-tested in production environments around the world.
Method 1: Connecting With psycopg2 Connect
Most administrators start by connecting using psycopg2.connect(). This method works well for both local development setups and remote servers.
First things first: install psycopg2 using pip:
pip install psycopg2
Once installed, you can open a session by calling connect() with parameters such as dbname, user, password, host, and port. Here’s an example:
import psycopg2

conn = psycopg2.connect(
    dbname="your_database",
    user="your_username",
    password="your_password",
    host="127.0.0.1",
    port="5432"
)
Let’s break down these parameters:
dbname is your target database name.
user is your PostgreSQL username.
password is your password.
host points to your database server; use 127.0.0.1 or localhost when working locally.
port defaults to 5432, unless changed in your server config.
After connecting successfully, create a cursor object to execute SQL commands:
cur = conn.cursor()
cur.execute("SELECT version();")
print(cur.fetchone())
When finished with queries or transactions, always close both cursor and connection objects:
cur.close()
conn.close()
For better resource management—especially in scripts that may encounter errors—use context managers (with statements). This ensures connections are closed automatically even if something goes wrong:
import psycopg2

with psycopg2.connect(
    dbname="your_database",
    user="your_username",
    password="your_password"
) as conn:
    with conn.cursor() as cur:
        cur.execute("SELECT NOW();")
        print(cur.fetchone())
This approach helps prevent accidental connection leaks—a common pitfall in long-running applications.
Using DSN Connection Strings
Sometimes you want more flexibility or need to pass all connection info as one string—for example when deploying apps via containers or cloud platforms where environment variables are used.
A Data Source Name (DSN) string combines all parameters into one line:
dsn = "dbname=your_database user=your_username password=your_password host=127.0.0.1 port=5432"
conn = psycopg2.connect(dsn)
This method makes it easy to store credentials outside of code—for instance in environment variables or configuration files managed by tools like Ansible or Terraform.
You can fetch DSNs securely from environment variables using Python’s os module:
import os
import psycopg2

dsn = os.getenv("DATABASE_DSN")
if dsn:
    conn = psycopg2.connect(dsn)
else:
    raise Exception("DATABASE_DSN not set")
This keeps sensitive information out of source code—a key security practice every admin should follow.
Method 2: Secure Connection Using psycopg2 Connect
Security matters most when connecting over networks where traffic could be intercepted by attackers—or even just curious insiders! Fortunately, psycopg2 supports SSL/TLS encryption out-of-the-box.
To enable SSL encryption between client and server add extra parameters: sslmode, sslcert, sslkey, and sslrootcert.
Here’s what a secure connection might look like:
import psycopg2

conn = psycopg2.connect(
    dbname="your_database",
    user="your_username",
    password="your_password",
    host="db.example.com",
    port="5432",
    sslmode="verify-full",  # Enforces full certificate validation
    sslcert="/path/to/client-cert.pem",     # Client certificate file path
    sslkey="/path/to/client-key.pem",       # Client private key file path
    sslrootcert="/path/to/ca-cert.pem"      # Trusted CA certificate file path
)
What do these mean?
sslmode controls how strictly SSL is enforced; use
"require"for basic encryption or"verify-full"if you want full certificate validation against a trusted authority.sslcert, sslkey, and sslrootcert point to PEM files generated by OpenSSL or provided by your organization’s CA.
Always store certificates securely—never commit them into version control systems!
Validating SSL Configuration
Before connecting securely make sure both client and server support SSL/TLS:
1. On the server side check that PostgreSQL's configuration enables SSL (ssl = on in postgresql.conf).
Place valid certificates on the server (
server.crt,server.key) usually under/var/lib/pgsql/data.Restart PostgreSQL after changes.
On clients test connectivity using OpenSSL:
openssl s_client -connect db.example.com:5432 -starttls postgres -CAfile /path/to/ca-cert.pem
If successful you'll see handshake details confirming encryption works end-to-end.
If you're using self-signed certificates remember that "verify-full" requires either public CA-signed certs or adding custom CAs via sslrootcert.
How to Protect Database With Vinchin Backup & Recovery
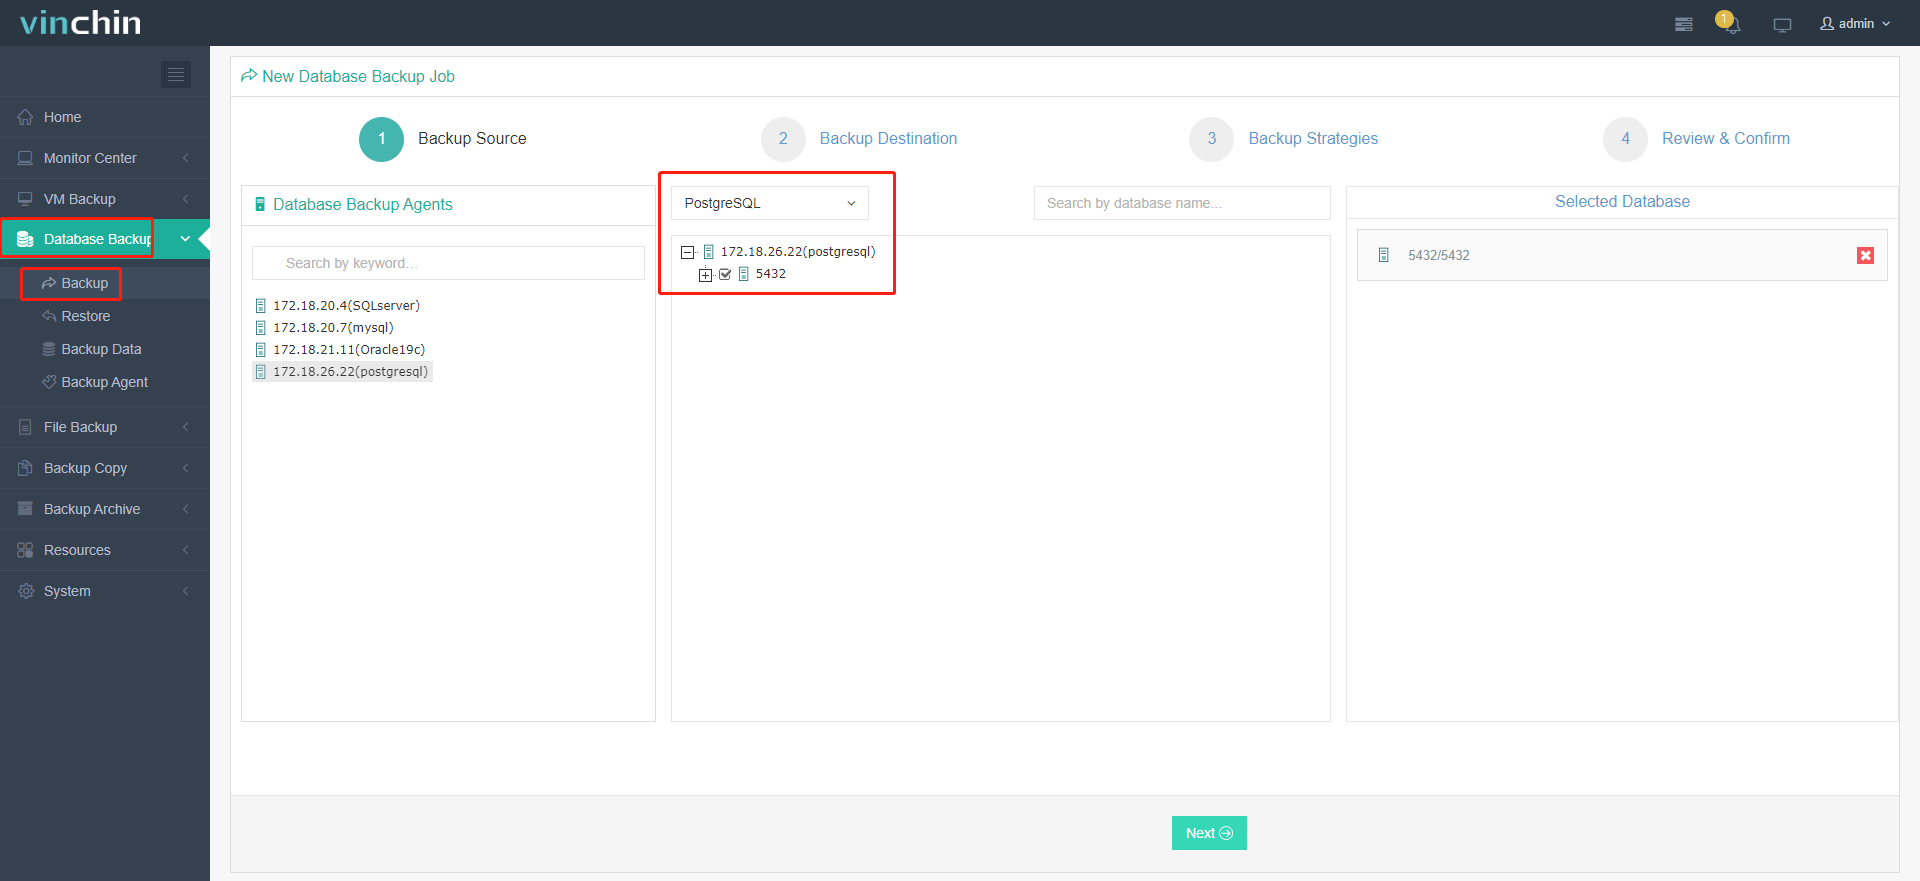
Beyond securing database connections with tools like psycopg2 connect, implementing regular backups remains essential for comprehensive data protection against loss or ransomware attacks. Vinchin Backup & Recovery delivers enterprise-level backup solutions supporting mainstream databases including PostgreSQL (as well as Oracle, MySQL, SQL Server, MariaDB, PostgresPro and MongoDB). For PostgreSQL environments specifically—as discussed throughout this article—it offers features such as incremental backup support (for efficient storage usage), batch database backup capabilities (for streamlined operations), multiple level data compression (to optimize space), robust data retention policies including GFS retention policy (for compliance needs), plus ransomware protection built-in by default alongside scheduled backups and any-point-in-time recovery options—all managed through an intuitive web console interface that simplifies complex tasks into four clear steps:
1. Go to Database Backup> Backup, and select the data source from the licensed database list.

2. Select the target node and storage for the job.

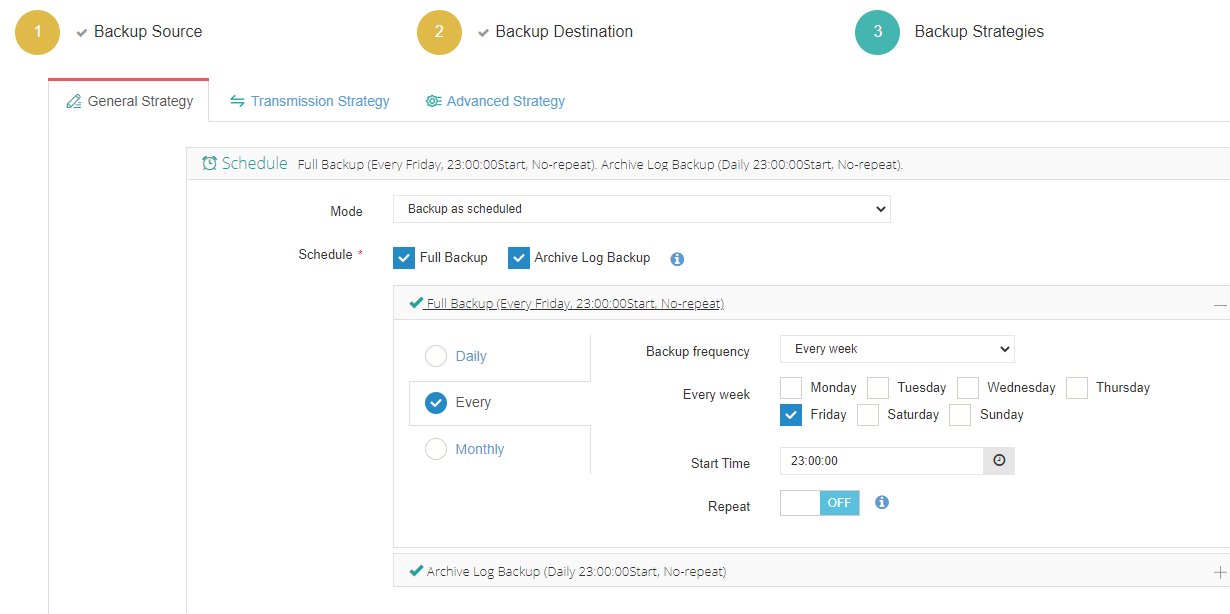
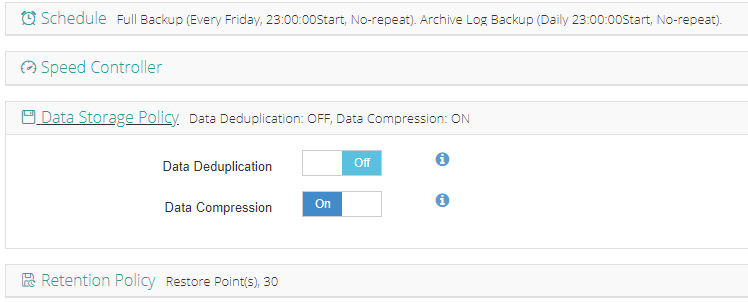
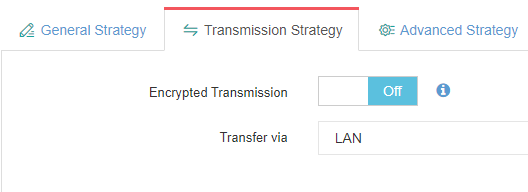
3. Set up desired backup strategies.


4. View settings and click Submit.
Vinchin Backup & Recovery enjoys top ratings worldwide among enterprise customers seeking reliable data protection software—try it yourself free for 60 days with full features by clicking below!
psycopg2 Connect FAQs
Q1: Can I use DSN-style connection strings instead of separate arguments?
A1: Yes—you can pass a single string like "dbname=test user=postgres" directly into psycopg2.connect() for convenience.
Q2: How do I connect securely from behind strict firewalls?
A2: Ensure port 5432 is open between hosts—or use SSH tunneling/VPNs if direct access isn’t possible—to establish encrypted channels safely.
Q3: What’s recommended for managing credentials during automated deployments?
A3: Store secrets using environment variables or external secret managers integrated via infrastructure-as-code tools such as Ansible Vaults or Kubernetes Secrets.
Conclusion
Connecting Python apps to PostgreSQL with psycopg2 connect gives admins speed plus flexibility—from basic scripts up through enterprise-grade deployments secured over SSL/TLS networks. Handle errors smartly; automate backups with Vinchin; keep credentials safe—and enjoy reliable database operations every day!
Share on:


