-
What Is SQL Server Database Suspect Mode?
-
Why Does SQL Server Database Become Suspect?
-
Method 1: Fixing SQL Server Database Suspect With T-SQL
-
Method 2: Fixing SQL Server Database Suspect Using SQL Server Management Studio (SSMS)
-
Method 3: Restoring From Backup After Suspect Error
-
Protecting Your Databases with Vinchin Backup & Recovery
-
SQL Server Database Suspect FAQs
-
Conclusion
Few things unsettle a database administrator more than seeing a SQL Server Database marked as "Suspect." When this happens, your data becomes unreachable. Business operations can grind to a halt in seconds. But what does "Suspect" really mean? How can you bring your database back online without risking further damage or data loss? In this guide, we’ll explain what suspect mode is, why it happens, how to diagnose its cause, and proven ways to recover your data—using both T-SQL scripts and SQL Server Management Studio (SSMS). We’ll also show you how to protect your SQL Server databases from future disasters.
What Is SQL Server Database Suspect Mode?
A SQL Server database enters suspect mode when SQL Server cannot finish its recovery process during startup. In this state, the database is unavailable for any use—you cannot read or write data until you resolve the problem. The suspect status acts as a safety lock: it prevents further damage or inconsistencies if SQL Server detects corruption in files or other critical issues.
You will see your database marked as "Suspect" in SSMS under Object Explorer, often with a gray question mark icon next to its name. Any attempt to connect will fail until you fix the underlying issue.
Why Does SQL Server Database Become Suspect?
Several factors can push a SQL Server database into suspect mode:
Corruption in primary data files (MDF) or transaction logs (LDF), often caused by power failures or abrupt shutdowns.
Missing or inaccessible files due to disk errors or accidental deletion.
Hardware failures such as bad sectors on disks.
Malware attacks that tamper with system files.
Misconfigured server settings or failed restore operations.
Even running out of disk space during transactions can trigger suspect mode. According to Microsoft documentation, error 824—a logical consistency error—often leads to suspect status and must be addressed right away.
Method 1: Fixing SQL Server Database Suspect With T-SQL
T-SQL offers direct control over recovery steps when dealing with a suspect database. This approach suits administrators who are comfortable writing queries and need precise actions at each stage.
First things first: be aware that sp_resetstatus is an undocumented command in modern versions of SQL Server; while it clears the suspect flag from system tables, Microsoft recommends using ALTER DATABASE dbname] SET EMERGENCY instead whenever possible because it’s safer and fully supported ([source). If you still choose sp_resetstatus, proceed carefully—it may have side effects on newer systems.
Here's how you recover step by step:
1. Open SQL Server Management Studio and connect to your instance.
2. Click New Query.
3. Run these commands one at a time—replace YourDatabaseName with your actual name:
   ALTER DATABASE YourDatabaseName SET EMERGENCY;
   DBCC CHECKDB('YourDatabaseName');
   ALTER DATABASE YourDatabaseName SET SINGLE_USER WITH ROLLBACK IMMEDIATE;
   DBCC CHECKDB('YourDatabaseName', REPAIR_ALLOW_DATA_LOSS);
   ALTER DATABASE YourDatabaseName SET MULTI_USER;
Let’s break down each action:
Setting emergency mode gives sysadmin-level access even if normal startup fails.
Running
DBCC CHECKDBchecks integrity; review its output carefully—it may suggest less risky options likeREPAIR_REBUILDbefore recommendingREPAIR_ALLOW_DATA_LOSS.Single-user mode ensures only one connection exists so repairs aren’t interrupted; sometimes you must kill existing sessions manually if they block progress.
The repair command tries to fix corruption but may remove damaged rows—so some data loss could occur.
Finally switch back to multi-user mode so everyone regains access once repairs finish.
After running these commands refresh Object Explorer in SSMS; if successful your database should appear online again without the "Suspect" label. If not—or if too much data was lost—you may need to restore from backup instead.
Method 2: Fixing SQL Server Database Suspect Using SQL Server Management Studio (SSMS)
Not everyone likes typing queries—and sometimes visual tools help avoid mistakes under pressure! SSMS provides an intuitive way for admins who prefer working through menus rather than scripts alone.
Begin by setting single-user mode so no other connections interfere during recovery work:
1. Open SSMS and connect as usual.
2. In Object Explorer, right-click your suspect database—it likely shows up with a gray question mark—and select New Query.
3. Enter:
ALTER DATABASE YourDatabaseName SET SINGLE_USER WITH ROLLBACK IMMEDIATE;
4. If you have recent backups ready:
Right-click Databases
Choose Restore Database...
Follow prompts under Source > Device, browse for your
.bakfileFor advanced scenarios where multiple log restores are needed (point-in-time recovery), select Restore With NORECOVERY between log restores
5. Once done restoring set multi-user mode again:
ALTER DATABASE YourDatabaseName SET MULTI_USER;
6. If no valid backup exists but minor corruption is suspected:
Open another query window
Repeat T-SQL repair steps shown earlier
Using SSMS menus reduces syntax errors but still requires careful attention—always double-check which options are selected before clicking OK!
If restoration fails due to severe corruption—or there are no usable backups left—you must fall back on emergency repair via T-SQL as described above.
Method 3: Restoring From Backup After Suspect Error
Restoring from backup remains the safest way out of most disaster scenarios involving suspect databases—provided those backups are recent enough!
Before starting any restore operation always verify backup integrity first using:
RESTORE VERIFYONLY FROM DISK = 'C:\Backup\YourBackupFile.bak'
This command checks whether your .bak file is readable—not whether it contains correct business data—but catching unreadable media early saves headaches later!
Once verified follow these steps:
1. Set single-user mode so no one else connects mid-process:
ALTER DATABASE YourDatabaseName SET SINGLE_USER WITH ROLLBACK IMMEDIATE;
2. Restore main backup file:
RESTORE DATABASE YourDatabaseName FROM DISK = 'C:\Backup\YourBackupFile.bak' WITH REPLACE;
3. If restoring additional transaction logs repeat similar commands using RESTORE LOG ... WITH NORECOVERY
4. When finished set multi-user mode again:
ALTER DATABASE YourDatabaseName SET MULTI_USER;
After restoration completes check that users can connect normally—and run basic queries against key tables just in case hidden issues remain!
Whenever possible test restores on non-production servers first especially after major incidents; this practice avoids surprises during live recoveries later on.
Protecting Your Databases with Vinchin Backup & Recovery
To ensure ongoing protection against “suspect” errors and other threats, robust enterprise-level backup solutions are essential for every organization managing Microsoft SQL Server environments today. Vinchin Backup & Recovery delivers comprehensive support for mainstream databases—including Oracle, MySQL, MariaDB, PostgreSQL, PostgresPro, MongoDB, and especially Microsoft SQL Server—with features designed specifically for operational reliability at scale.
Among its many capabilities tailored for enterprise needs are advanced source-side compression (for Oracle and SQL Server), incremental backups (for Oracle, MySQL, MariaDB, PostgreSQL/PostgresPro), batch scheduling across multiple databases simultaneously, flexible retention policies including GFS strategies for long-term compliance needs, and built-in ransomware protection mechanisms—all combining speed with security while minimizing storage costs and administrative overheads.
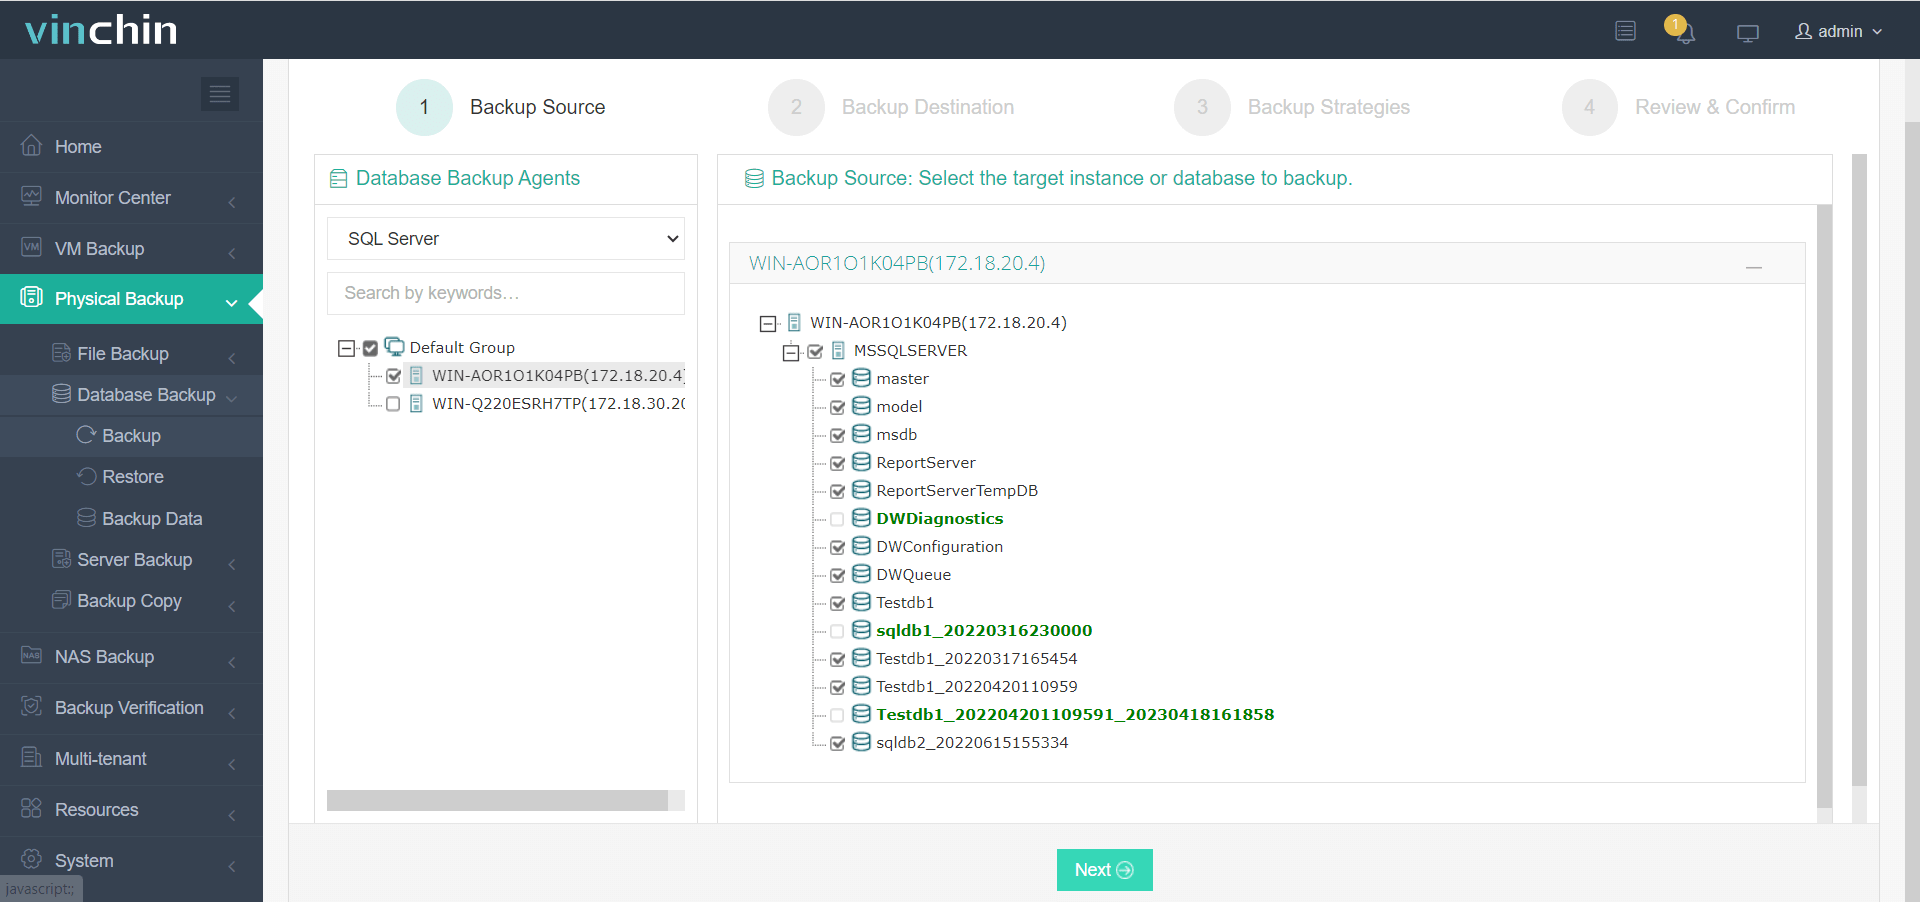
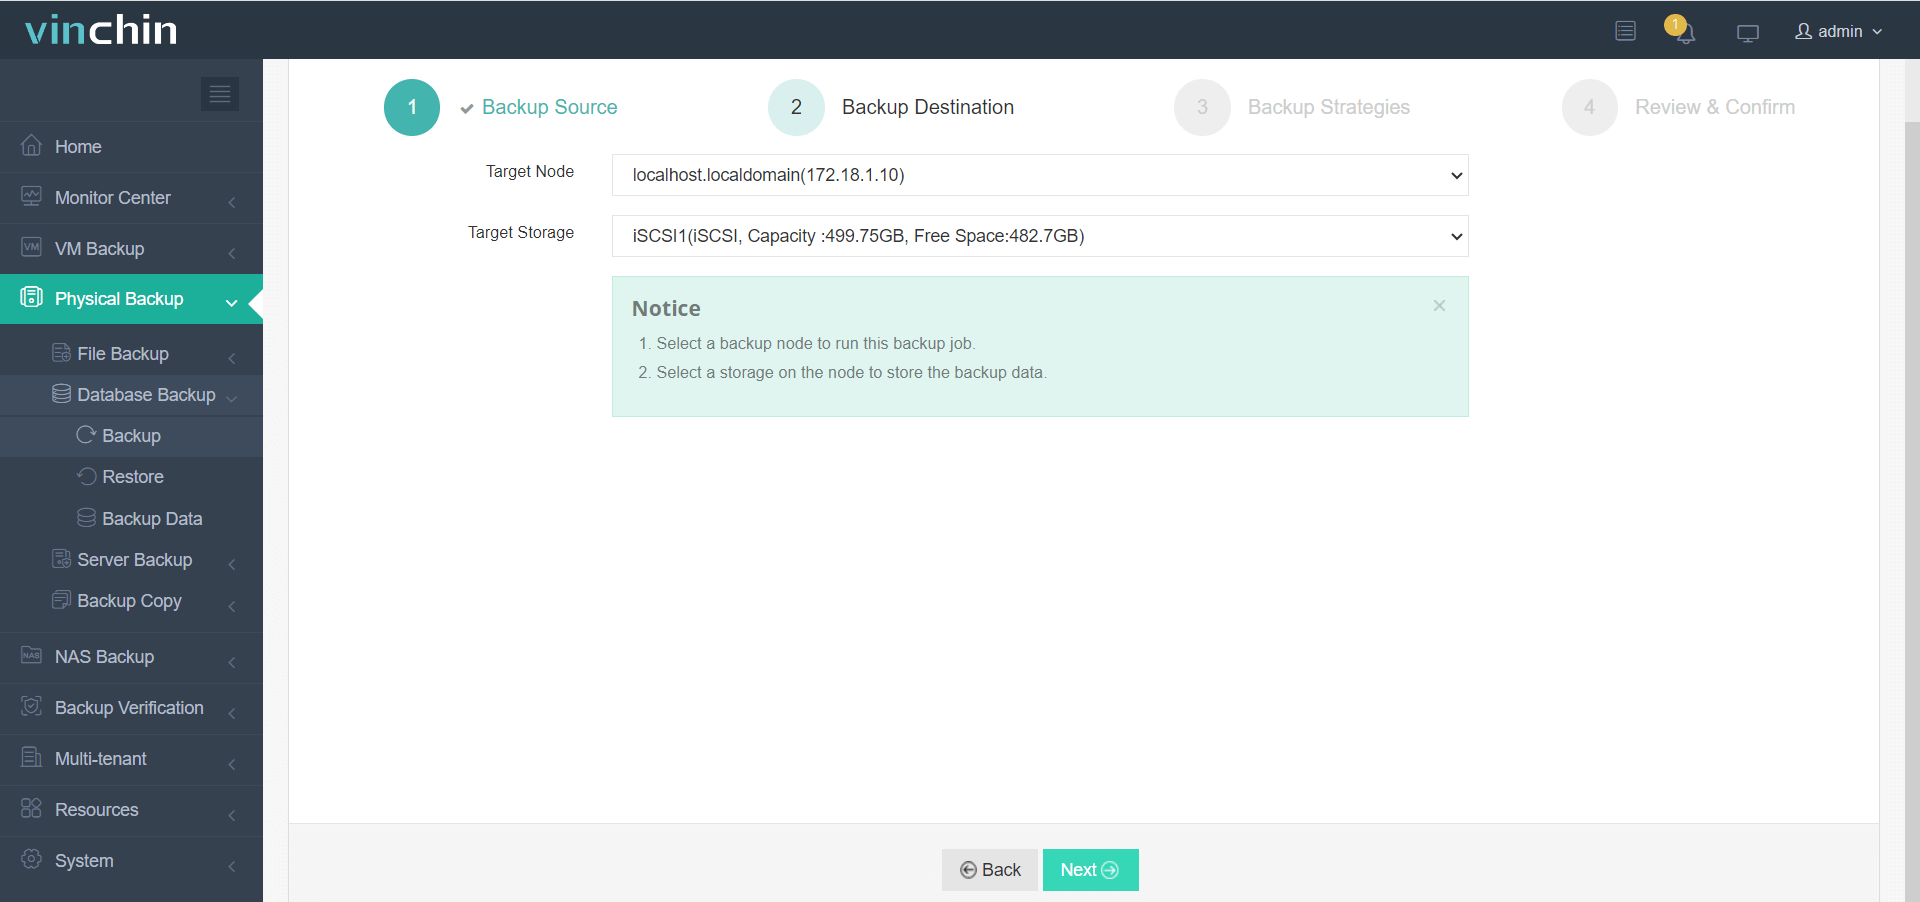
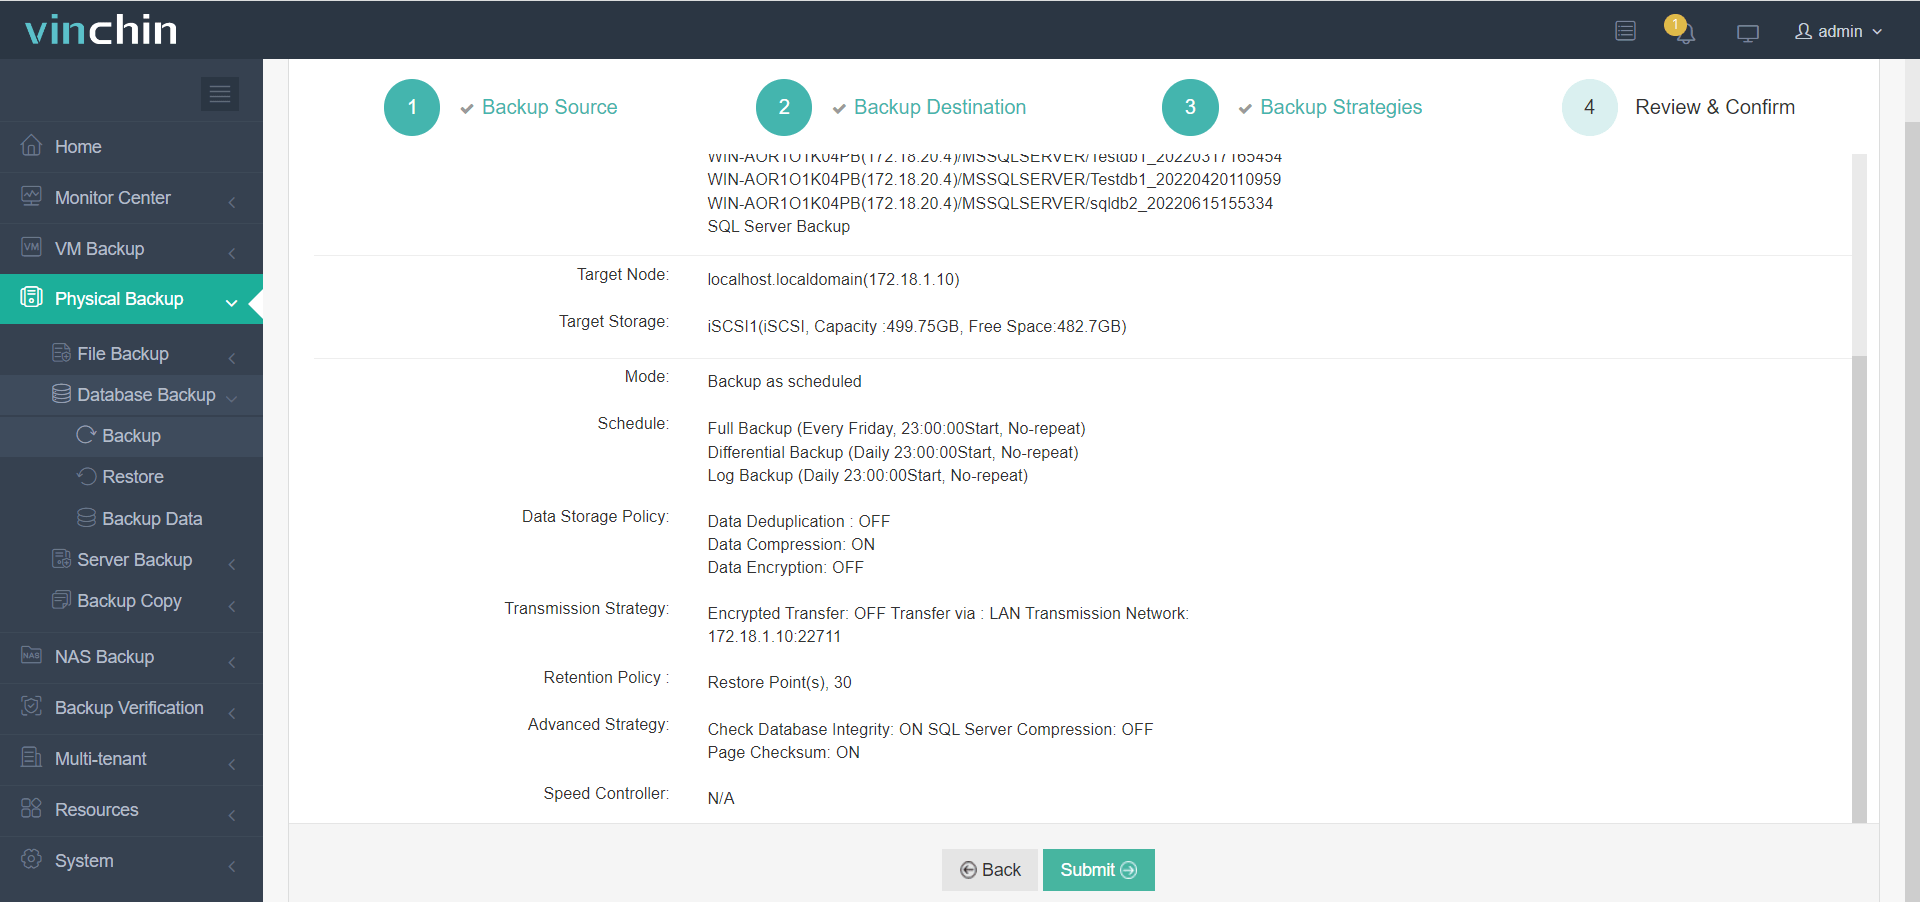
Vinchin Backup & Recovery makes safeguarding your critical workloads simple through an intuitive web console interface:
1. Select source SQL Server database(s),

2. Choose target storage location(s),

3. Configure backup strategies,

4. Submit the job.

Join thousands of global enterprises who trust Vinchin Backup & Recovery's top-rated solution—start protecting your environment today with their full-featured free trial (60 days). Click below to download now!
SQL Server Database Suspect FAQs
Q1: Can I bring my production server back online quickly after seeing "suspect" status?
A1: Yes—if recent verified backups exist restore them immediately then switch users back once tests pass connectivity checks.
Q2: What should I do if tempdb goes into suspect mode?
A2: Restarting the entire instance usually recreates tempdb automatically since it's rebuilt fresh every boot cycle.
Q3: Is there any way to check which user/process last accessed corrupted pages?
A3: Review entries in msdb.dbo.suspect_pages then cross-reference timestamps against application logs/security audit trails.
Conclusion
A “suspect” label signals serious trouble—but armed with clear diagnosis steps plus tested recovery plans most admins get their databases back fast without panic! Always keep recent backups handy—and remember Vinchin makes protecting those backups simple every day no matter what comes next.
Share on:


