-
What is Hyper-V GPU Passthrough?
-
Prerequisites for Hyper-V GPU Passthrough
-
How to Enable GPU Passthrough with DDA on Windows Server?
-
How to Enable GPU Passthrough with GPU-P on Windows 10/11 Hosts?
-
Best Practices for Reliable Hyper-V GPU Passthrough Deployments
-
Troubleshooting Common Issues with Hyper-V GPU Passthrough
-
Protect Your Hyper-V VMs with Vinchin Backup & Recovery
-
Hyper-V GPU Passthrough FAQs
-
Conclusion
Hyper-V GPU passthrough is changing how organizations run demanding workloads in Hyper-V virtual environments. By letting a VM access a physical GPU directly or share it efficiently, you can unlock new use cases like AI training or 3D rendering—all without leaving the comfort of your Hyper-V infrastructure. But how does it work? What are the pitfalls? Let's break down everything you need to know about hyper v gpu passthrough from basics to advanced deployment.
What is Hyper-V GPU Passthrough?
Hyper-V GPU passthrough allows assigning a physical GPU from the host server directly to a VM, enabling the VM to use real GPU power instead of relying on emulated graphics. This is essential for resource-intensive tasks such as machine learning, CAD modeling, video encoding, or scientific computing.
Prerequisites for Hyper-V GPU Passthrough
Before setting up Hyper-V GPU passthrough, carefully check both hardware and software requirements. Missing even one detail can lead to frustrating errors.
Hardware/Software Validation Checklist
For Discrete Device Assignment (DDA):
OS: Windows Server 2016 or newer with Hyper-V role enabled
GPU: Supported PCIe GPUs (e.g., NVIDIA Tesla, Quadro, AMD Radeon Pro/FirePro)
VM Type: Generation 2 VMs only
Settings: Dynamic memory and checkpoints disabled
GPU Usage: The target GPU must not be used by the host or other VMs
Firmware: UEFI with “Above 4G Decoding” enabled in BIOS
Optional: SR-IOV support (recommended for some GPUs)
For GPU Partitioning (GPU-P):
OS: Windows 10/11 Pro or Enterprise (build 1903+)
GPU: Modern GPUs supporting partitioning features
VM Type: Generation 2 VMs only
PowerShell: Required for driver injection
Optional: Enable Resizable BAR in BIOS for better performance
Security: Disable virtualization-based security features (e.g., Core Isolation) if issues occur
Note: Using WSL2 alongside Hyper-V with GPU-P enabled VMs may cause resource conflicts, as WSL2 claims exclusive access to certain GPUs.
How to Enable GPU Passthrough with DDA on Windows Server?
Discrete Device Assignment (DDA) is ideal when you want raw performance by dedicating an entire physical graphics card to just one VM—think deep learning servers or high-end render nodes.
Step-by-Step Setup:
First things first: Turn off your target VM before making configuration changes involving hardware assignment!
1. Disable Automatic Checkpoints & Dynamic Memory:
These must be off so nothing interferes with direct device mapping.
Set-VM -Name <VMName> -AutomaticStopAction TurnOff
Set-VM -Name <VMName> -DynamicMemoryEnabled $false
2. Reserve Memory-Mapped I/O Space:
You need enough address space reserved so the guest OS sees all VRAM/firmware regions exposed by the card.
Set-VM -Name <VMName> -GuestControlledCacheTypes $true -LowMemoryMappedIoSpace 3072 -HighMemoryMappedIoSpace 33280
Values are in megabytes: here we reserve about 3GB low MMIO space plus roughly 32GB high MMIO space.
3. Find Your Physical GPU's Location Path:
Open Device Manager > expand Display adapters, right-click your target card > select Properties > go to Details tab, set property dropdown as Location Paths, then copy out the value starting PCIROOT....
Alternatively via PowerShell:
Get-PnpDevice | Where {$_.Class -eq "Display"} | Select Name,InstanceIdIf nothing appears under “Display,” try searching by vendor name (Where {$_.FriendlyName -like 'NVIDIA'}).
4. Dismount Device from Host:
Use this command—note that using –force will immediately remove it from host control! If this is your primary display adapter on a desktop system rather than headless server hardware with integrated graphics available for console output—you might lose local display!
Dismount-VmHostAssignableDevice -LocationPath "<YourLocationPath>" -force
If dismount fails due to active processes locking the device: disable it temporarily within Device Manager first before retrying PowerShell command above.
5. Assign Device Directly To Your Target VM:
Add-VMAssignableDevice -VMName <VMName> -LocationPath "<YourLocationPath>"
6. Start Your VM & Install Drivers:
Boot up your guest OS; open its own Device Manager under Display Adapters—you should see both “Microsoft Hyper-V Video” plus your actual dedicated card listed now! Install latest drivers inside guest if needed (NVIDIA, AMD) matching guest OS version—not host drivers!
7. Remove/Reclaim Card Later:
To return control back from guest back into host pool:
Remove-VMAssignableDevice -VMName <VMName> -LocationPath "<YourLocationPath>"
Mount-VMHostAssignableDevice -LocationPath "<YourLocationPath>"
Verifying Success
After setup completes and drivers load without error icons inside guest Device Manager—or after running a quick benchmark app—you're ready! Expect nearly bare-metal speeds since there’s no virtualization overhead between app code and silicon here.
How to Enable GPU Passthrough with GPU-P on Windows 10/11 Hosts?
If flexibility matters more than maximum speed—for example if several users each need moderate acceleration at once—consider splitting up one big card among many smaller jobs using partitioned vGPUs via Microsoft's newer model called GPU Partitioning“GPU-P.”
Step-by-Step Setup
1. Check That Your Card Supports Partitioning:
On recent builds of Windows:
Get-VMPartitionableGpu      # On Win10+
Get-VMHostPartitionableGpu # On Win11+
If results show any compatible devices listed—you’re good!
2. Add GpuPartition Adapter To Target VM:
Make sure target VM is powered off before proceeding!
Add‑VMGpuPartitionAdapter ‑VMName <VMName>
3. Copy Host Drivers Into Guest Using Script:
A popular script called Easy-GPU-PV automates driver injection ([GitHub project link available upon request]). Download/unzip onto host system then run:
Set‑ExecutionPolicy ‑Scope Process ‑ExecutionPolicy Bypass –Force
.\Update‑VMGpuPartitionDriver.ps1 ‑VMName <VMName> ‑GPUName "AUTO"
This copies current working drivers into guest image so apps recognize their assigned vGPU partition correctly after bootup—even if official installers block installation inside virtualized environments!
4. Reserve Sufficient MMIO Space For Guest Access:
Again values below are megabytes—not GB!
Set‑VM ‑Vmname <Vmname> ‑GuestControlledCacheTypes $true ‑LowMemoryMappedIoSpace 1024 ‑HighMemoryMappedIoSpace 32768
Adjust higher if using large-memory cards (>24GB VRAM).
5. (Optional) Fine-Tune Resource Allocation Per Partition (Windows 11 Only):
You can set minimum/maximum VRAM per adapter instance:
Set‑VMGpuPartitionAdapter –Vmname <Vmname> –MinPartitionVRAMBytes <min_bytes> –MaxPartitionVRAMBytes <max_bytes>
Example: allocate between ~800MB–1GB per partition depending workload needs.
6. (Important) Avoid Conflicts With WSL Or Other Services:
If WSL2 is installed/running concurrently—it may grab exclusive lock over same underlying hardware causing failures during startup/allocation attempts within guests! Disable WSL temporarily if problems persist (see Microsoft guidance).
Verifying Success
Boot up target guest OS; open its own Device Manager under Display Adapters—a new entry labeled something like “Virtual Render Device” should appear alongside default video output(s). Run test apps such as Blender Cycles renderer or TensorFlow training job—they’ll report available CUDA/OpenCL resources mapped through their respective APIs.
Best Practices for Reliable Hyper-V GPU Passthrough Deployments
For a smooth deployment of Hyper-V GPU passthrough, follow these best practices:
Always update both HOST and GUEST drivers together whenever possible.
Monitor temperature and fan speeds, especially in dense rackmount chassis.
For production servers, dedicate at least one non-passthroughed onboard/integrated adapter solely for console/KMS duties.
Avoid mixing consumer-grade gaming cards with data center workloads unless vendor explicitly supports virtualization features.
Use Generation Two VMs exclusively for better UEFI support and improved isolation/security boundaries.
Enable SR-IOV and Above4GDecoding options within BIOS/Firmware menus before initial deployment.
Troubleshooting Common Issues with Hyper-V GPU Passthrough
Even experienced admins encounter problems! Here are some common issues and fixes:
Code43 Error in Guest OS After Driver Install: This usually means the wrong driver version or leftover locks from other processes. Uninstall/reinstall the correct driver package inside the guest, not via standard installer.
"Failed to Start" or Black Screen at Boot: Ensure dynamic memory/checkpoints are OFF throughout the lifecycle and verify no other process holds the lock over the same PCIe device ID across the cluster nodes.
Poor Performance Despite Successful Assignment: Check for CPU/RAM bottlenecks and ensure sufficient bandwidth between storage/network subsystems.
WSL/GPU Resource Contention: If using WSL2, temporarily disable it while completing GPU-intensive jobs on VMs or containers.
Protect Your Hyper-V VMs with Vinchin Backup & Recovery
Once you've configured hyper v gpu passthrough and have critical workloads running on your Hyper-V environment, it's essential to safeguard those investments against data loss or downtime risks—and that's where Vinchin Backup & Recovery comes in as an enterprise-level backup solution tailored for virtual infrastructures like yours.
Vinchin specializes in professional backup and disaster recovery solutions designed specifically for virtual machines across more than fifteen mainstream platforms—including VMware, Proxmox VE, oVirt, OLVM, RHV, XCP-ng, XenServer, OpenStack, ZStack—and notably robust support for Microsoft Hyper-V environments featured here today.
With Vinchin, your VMs—whether using standard or advanced configurations like passthrough—are protected with efficient backup strategies, V2V migration, and flexible restore options. The solution offers automated scheduling, retention policies, and an easy-to-use web console.
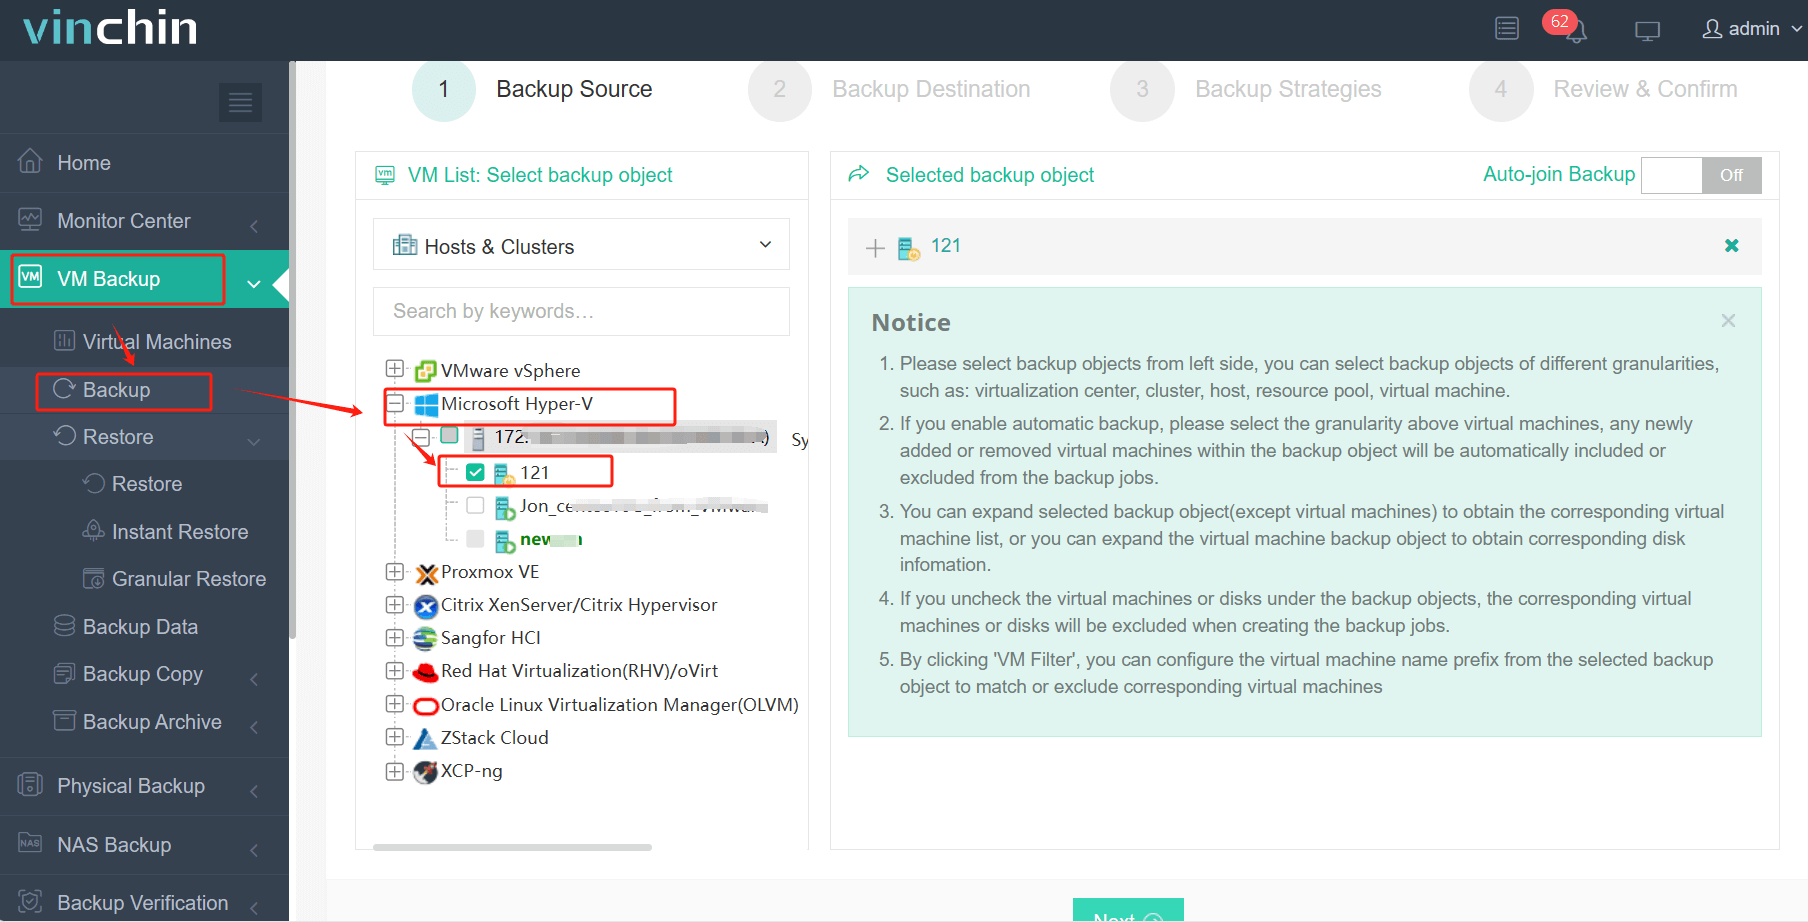
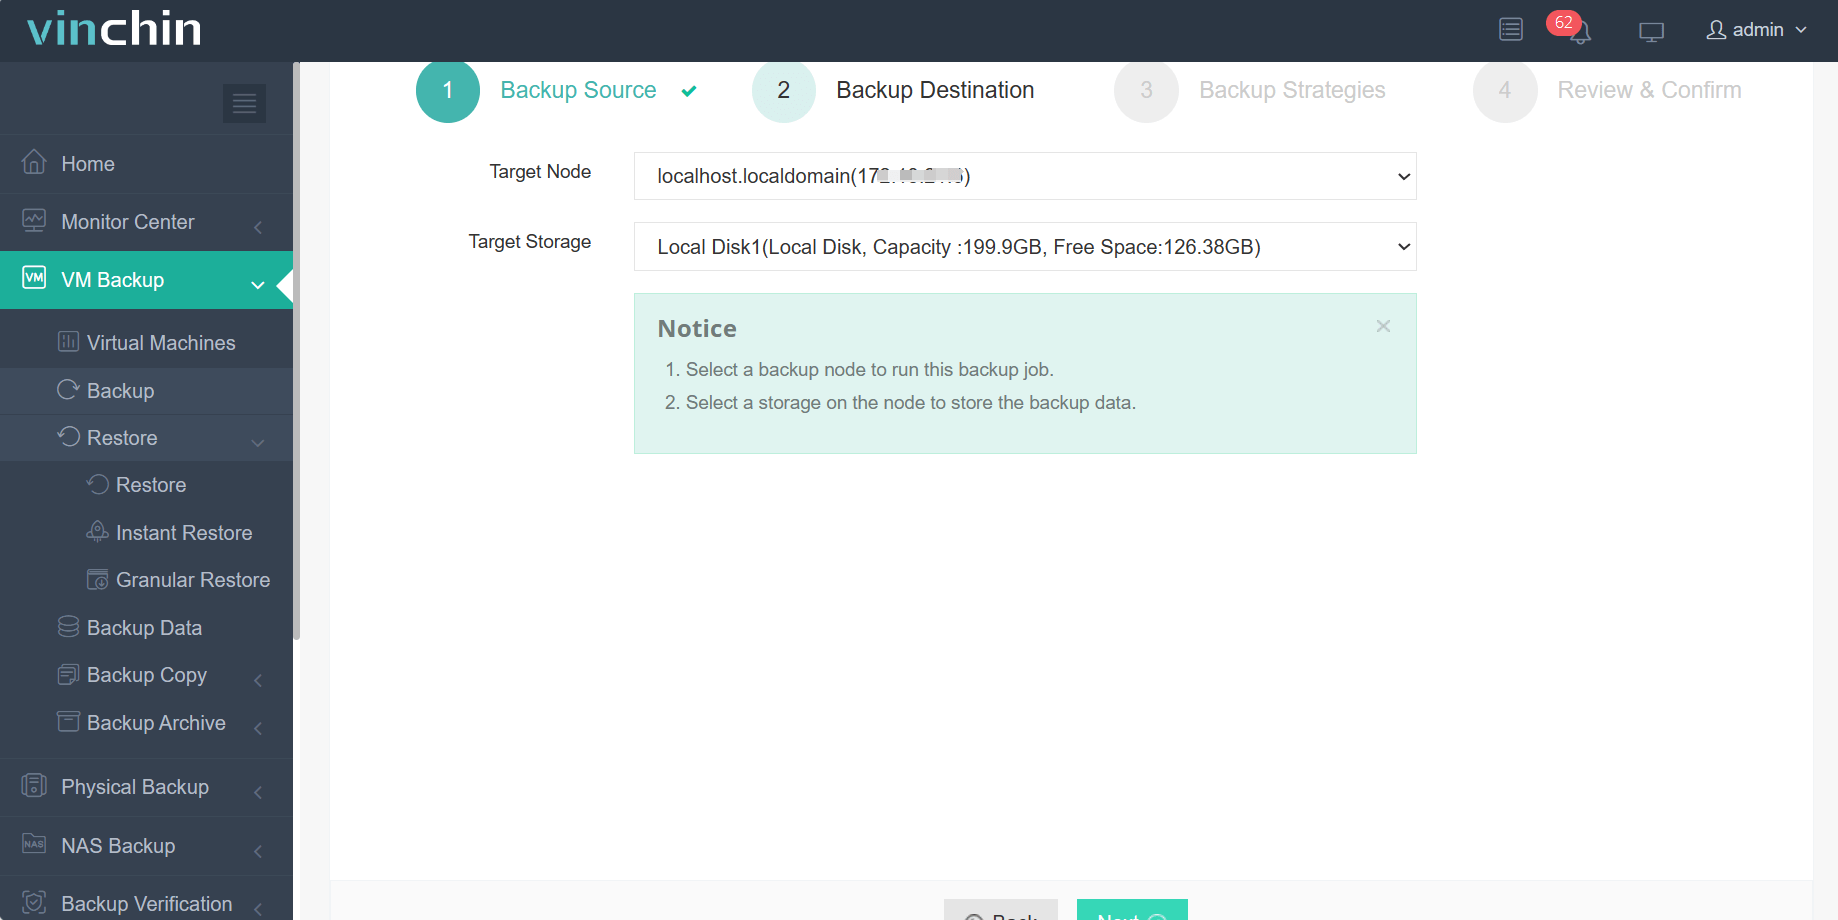
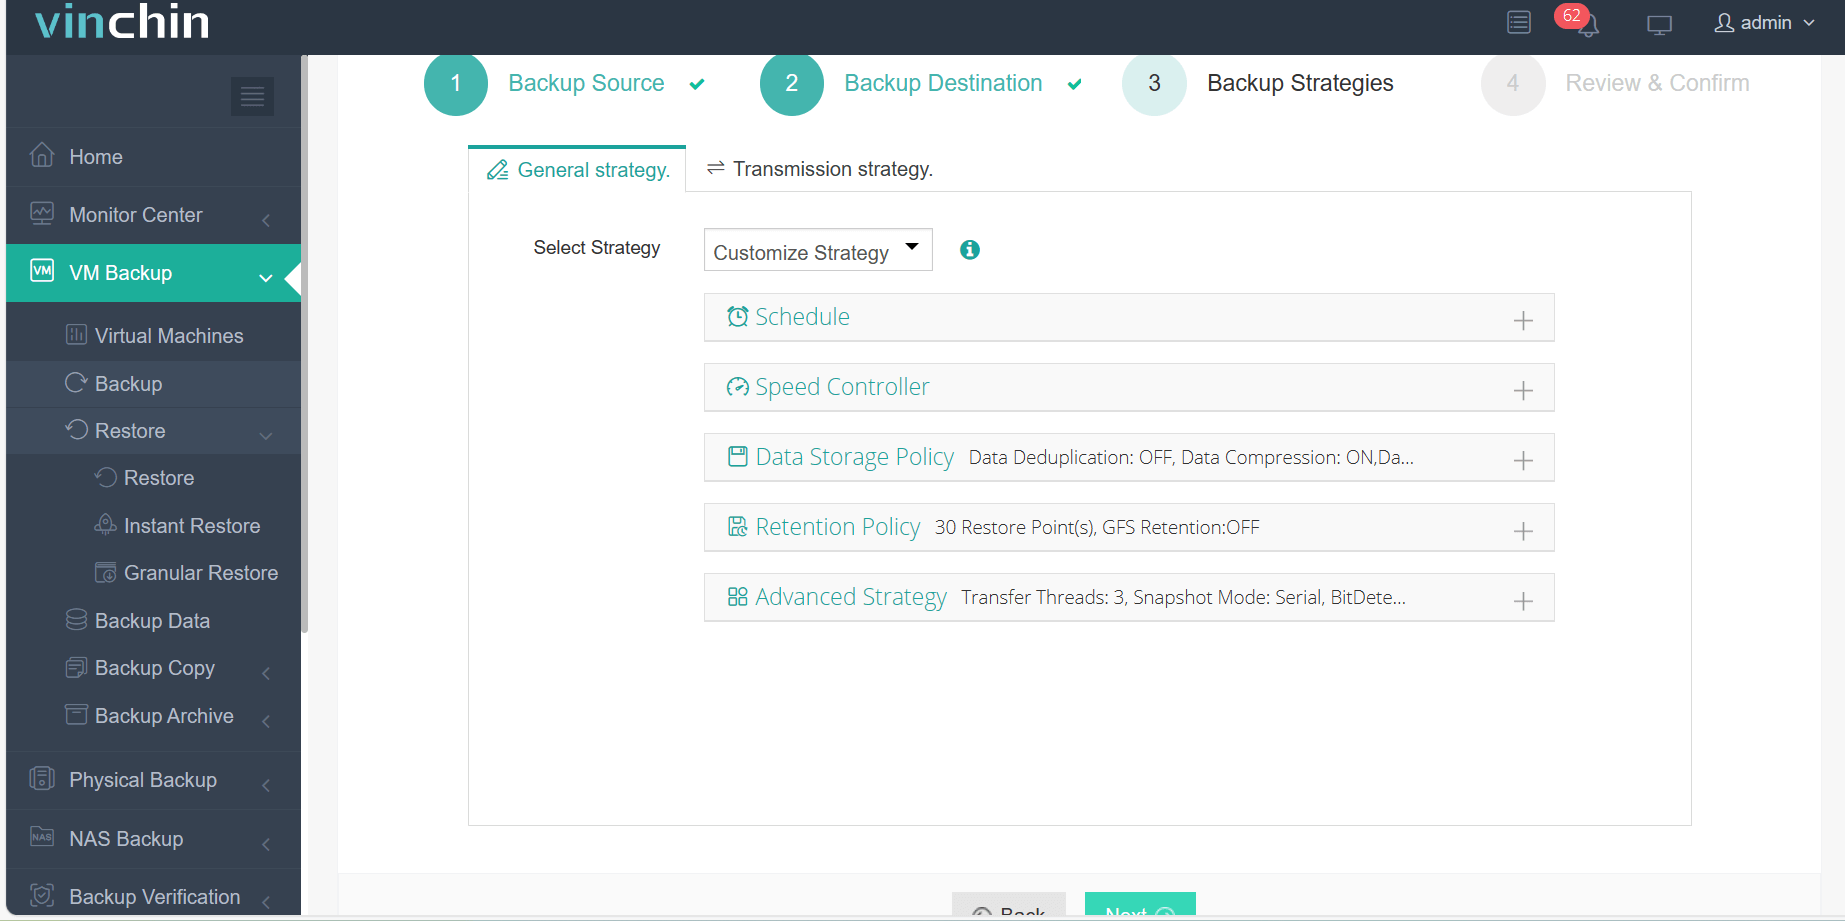
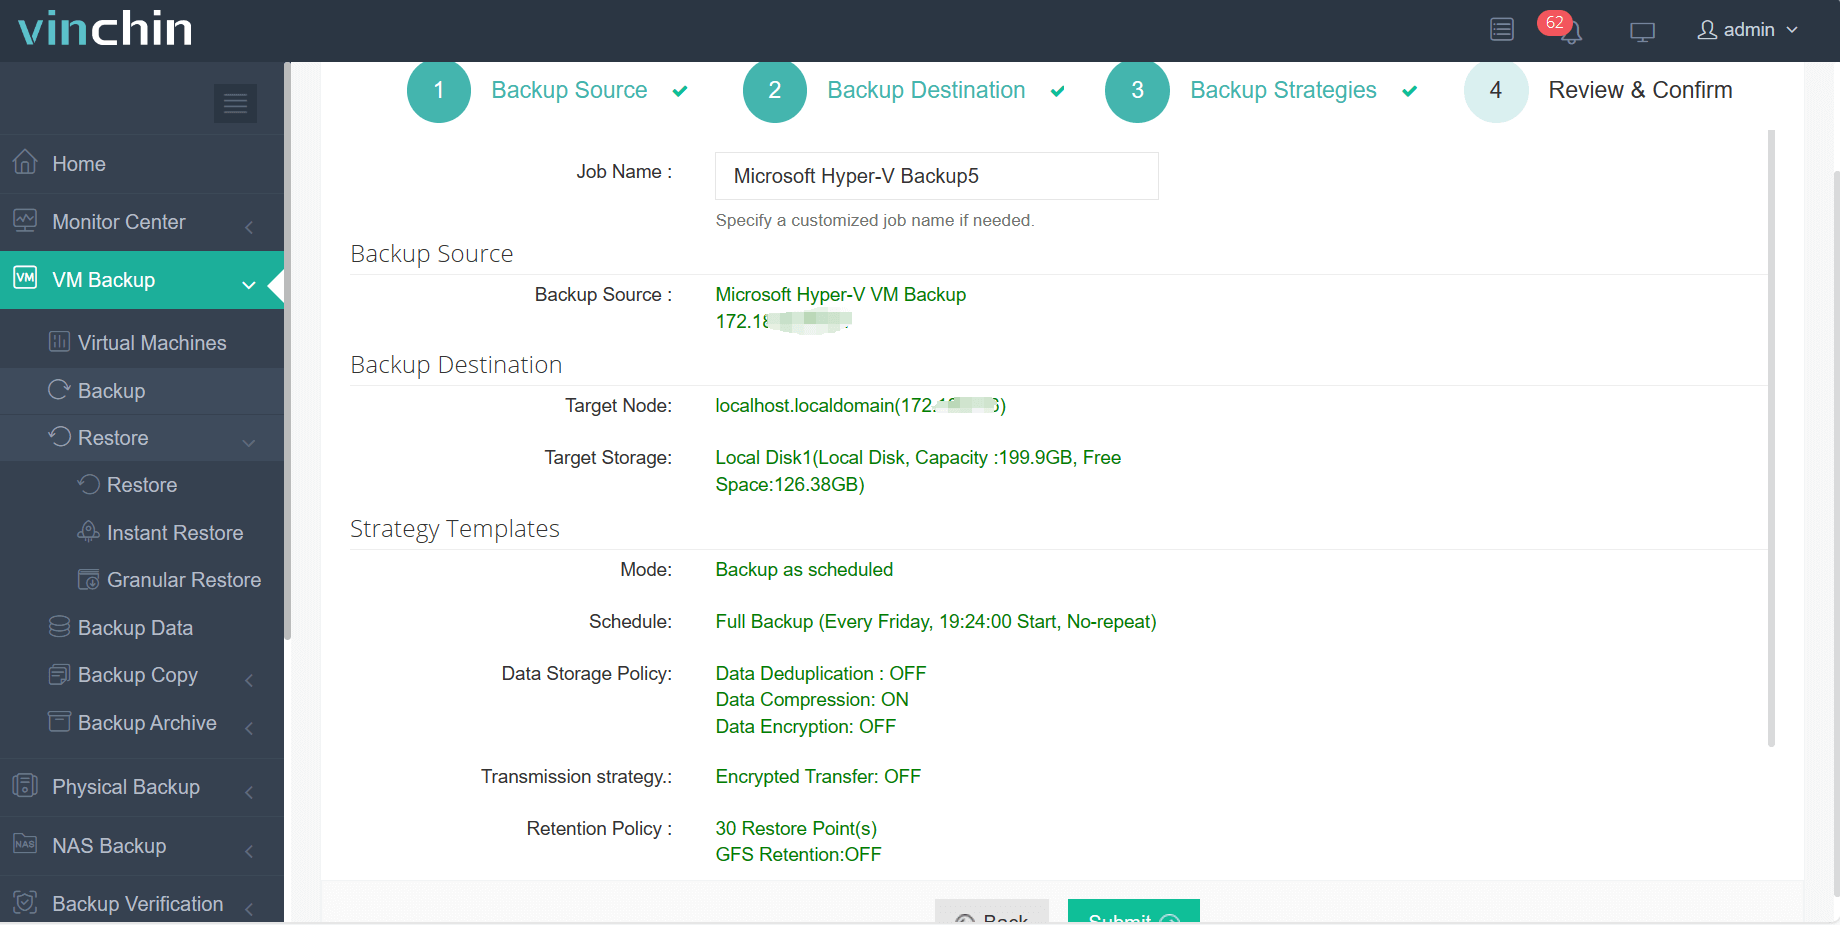
Vinchin Backup & Recovery's operation is very simple, just a few simple steps.
1.Just select Hyper‑V VMs on the host

2.Then select backup destination

3.Select strategies

4.Finally submit the job

Vinchin ensures comprehensive protection for your VMs, including advanced passthrough configurations. Trusted globally by thousands of organizations, Vinchin offers a fully functional 60-day free trial, allowing you to explore all features risk-free before making any investment.
Hyper-V GPU Passthrough FAQs
Q1: Can I use hyper-v gpu passthrough on my home edition of Windows?
A1: No—you need Pro ,Enterprise ,or Education editions ; Home does not support required virtualization features .
Q2 : How do I update passed-through driver after upgrading my host ?
A2: Rerun Easy-GPU-PV script again targeting updated driver stack ; reboot affected guests afterwards.
Conclusion
Hyper‑V passthrough opens doors for demanding workloads—but requires careful planning around hardware compatibility ,driver management ,and ongoing monitoring. With Vinchin,you gain peace-of-mind knowing every critical workload stays protected regardless complexity. Try our free trial today!
Share on:


