-
How to migrate VM from Hyper-V to XenServer?
-
The most easiest way to migrate from Hyper-V to XenServer
-
Hyper-v to XenServer FAQs
-
Conclusion
Hyper-V and XenServer are both hypervisors used to manage virtual machines on a host system. They enable the creation of multiple VMs, each running its own operating system, on a single physical machine. Hyper-V is Microsoft’s virtualization platform and is tightly integrated into Windows Server systems. In contrast, XenServer is a commercial virtualization platform based on the Xen open source virtual machine monitor that provides a range of management functions, especially in terms of network and storage configuration. While both offer powerful capabilities, different architectures and management tools may drive enterprises from Hyper-V to XenServer.
In previous blog, we have explored how to migrate VM from XenServer to Hyper-V, which including exporting VM, converting the VM disk format and attaching the disk to new VM. Actually, similar steps are also required while migrating VM from Hyper-V to XenServer.
How to migrate VM from Hyper-V to XenServer?
The migration process itself would involve converting virtual hard disks to a format compatible with XenServer (such as VHD to VDI), adapting network configurations, and possibly reconfiguring VM settings to match the capabilities and requirements of the XenServer environment.
1. Export the Hyper-V virtual machine to vhdx format
2. Open Powershell and run the following command to convert vhdx format to vhd format:
Convert-VHD -Path "C:ProgramDataMicrosoftWindowsHyper-Vvm031Virtual Hard Disksvm031.vhdx" -DestinationPath "C:Program FilesHyper-VConvertedvm031.vhd" -VHDType Dynamic

3. Upload the VHD file to the XenServer host:
You can use tools such as SCP or FTP to upload to a directory on the XenServer host. Here I used WinSCP to copy the files to the XenServer host.
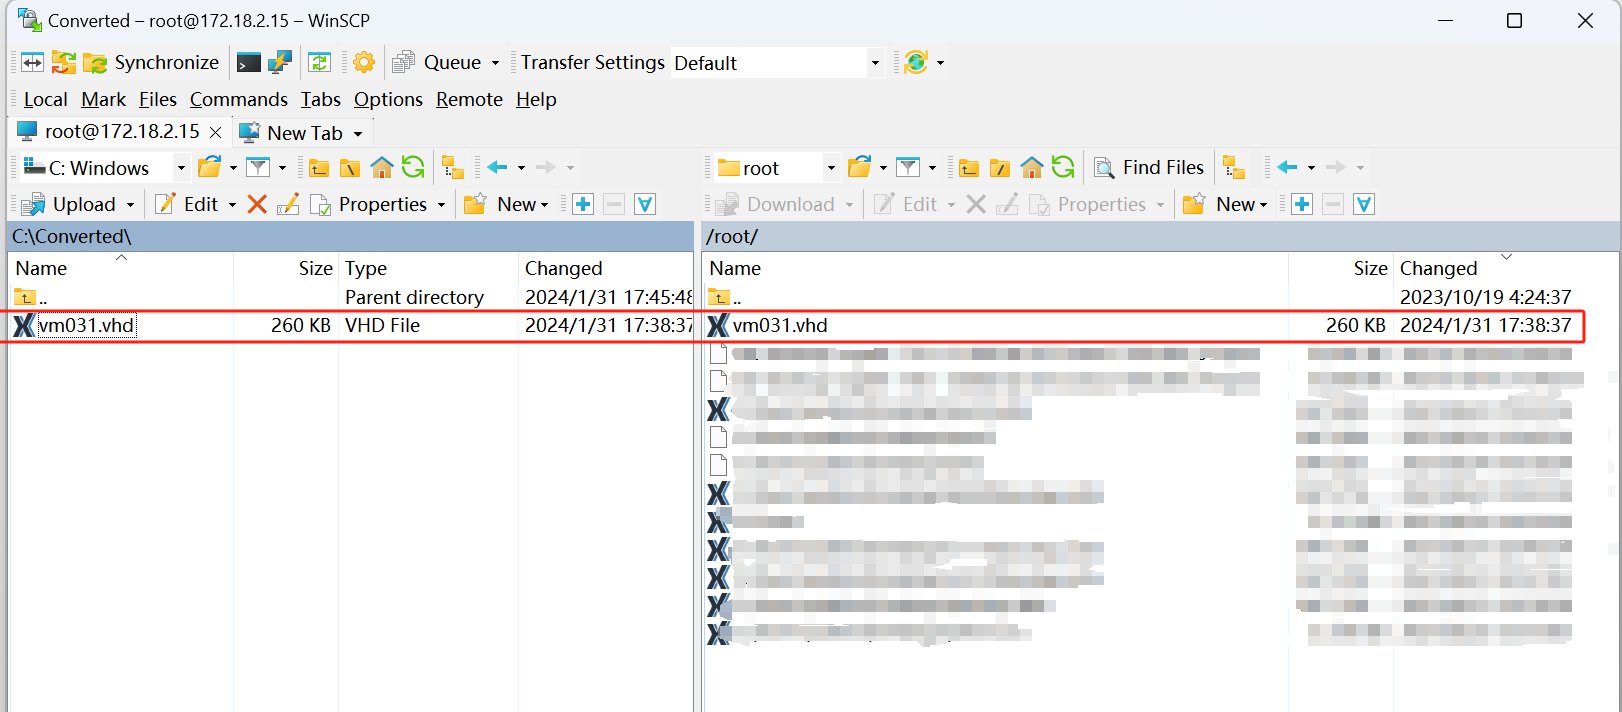
4. Use the xe vdi-create command to create a new VDI:
This VDI will serve as a container to store the contents of the VHD file. You need to specify some parameters, such as SR, VDI name, type, and VDI size.
xe vdi-create sr-uuid=<UUID_of_the_SR> name-label="Imported VHD" type=user virtual-size=<Size_of_VHD_in_bytes>
For example:
xe vdi-create sr-uuid=b86fb793-a3db-c6ae-8142-ca012c8955db name-label="Imported VHD" type=user virtual-size=10737418240

This command will output the UUID of a newly created VDI. Such as: 09d32a93-03dd-433f-9c33-588c5aedf953
5. Copy the contents of the VHD file into the newly created VDI:
You can use the xe vdi-import command to directly import VHD files into VDI:
xe vdi-import uuid=<UUID_of_the_VDI> filename=/path/to/your.vhd format=vhd
For example:
xe vdi-import uuid=09d32a93-03dd-433f-9c33-588c5aedf953 filename=/root/vm031.vhd format=vhd

6. Create a new VM in XenServer and use the import wizard to import the disk image file in VHD format
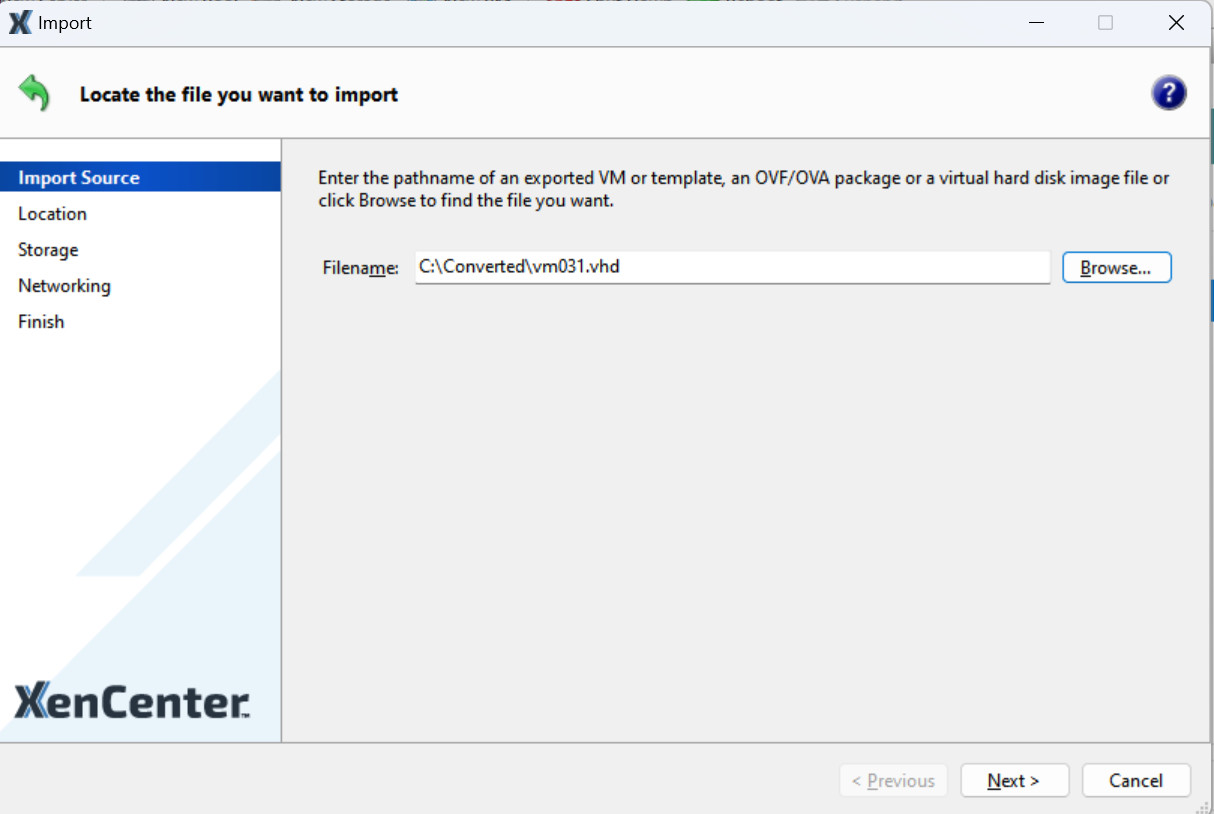
Configure storage and network for the new virtual machine, make sure its configuration (such as CPU, memory, network) matches the original Hyper-V virtual machine, and click Finish.
7. Connect the new VDI to the virtual machine:
You can use the vbd-create command to create a VBD that connects the VDI to the VM. Here is the command structure:
xe vbd-create vm-uuid=<vm-uuid> vdi-uuid=<vdi-uuid> device=<device-number> bootable=false mode=RW type=Disk
For example:
xe vbd-create vm-uuid=74d5df66-c389-d754-e36d-0340503b0f7d vdi-uuid=09d32a93-03dd-433f-9c33-588c5aedf953 device=1 bootable=false mode=RW type=Disk

The xe vbd-create command has successfully created a new VBD and returned its UUID (4270af25-0d5b-7a1e-663c-752f40141b5b).
8.Plug this VBD into the VM:
The next step is to plug this VBD into the VM, making the disk available to the operating system when it boots. You can do this with the xe vbd-plug command, using the UUID of the VBD you just created:
xe vbd-plug uuid=4270af25-0d5b-7a1e-663c-752f40141b5b

You can now log into the VM and verify that the new disk is recognized by the system.
The most easiest way to migrate from Hyper-V to XenServer
There is a solution to help you easily migrate VM from Hyper-V to XenServer---using Vinchin Backup & Recovery.
Vinchin Backup & Recovery can migrate VMs across 10+ virtual platforms including XenServer, VMware, Proxmox, Hyper-V and most KVM-based hypervisors. You can easily switch your critical modern IT workloads from one to another to build your own highly flexible IT infrastructure. It performs robust backup and recovery functionality including fast incremental backup, image-based, agentless backup, offsite backup copy, multithreading transmission, ransomware protection and more, to comprehensively secure your critical data. Cross-platform instant restore will allowing restarting a failed VM in 15 seconds, greatly reducing RTO.
You can simply migrate data from a Hyper-V host to another virtual platform and vice versa with the easy-to-use web console:
1.Backup your Hyper-V VM, choose the backup destination and Backup strategies, then Submit it.
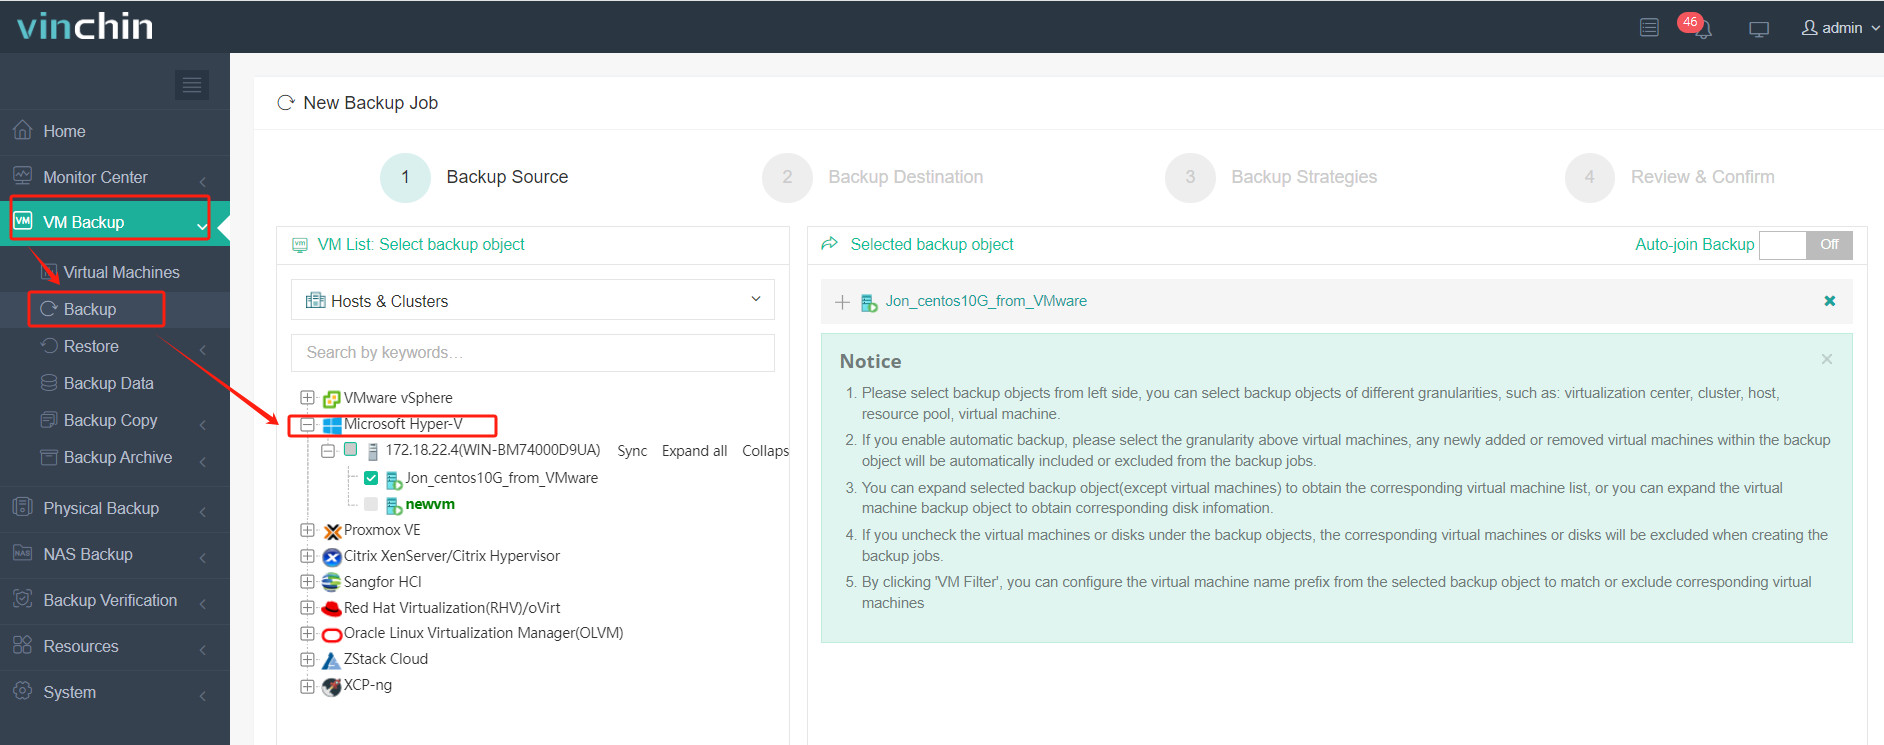
2.Choose the VM you want to restore.

3. Select the XenServer host to run the restored VM.
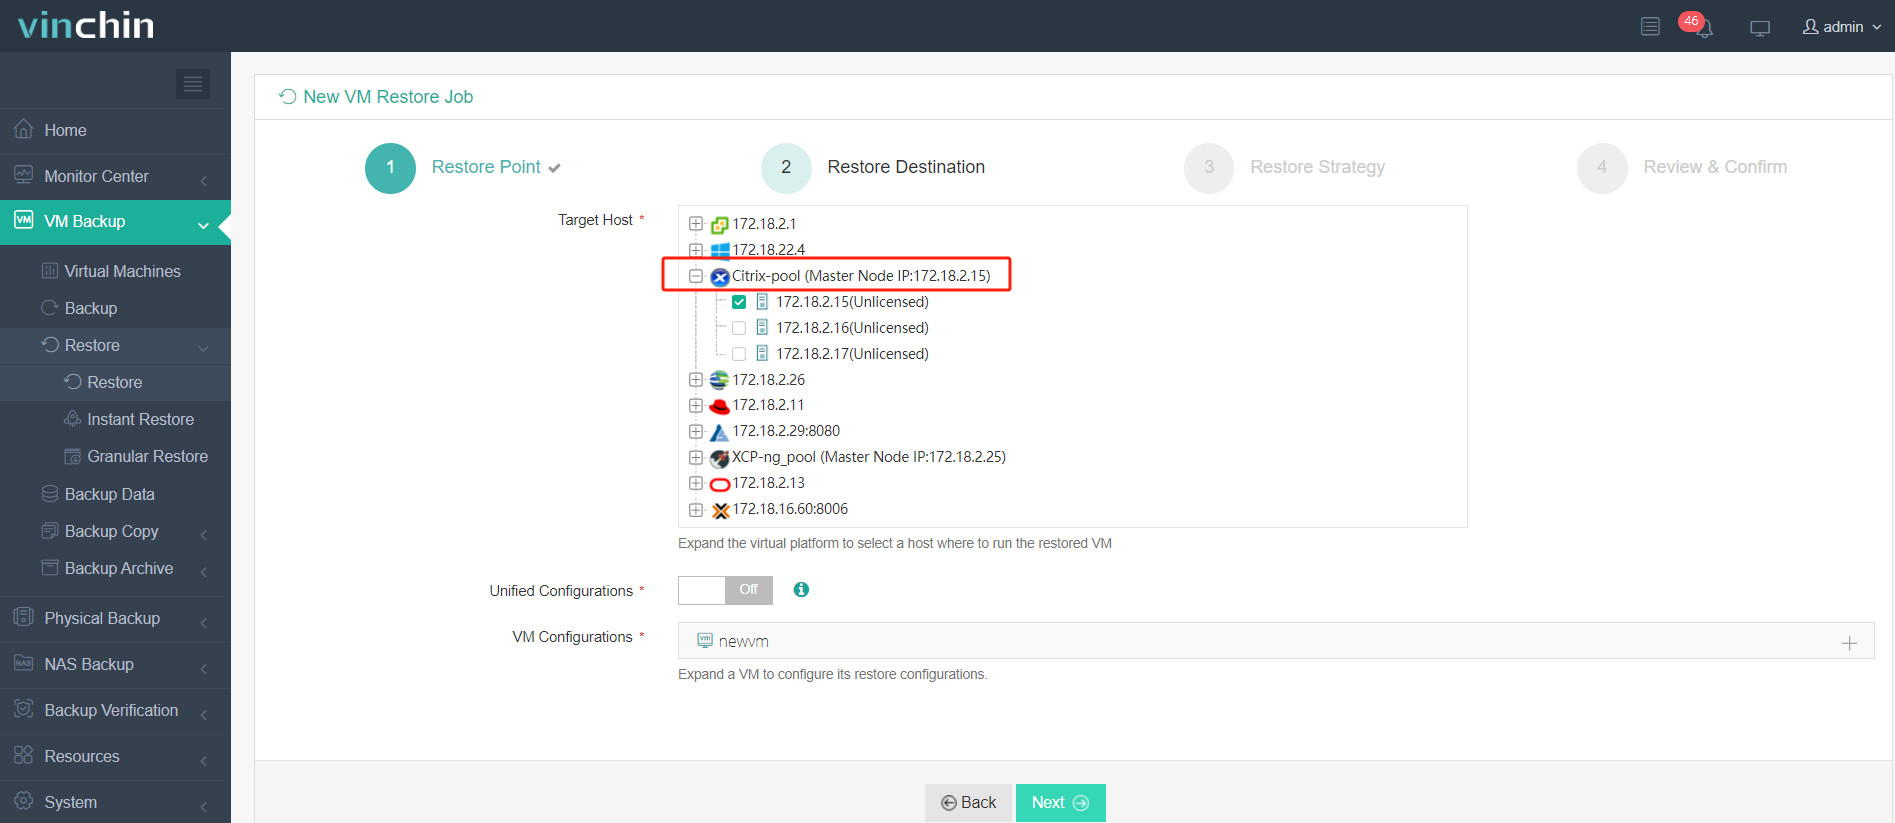
4. Select the restore strategy.
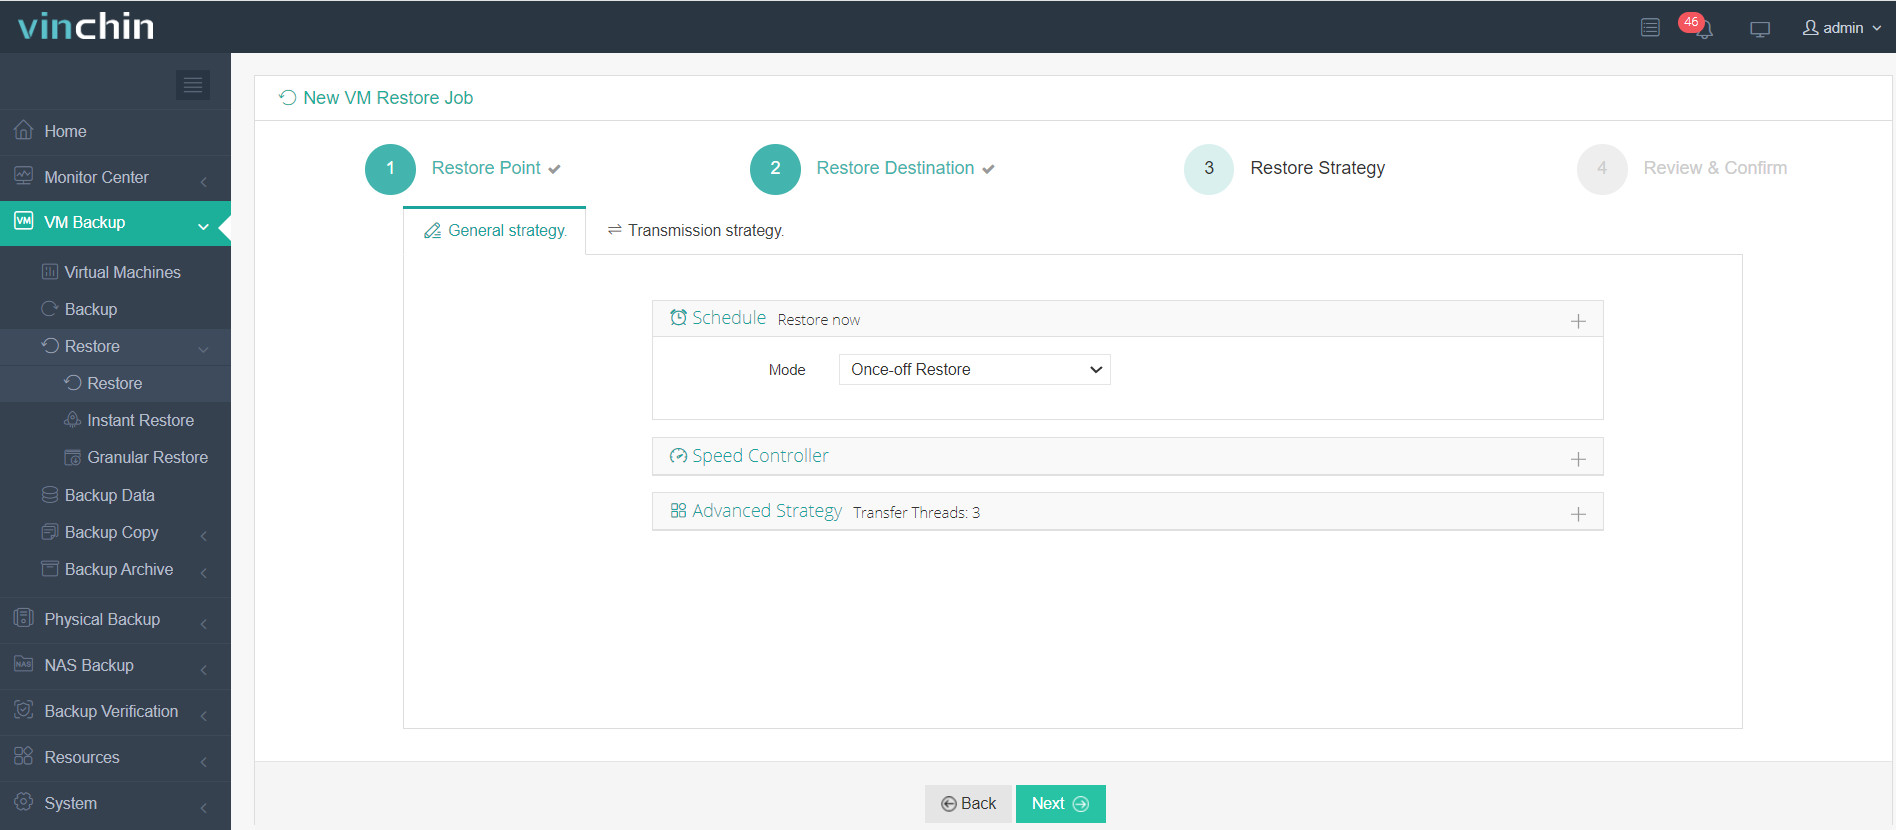
5. Review and submit the job.

Start the job and then you can check the VM in XenCenter and find that the VM has been restored and running.
Vinchin Backup & Recovery has been selected by thousands of companies and you can also start to use this powerful system to protect virtual environment and migrate VM betetween different hypervisors with a 60-day full-featured trial! Also, contact us and leave your needs, and then you will receive a solution according to your IT environment.
Hyper-v to XenServer FAQs
1. Q: How can I migrate from XenServer to another virtualization platform like Proxmox?
A: You can also migrate VM from XenServer to Proxmox with VM export/import or with Vinchin Backup & Recovery. The migration process is quite similar and easy.
2.Q: How to choose between Hyper-V and Proxmox?
A: Proxmox VE and Hyper-V are both robust virtualization solutions, differing in their underlying technologies, licensing, and some features. Proxmox VE is open-source and Linux-based with strong container support, while Hyper-V, a Microsoft product, integrates well with Windows environments. Here is a comprehensive comparison between Hyper-V and Proxmox, which could help you to make a choice.
Conclusion
Virtual machine migration is a critical process for enhancing infrastructure flexibility and optimizing resource utilization. When executed properly, it ensures minimal downtime, maintains data integrity, and enables workload balancing across different environments, leading to improved system performance and operational efficiency.
Share on:


