The invention of server virtualization technology has greatly optimized the utilization of hardware resources and work efficiency of IT environment. After several years, there are many kinds of virtualization solutions in the market.
To move VM or migrate data between different platforms, IT administrators often need V2V converter. This task is common if your organization moves workloads from VMware environments to KVM-based platforms such as Proxmox or OpenStack. Sometimes you might even need to go back the other way!
In this guide, we’ll explain what these formats are, why conversion matters, how to do it safely using both command-line tools and graphical interfaces.
What Are VMDK and QCOW2 Formats?
What is VMDK?
VMDK (Virtual Machine Disk) is the native virtual disk format used by VMware products, including:
VMware ESXi
VMware Workstation
VMware vSphere
A VMDK file stores the virtual machine's operating system, applications, partitions, and data.
Some VM management tools like XenCenter can accept vmdk file without preconversion.
To use the powerful features of VMware, vmdk files are often stored in shared storage. You can copy vmdk files to another datastore for later use. To locate the vmdk files of a VM, you can right-click the VM in vSphere client > select Edit Settings > expand Hard disk to see where they are stored.
What is QCOW2?
QCOW2 (QEMU Copy-On-Write version 2) is the preferred disk format for QEMU and KVM virtualization environments. According to official QEMU documentation, QCOW2 supports advanced virtualization features such as:
To better use data from VMware, you can change the format of virtual hard disk to let it better work in QEMU/KVM environment like Proxmox, oVirt, RHV, OLVM, OpenStack, etc.
Why Convert VMDK to QCOW2?
Why bother converting at all? Each virtualization platform prefers its own disk format: VMware uses VMDK; KVM-based systems expect QCOW2 or RAW images instead.
If you try running a VMDK directly on KVM or Proxmox without conversion, you may hit compatibility issues—or lose access to important features like live snapshots or efficient storage allocation that only work with QCOW2 disks.
By converting from VMDK to QCOW2:
Your migrated VM works smoothly on KVM-based hosts.
You unlock features like built-in compression or fast incremental backups.
You avoid manual fixes later if something breaks due to incompatible drivers or settings.
For organizations managing hybrid clouds or planning large-scale migrations, this process is essential groundwork before moving production workloads between platforms.
Method 1: Convert VMDK to QCOW2 Using qemu-img
Qemu-img is an image converter which supports multiple image formats including vhd, qcow2,raw, vhdx, qcow, vdi, qed, zvh and zvhd2. It is needed to add the directory to environment variables like JDK or Python.
In Windows environment:
1. Download the installation package and install it
2. After installation, add the directory to path environment variables
3. Verify the installation by typing the command below:
qemu-img --help
If the version information of qemu-img is presented in the output, the installation is successful
4. Converting the image by typing the command below:
qemu-img convert -p -f vmdk -O qcow2 my_centos7.vmdk my_centos7.qcow2
-p: presenting the conversion progress
-f: format of the source image
-O: format of the target image
-c: compress the target image
-t none: turn cashe mode
In Linux environment:
1. Select the command to install it according to your operating system
For Ubuntu/Debian, type the command below:
apt install qemu-img
For CentOS/Red Hat/Oracle, type the command below:
yum install qemu-img
For SUSE/OpenSUSE, type the command below:
zypper install qemu-img
2. Verify the installation by typing the command below:
qemu-img -v
If the version information of qemu-img is presented in the output, the installation is successful
3. Converting the image by typing the command below:
qemu-img convert -p -f vmdk -O qcow2 ./my_centos7.vmdk ./my_centos7.qcow2
Qemu-img convert can be also used to convert qcow2 to vmdk.
After converting the image, remember to do a integrity check.
qemu-img check target.qcow2
This checks structural integrity, not data accuracy inside guest OS, but catches most problems early.
For critical servers where every bit counts? Consider mounting both old/new images read-only inside test environments and comparing checksums of key files within guest OS itself, a gold standard among sysadmins!
How to make sure the converted image works on virtual machine?
Start by attaching your new .qcow2 file to a test VM definition using tools like virt-manager, Proxmox VE, or direct libvirt XML edits (virsh edit vmname). Make sure:
1. The correct controller type matches what was used before (IDE/SATA/SCSI/VirtIO).
Boot up the VM in isolation first—not in production! Watch closely during startup:
If boot fails:
Once logged in:
Finally,
Method 2: Convert VMDK to QCOW2 Using QEMU Manager (GUI)
Not everyone likes typing commands—or maybe you're working from Windows without easy shell access! For those cases there are graphical tools such as QEMU Manager that wrap complex tasks behind buttons and menus.
QEMU Manager is an older project mainly designed for Windows users; development has slowed recently so newer alternatives may exist depending on your needs—but it still gets basic jobs done quickly if installed correctly!
After installing QEMU Manager from a trusted site:
1. Launch application; main window appears.
2. Click File, then select Open Disk Image
3. Browse/select your .vmdk file
4. Go under Tools, choose Convert Disk Image
5. Set output format drop-down menu explicitly to QCOW2
6. Pick destination folder/file name
7. Click Start button
After it finishes, confirm new .qcow2 exists at chosen location and attach/test just like above using preferred hypervisor tools.
If frequent conversions are part of daily workflow consider learning core qemu-img commands anyway because they offer greater flexibility plus automation options via scripts.
Directly Migrate VM with Vinchin Backup & Recovery
When migrating virtual machines across diverse environments, leveraging an enterprise-grade solution ensures reliability and efficiency throughout the process.
Vinchin Backup & Recovery provides professional backup capabilities alongside agentless virtual machine migration, enabling businesses to transition seamlessly between platforms while minimizing disruption to production systems. The migration workflow is streamlined: simply backup the source VM and restore it onto the desired target host.
Available Features with Vinchin:
V2V migration
Flexible scheduled backup
Immutable bakcup protection
Instant VM recovery
Centralized backup management
Agentless backup
For example, there are just 4 steps to migrate VMware VM to Proxmox in a user-friendly web console.
1. Select the backup of VMware VM
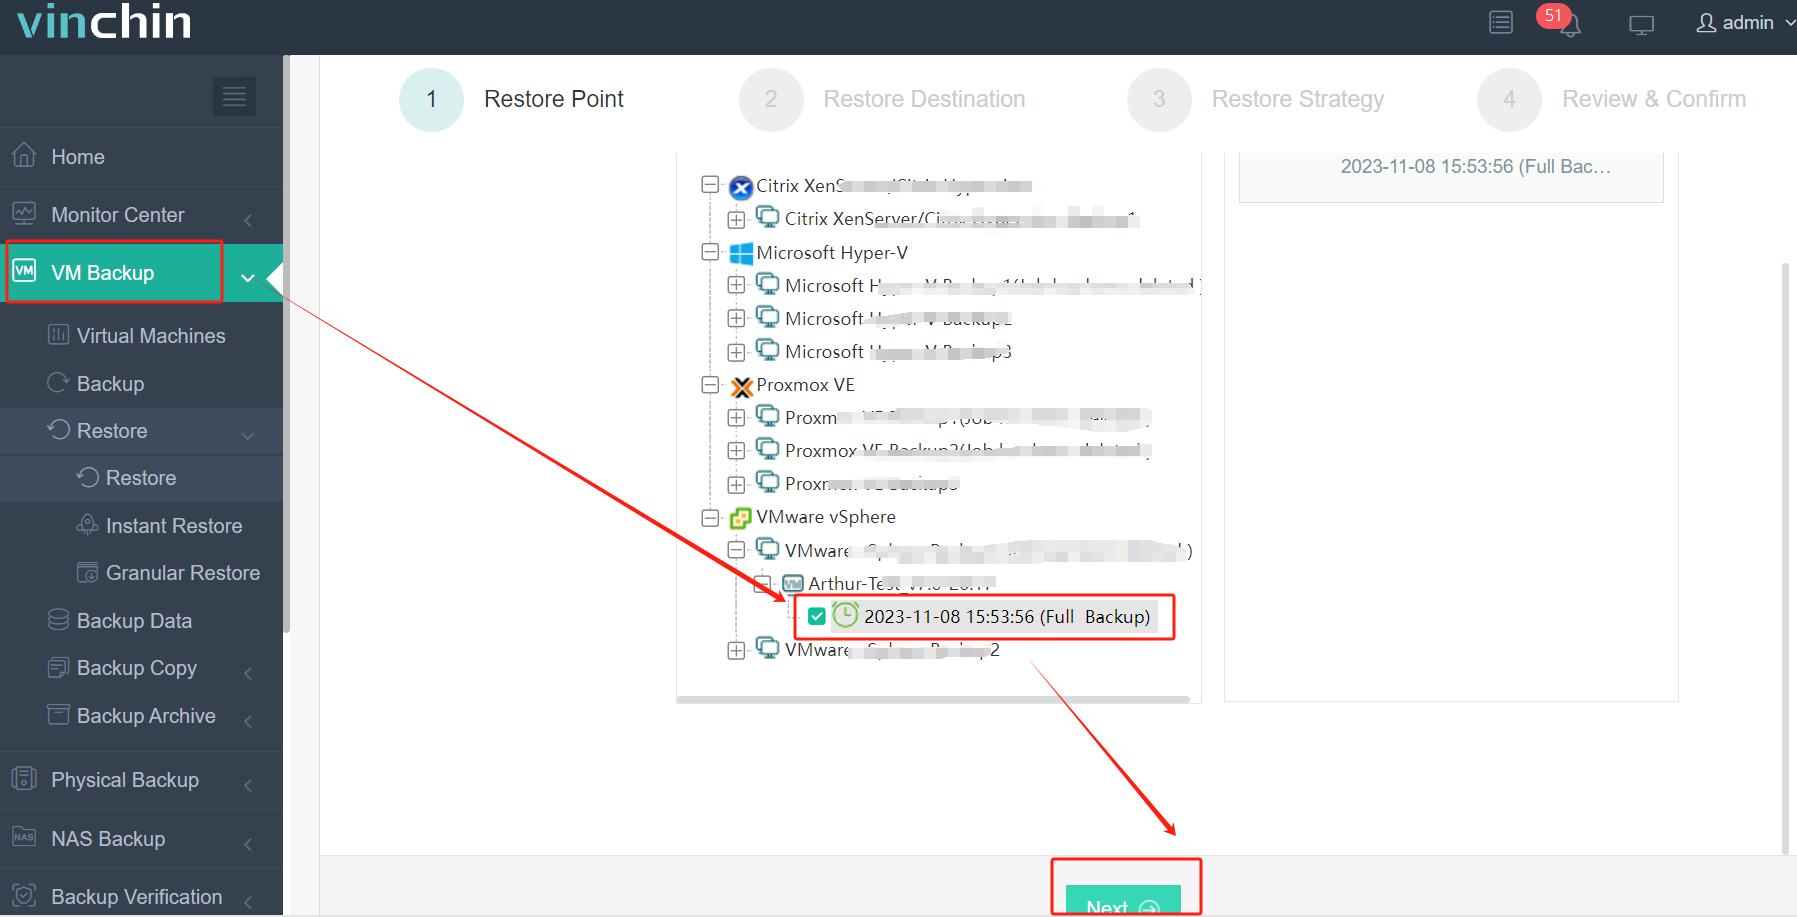
2. Select the Proxmox host
3. Setect the restore strategies or skip this step

4. Submit the job

Vinchin Backup & Recovery has helped many companies migrate VM without losing data and you can also start a 60-day full-featured free trial here to see how convenient it is for VM migration. If you need any help, contact us at any moment. If you would like to do a local business, you can select a local partner here.
VMDK to QCOW2 FAQs
Q1. Can you convert vmdk to qcow2 on different operating systems?
Yes. With QEMU-convert can be installed on both Windows and Linux OS so you can choose a proper one to convert the virtual disk.
Q2. Will the virtual disk size grow after conversion?
It is possible that the coverted virtual disk is bigger than the original one so you can use the professional VM migration solution Vinchin Backup & Recovery to avoid that.
Q3. Does converting VMDK to QCOW2 reduce disk siza?
Potentially yes. QCOW2 supports sparse allocation and compression.
Sum Up
There are many virtualization platforms in the world. To migrate data to another platform, IT administrators often need to do conversion job to the source VM. In this post, the methods of converting vmdk to qcow2 are introduced for IT administrators.
Vinchin Backup & Recovery is a convenient tool for you to import VMDK to KVM without complicated commands. Don't miss the free trial.