-
Recover esxi root password
-
Reset passwords by using Active Directory and vCenter
-
Resetting password on a standalone ESXi host
-
VM environment protection after resetting ESXi root password
-
Conclusion
Passwords are something that people easily forget, and the ESXi root password is no exception. Without the root password, you lose control of the host, so it's important to know how to reset ESXi root password. This article uses ESXi 6.7.0 (8169922), but the same applies to ESXi 6.X and ESXi 5.X. The method of resetting ESXi root password is very dangerous and should be used with caution.
Recover esxi root password
There is a scenario where you forgot ESXi root password, but vCenter is installed. Recovering ESXi root password in this case is not difficult.
First, see how to change password via flash vCenter Web Client, where html mode is not suitable.
And ESXi can't be lower than Enterprise Plus.
To reset esxi root password, following this steps:
1. In vCenter, right-click the host > click Host Profiles > select Extract Host Profile
2. Specify the host name > enter some necessary description > click Next > click Finish
3. Navigate to the Home tab in vCenter > select Host Profiles
4. Right-click on Host Profiles and click Edit Settings > assign a new name and description as needed
5. In Edit host profiles page, click root > configure the password > hit Finish
Now that the password has been changed, add the host to the cluster and apply the settings
1. Right-click Host Profiles > select Attach/Detach Hosts and Clusters > select the host > click Next > click Finish
2. Right-click on the host > select Maintenance Mode > click Enter Maintenance Mode (Note that you will need to migrate the VM unless you can temporarily shut it down.)
3. Go back to the Object tab, right-click Host Profiles > select Remediate
4. Select the desired host > click Next > click Finish
5. After rebooting the host, select the host > click Maintenance Mode > select Exit Maintenance Mode
Now, you can check if the password is reset successfully and log in to the ESXi host with the new password through the Web Client.
Reset passwords by using Active Directory and vCenter
Use Active Directory to reset the password in vCenter. If you add ESXi to a domain, you can reset the password by logging in to the node as a domain user.
To get VMware root password reset, following these steps:
1. Jump to AD Users and Computers on the domain controller and create a new workgroup ESXi Admins. Make sure to use the same name for the workgroup and add a new user that you will use later to reset ESXi root password. This can be any user, such as TestUser.
2. Add the host that forgot its password to the domain
3. Try using TestUser to log into ESXi host in the format User@Domain or DomainUser
4. After logging in to the host, click Host > select Manage > select Security & users tab > click Users > click root > click Edit user > reset password > hit Save
From now on, new passwords can be used. If you don't need the host to be in the domain, you can kick the host out of the domain
5. Apply the changes > reboot the host
Resetting password on a standalone ESXi host
Now that you know how to recover ESXi password under vCenter, let's look at some tricky situations. Let's assume that you don't have vCenter installed on the host and you don't want to reinstall the OS. So, how do you reset the password on this node?
There will be no way to bypass ESXi security to reset the password without shutting down the host. This means that each VM must be shut down.
To get VMware root password reset, following these steps:
Boot from the flash drive > install the required ESXi datastore > extract the zip file > edit the password file > Upload the file to the initial directory. After rebooting the host, you can access it without the password.
VM environment protection after resetting ESXi root password
Once you have successfully reset the ESXi root password and taken the necessary security measures to protect your VM environment, the next step is to ensure that your VM data is adequately protected and backed up. Backing up your VM is a critical task that can help you restore the state of your VM in the event of an unexpected data loss, hardware failure, or catastrophic event.

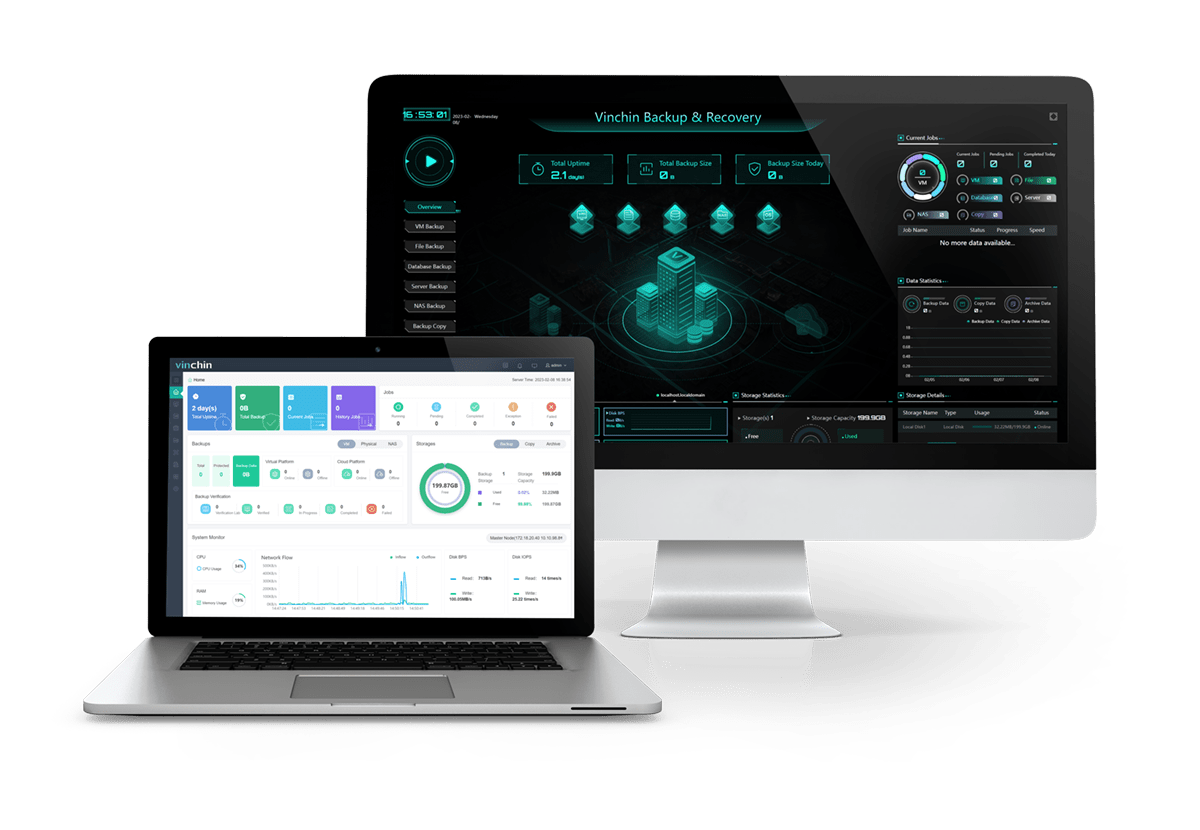
Vinchin Backup & Recovery is a backup solution designed for VMs of VMware, Hyper-V, XenServer, XCP-ng, oVirt, RHV, etc. It provides comprehensive and powerful VM backup and recovery features like agentless backup, instant recovery, V2V migration designed to protect and manage critical data in the virtualization environment.
Vinchin Backup & Recovery’s operation is very simple, just a few simple steps. Just select VMs on the host > then select backup destination > select strategies > finally submit the job
Vinchin offers a free 60-day trial for users to experience the functionality in a real-world environment. For more information, please contact Vinchin directly or contact our local partners.
Conclusion
To summarize, resetting the ESXi root password is very important. This article describes 3 methods for recovering passwords, but it's important to note that these methods are potentially risky and therefore must be used with caution. Once the password issue is resolved, the focus should shift to securing the VM environment. Ensuring that the VM environment is secure and protected is equally critical. A reliable backup solution such as Vinchin can help you recover VM data efficiently.
Share on:


