-
Way 1: Convert PostgreSQL to MySQL with MySQL Workbench
-
Way 2: Convert PostgreSQL to MySQL with pg2mysql
-
Way 3: Export PostgreSQL as CSV File and Import it to MySQL
-
Backup Database in Advance
-
Conclusion

Both PostgreSQL and MySQL are free and open-source RDBMSes (relational database management systems) beloved by users around the world. They are ACID-compliant and support clustering and network fault tolerance. They both have active community support.
Despite their many similarities, PostgreSQL vs MySQL differs from one another in a number of ways. PostgreSQL is good at handling complex queries and MySQL works well in OLAP & OLTP systems. PostgreSQL is fully ACID and SQL compliant, but MySQL is partially compliant. PostgreSQL has a steeper learning curve than MySQL.
So, MySQL is typically utilized for web-based projects that require a database for simple data operations, and PostgreSQL is widely employed in complicated systems where read and write rates are essential.
Part PostgreSQL users may turn to MySQL for easier operations, less overhead, or certain features like master-slave replication and query cache. This blog goes through 3 PostgreSQL to MySQL migration methods and hopefully, they will help you with the process.
Way 1: Convert PostgreSQL to MySQL with MySQL Workbench
Requirements:
A running PostgreSQL instance with proper access to MySQL.
A running MySQL server with user access privileges.
Supported versions: PostgreSQL 8.0 and newer, MySQL 5.0 and above, and MySQL Workbench 5.2.44 or later.
Install MySQL Workbench on Linux, Windows, and macOS.
1. Download, compile (Linux and Mac), install and register the 32/64-bit psqlODBC driver.
Windows: download, decompress, and install the MSI package.
Linux: install iODBC and run the command for Debian, Ubuntu, or another Debian-based distribution.
$> sudo apt-get install iodbc libiodbc2-dev libpq-dev libssl-dev
For RPM-based distro (such as RedHat and Fedora):
$> sudo yum install iodbc iodbc-dev libpqxx-devel openssl-devel
Download the psqlODBC, extract it to a directory in the hard drive, open a terminal, and cd into the directory. Run the following in the terminal.
$> ./configure --with-iodbc --enable-pthreads
$> make
$> sudo make install
Mac OS X: get Xcode from the AppStore and install the tool (Preferences> Downloads).
Download the psqlODBC, extract it to a directory in the hard drive, open a terminal, and cd into the directory. Run the following in the terminal.
$> ./configure --with-iodbc --enable-pthreads
$> CFLAGS="-arch i386 -arch x86_64" make
$> sudo make install
2. In the MySQL Workbench, go to Database> Database Migration… to start the wizard.
3. On the Overview page, click Start Migration to open the Source Selection page, choose PostgreSQL from the combo box, and the Connection Method as ODBC (manually entered parameters), then provide the connection details here (Driver name=ODBC driver name from the previous step). Check Store connection for future usage as (enter name) box to keep it.
Test Connection then hit Next.
4. On the Target Selection page, type connection information for MySQL, Test Connection, then hit Next.
5. Wait for the instance to fetch the schema list, and click Next.
6. Select the schema to migrate, select the name mapping method, and click Next.
7. Wait for the reverse engineering of the chosen schema, and click Next.
8. On the Source Objects page, click Show Selection to get the available objects and choose the items you want to migrate.
9. After the object conversion, click Next to move forward.
10. On the Manual Editing page, use View to change how migrated objects are shown, and fix the mapping of column types with Column Mappings from the drop-down.
Select Show Code and Messages to see and edit the generated MySQL code. Double-click the database row to rename the target object. Click Next.
11. On the Target Creation Options page, select Create schema in target RDBMS. Click Next.
See the progress of PostgreSQL migration execution in the Create Schema page, and check the results in the Create Target Results page. Click Next.
12. Configure migration in the Data Transfer Setup page, leave the default options and click Next.
13. A migration report will be presented, click Finish and close it.
14. Verify the data. Open the SQL Editor connected with MySQL, and type the command:
SELECT * FROM databasename.
Way 2: Convert PostgreSQL to MySQL with pg2mysql
1. Download pg2mysql and unzip the archive.
2. Install PHP.
sudo apt install phpx.x-cli
3. Create PostgreSQL database a dump (.sql).
sudo -u postgres pg_dump --format p --inserts DBNAME > /path/to/file.sql
4. Change to pg2mysql-x.x folder
cd pg2mysql- x.x/
5. Execute the commands.
php pg2mysql_cli.php /path/to/pd/dump/file.sql /mysql/location/path/file.sql
6. Read through the changed sql dump and replace MyISAM with InnoDB.
7. Restore the dump into an empty MySQL database.
8. Add indexes manually to every table.
Way 3: Export PostgreSQL as CSV File and Import it to MySQL
1. Extract the table definition of PostgreSQL with pg_dump.
-bash-4.2$ <strong>pg_dump -st table schema</strong>
--
-- PostgreSQL database dump
--
-- Dumped from database version xx
-- Dumped by pg_dump version xx
2. Rewrite the statement to work in MySQL manually.
CREATE TABLE name (
actor_id integer auto_increment NOT NULL primary key,
first_name varchar(45) NOT NULL,
last_name varchar(45) NOT NULL,
last_update timestamp DEFAULT now() NOT NULL
);
3. Add the secondary indexes to the MySQL instance with the rewritten statement.
Do this for all tables in the target schema.
schemea-# dt
List of relations
Schema | Name | Type | Owner
4. Export PostgreSQL data to a CSV file.
schema=# copy table to 'location.csv' delimiter ',' CSV HEADER;
COPY xx
5. Import the data to MySQL.
mysql-js> util.importTable("/file/path/.csv", {schema: "dbname", table: "name", dialect: "csv-unix", skipRows: 1, showProgress: true}
Parallel import.
mysqlsh mysql://root:@xxxxx --ssl-mode=DISABLED -- util import-table /r/xx.dump --schema=xx --table=xx --bytes-per-chunk=xx --linesTerminatedBy=$' '
Backup Database in Advance
Database backup is a safety net for data loss prevention. No matter what causes the data corruption or failure during the PostgreSQL to MySQL migration process, your data backups will help you get back on track shortly.
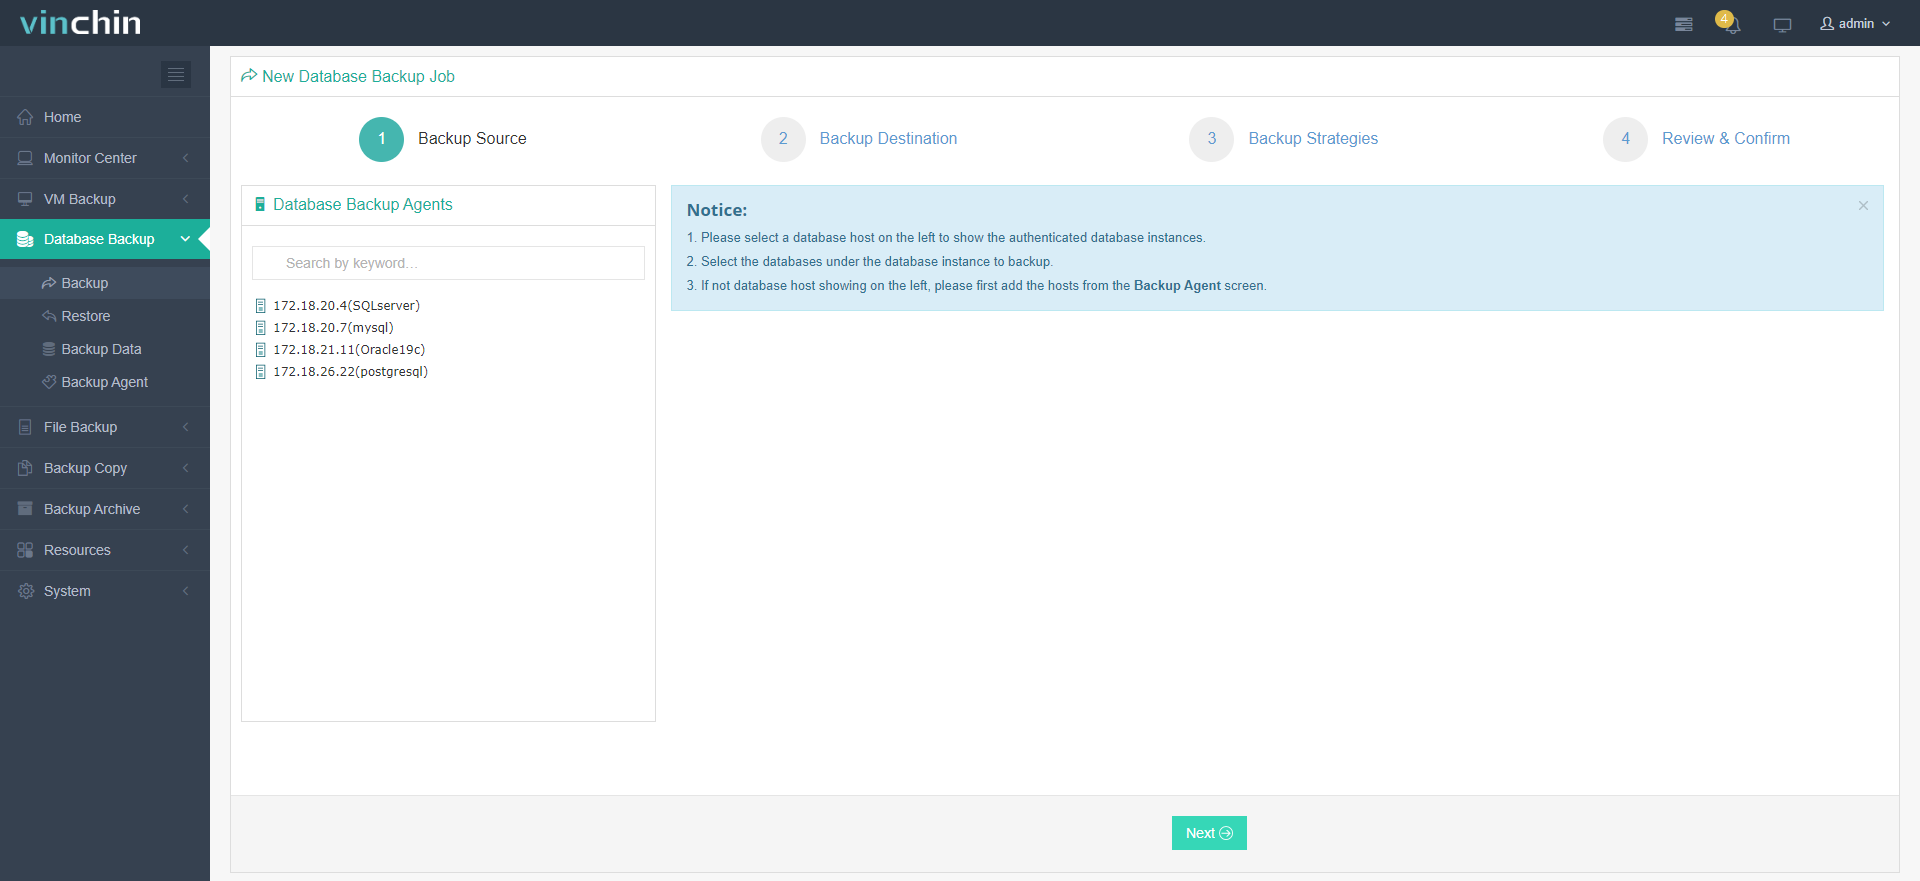
Vinchin Backup & Recovery automates database backup for Oracle Database, MySQL, SQL Server, PostgreSQL, Postgres Pro, and MariaDB, 10+ virtual platforms, NAS, and Linux & Windows Servers, and minimizes recovery to the original or a new destination database in 4 steps.

With the backup solution, you can centrally manage the backups and tasks for multiple databases via a single console.
With a simple click, you can select from full, differential, incremental, and log backup strategies that vary with databases.
You can also cut down at least 50% of data size by enabling data deduplication and compression to save storage and cost.
Best of all, the solution is available at an affordable and cost-effective price for all sizes of businesses.
Test all the mentioned features and more surprises with the 60-day free trial of the Enterprise version.
Conclusion
PostgreSQL and MySQL are both very popular and influential databases. Certain businesses may want to migrate from PostgreSQL to MySQL (see MySQL to PostgreSQL migration) for different purposes like user-friendless or individual functions. There are 3 migration methods in this blog for your information.
But before that, database backup is a worthwhile endeavor to prevent data damage. Vinchin Backup & Recovery facilitates database backup and recovery in 4 steps and protects them from malware actors with an IO monitor that rejects any unauthorized visit attempts.
Share on:


