-
How to create qcow2 image with qemu-img?
-
How to export qcow2 image from KVM VM?
-
How to backup and manage VM with Vinchin Backup & Recovery?
-
Sum Up
Virtual environment brings a lot of convenience to companies but also requires careful maintenance. KVM is one of the excellent hypervisors and is free and open-source.
One of the aspects to manage KVM virtual environment is managing virtual disks, including creating, exporting, importing virtual disks, etc. Virtual disk plays an important role in an entire VM because it contains most of VM data. You can create VM from virtual disk or attach virtual disk to an existing VM.
VM is a folder on the host and virtual disk is a file in the folder. If there are multiple virtual disks on a VM, every virtual disk file represents a hard drive of the VM, IT administrators need to configure the boot order to use certain virtual disk and there will also be multiple virtual disk files in the folder of the VM.
Qcow2 is the popular format of KVM virtual disk so if you have a KVM VM you might already have an existing qcow2 image (sometimes KVM VM also use raw as the format for virtual disk), so you can find the directory of the VM and then export KVM qcow2 image. Also, there is the command to help you create an empty qcow2 image.
How to create qcow2 image with qemu-img?
Qemu-img is the qemu disk image utility especially for QEMU/KVM environment. With this application installed on local machine, IT administrators can easily manage virtual disks including creating empty virtual disk, resizing virtual disk, converting virtual disk format, etc.
If you install this tool on Windows machine, you need to add its path to environment variables settings or the command might not work. You should never modify existing virtual disk when it is running or the file might be broken.
After qemu-img is properly installed on local machine, you can use qemu-img command to create qcow2 image:
qemu-img create -f qcow2 virtual_disk_directory.img 10G
This command will generate an empty qcow2 virtual disk with a maximum size of 10GB in the desired directory.
create is the option for creating virtual disk and the parametter -f is the target format of virtual disk. The extension img won't influence the format of the virtual disk and in fact you can also replace img with qcow2 in this command.
Of course, you can have other options and parameters to configure the new qcow2 image during the process like preallocation which can improve virtual disk performance and backing_file which represents the file name of a base image.
Qemu-img also allows you to resize qcow2 virtual disk:
qemu-img resize virtual_disk.qcow2 +10G
This command will add 10GB of space to the virtual disk but IT administrators still need to allocate the space inside the virtual machine later to make it work.
How to export qcow2 image from KVM VM?
You can easily create a new KVM VM with virt-manager and then export the qcow2 virtual disk. You just need to know the directory of it.
This command will help you list all the VM on the host:
virsh list --all
This command will help you find the directory the virtual disk of the VM:
virsh domblklist guest_name
Also, you can directly find the directory in virt-manager. Select the VM > click Edit > select Virtual Machine Details > select virtual disk to get its path.
How to backup and manage VM with Vinchin Backup & Recovery?
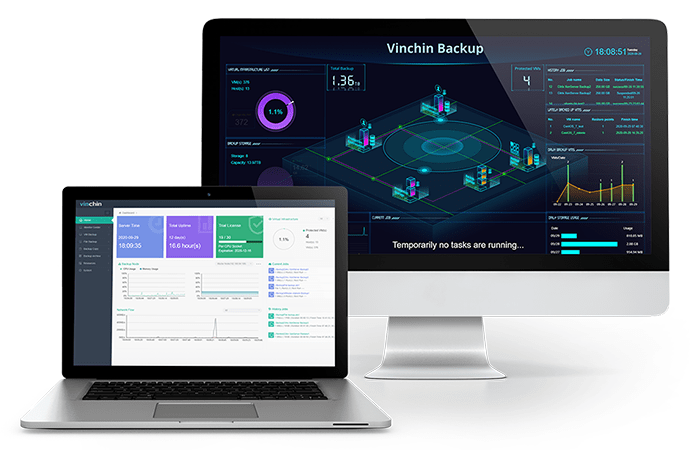
To optimize your disaster recovery plan, you can use Vinchin Backup & Recovery, which is a professional backup and disaster recovery solution for virtual environment like Red Hat Virtualization, oVirt, Linux KVM Virtualization, OpenStack, etc. (Native KVM is not supported for now)

You can quickly add all the VMs to the backup system with agentless backup technology and a user-friendly web console will let you easily start to use it. There are a lot of useful backup strategies like scheduled backup, incremental backup, data compression, data encryption, etc. to let you customize your backup plan.
Vinchin Backup & Recovery will also help you migrate VM. For example, if you have a VMware VM, you can use its backup on an oVirt host.
Vinchin Instant Recovery technology can help profoundly shrink unexpected downtime by recovering a failed VM from its backup in 15 seconds. In addition, you can use Instant Recovery and Cross-platform Migration at the same time which means recovering a VM on a foreign hypervisor in 15 seconds.
Vinchin Backup & Recovery has been selected by thousands of companies and you can also see its powerful performance with a 60-day full-featured free trial. Just click the button to get the installation package.
Sum Up
Managing virtual disk is an important job in VM management and In KVM environment, IT administrators need to manage the qcow2 virtual disk.
In this post, you can get the knowledge about how to create qcow2 image. You can create an empty virtual disk with qemu-img or export qcow2 image from an existing KVM VM via virsh command or virt-manager.
Of course, you can optimize your disaster recovery solution with Vinchin Backup & Recovery so don't miss the free trial.
Share on:


