-
How to perform initial ESXi configuration?
-
What's next after initial ESXi configuration?
-
Initial ESXi configuration FAQs
-
Conclusion
After installing VMware ESXi, the next step is to perform some basic host configuration. Using the Direct Console User Interface (DCUI), you can manually set the IP address, select the correct physical network adapter, and enable remote access features like SSH—laying the groundwork for managing your ESXi host via a web browser or the vSphere Client.
This guide provides a step-by-step walkthrough, with visuals, to help you complete the initial ESXi setup. It's suitable for most physical servers or small lab environments. Once configured, you'll be able to access and manage your virtualization platform through a browser.
How to perform initial ESXi configuration?
✅ Step 1.Access the Host Console Interface
After booting the host, you'll see the ESXi Direct Console User Interface (DCUI)
Press F2 to enter the system customization menu
![]()
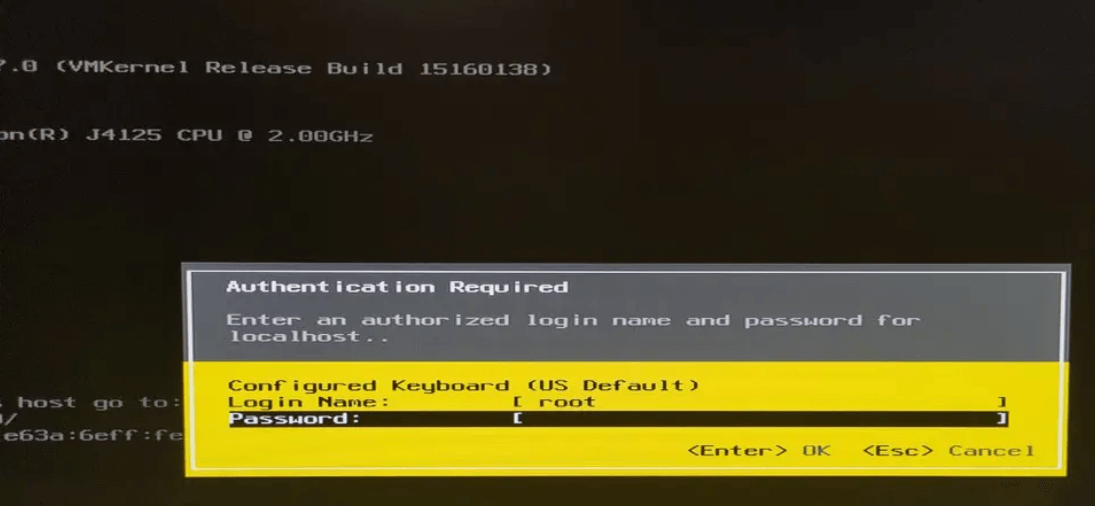
✅ Step 2.Log in with the root password
When prompted, enter the root password you set during the ESXi installation
After successful authentication, you'll be able to access the system settings
✅ Step 3.Set up network configuration (IP address)
Select Configure Management Network > press Enter
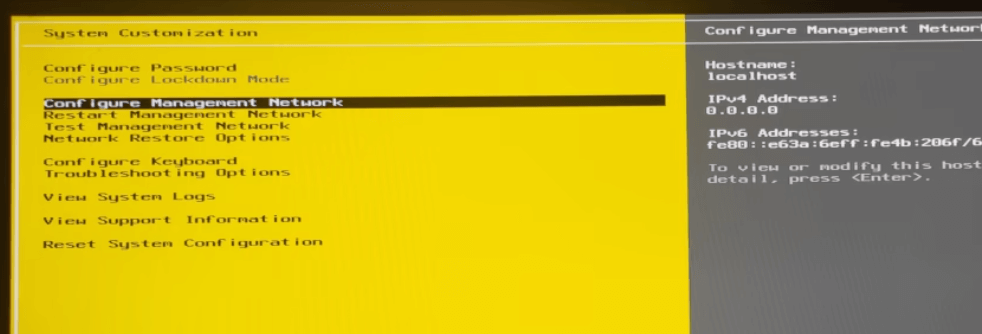
Select IPv4 Configuration > press Enter

Select Set static IPv4 address and network configuration > press the Spacebar to check it

Enter the following details:
Static IPv4 Address: e.g., 192.168.50.6
Subnet Mask: e.g., 255.255.255.0
Default Gateway: e.g., 192.168.50.1
Press Esc > select Save Configuration Y (Yes) > restart the network service

✅ Step 4.Configure the physical network interface (for devices with multiple network interfaces)
Select Configure Management Network > press Enter > choose the network interface that is physically connected (the status should display as Connected)
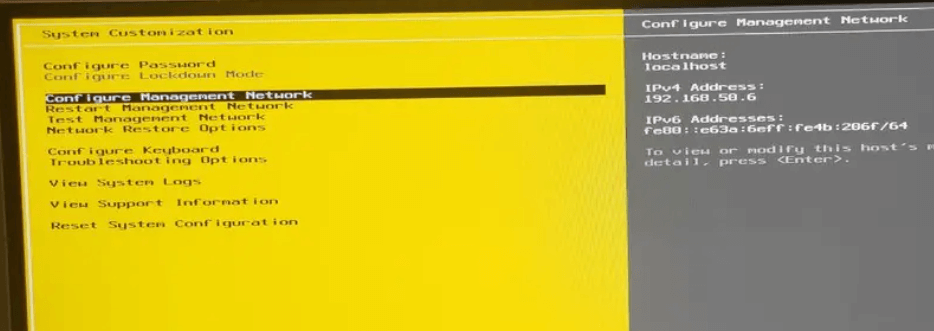
Select Network Adapters > press Enter

At this screen, all physical network interfaces (e.g., vmnic0, vmnic1, etc.) will be displayed. You can:
1. Check which interfaces are in the Connected state (indicating that a network cable is connected)
2. Use the spacebar to select the control network port (it is recommended to select only one wired-connected port). An "X" mark will appear next to the selected adapter > then press Enter
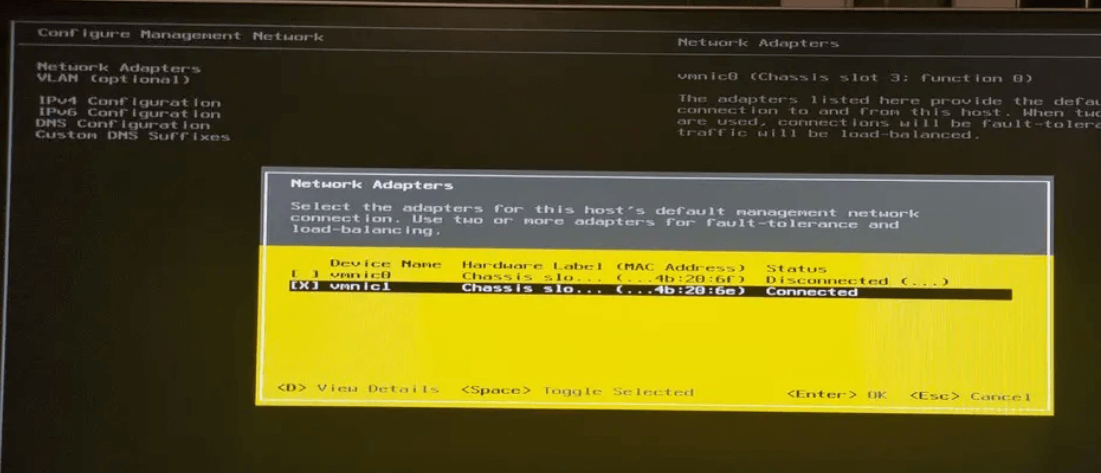
Next, press Y (Yes) to save the settings
✅ Step 5.Enable SSH management service
Select Troubleshooting Options > press Enter
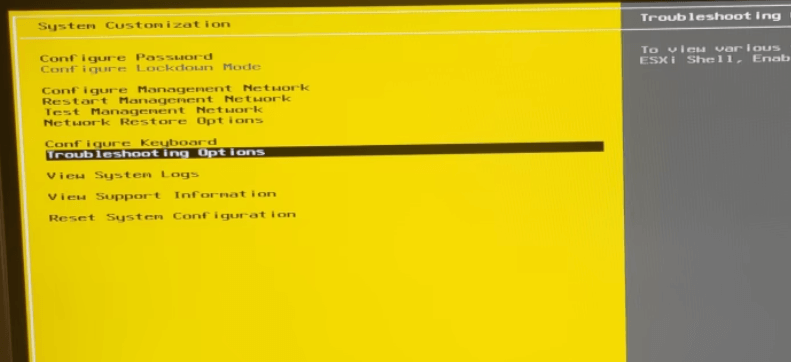
Select Enable SSH — the right side will show Disabled initially
Press Enter, and it will change to Enabled

✅ Step 6.Access the Web management interface via browser
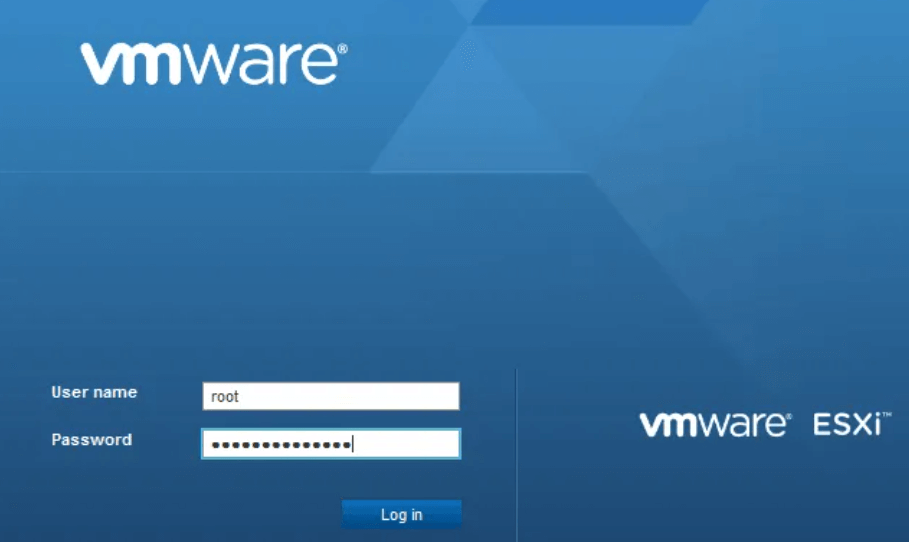
Open a browser and enter the IP address you configured earlier in the following format: https://[ESXi-IP]
The login username is root, and the password is the one you set previously
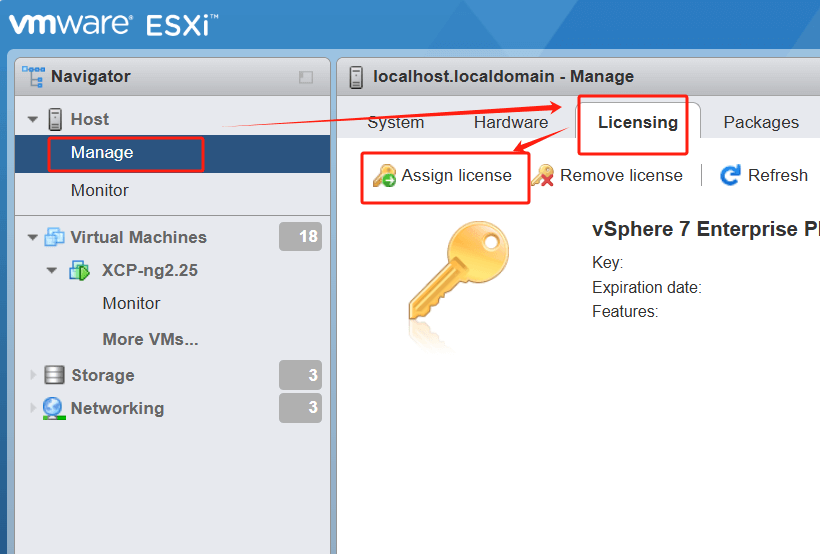
✅ Step 7.Register and activate license
Path: Web Management Interface → Manage → Licensing → Assign License
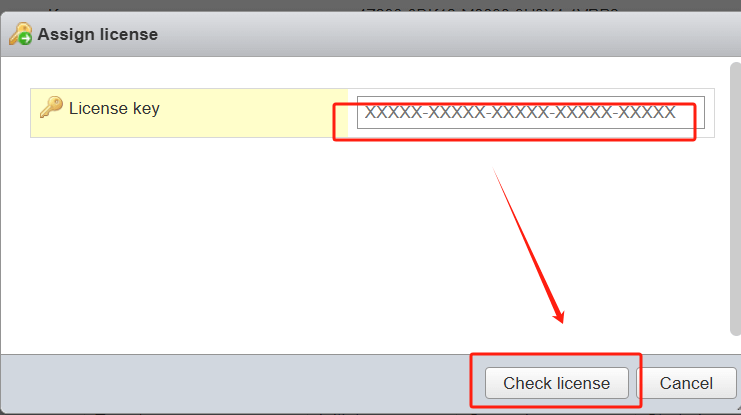
Enter your license key > click Check License to validate
What's next after initial ESXi configuration?
Once your ESXi host is up and running with a valid IP address, active SSH access, and a registered license, you've completed the foundational setup. Now it’s time to think about data protection—a critical aspect of any virtualization environment.
To prevent data loss and ensure business continuity, implementing a reliable VM backup solution is essential. This is where Vinchin Backup & Recovery comes in. With its agentless architecture, easy deployment, and support for VMware platforms, Vinchin allows you to back up and restore virtual machines efficiently, whether for routine protection or disaster recovery.
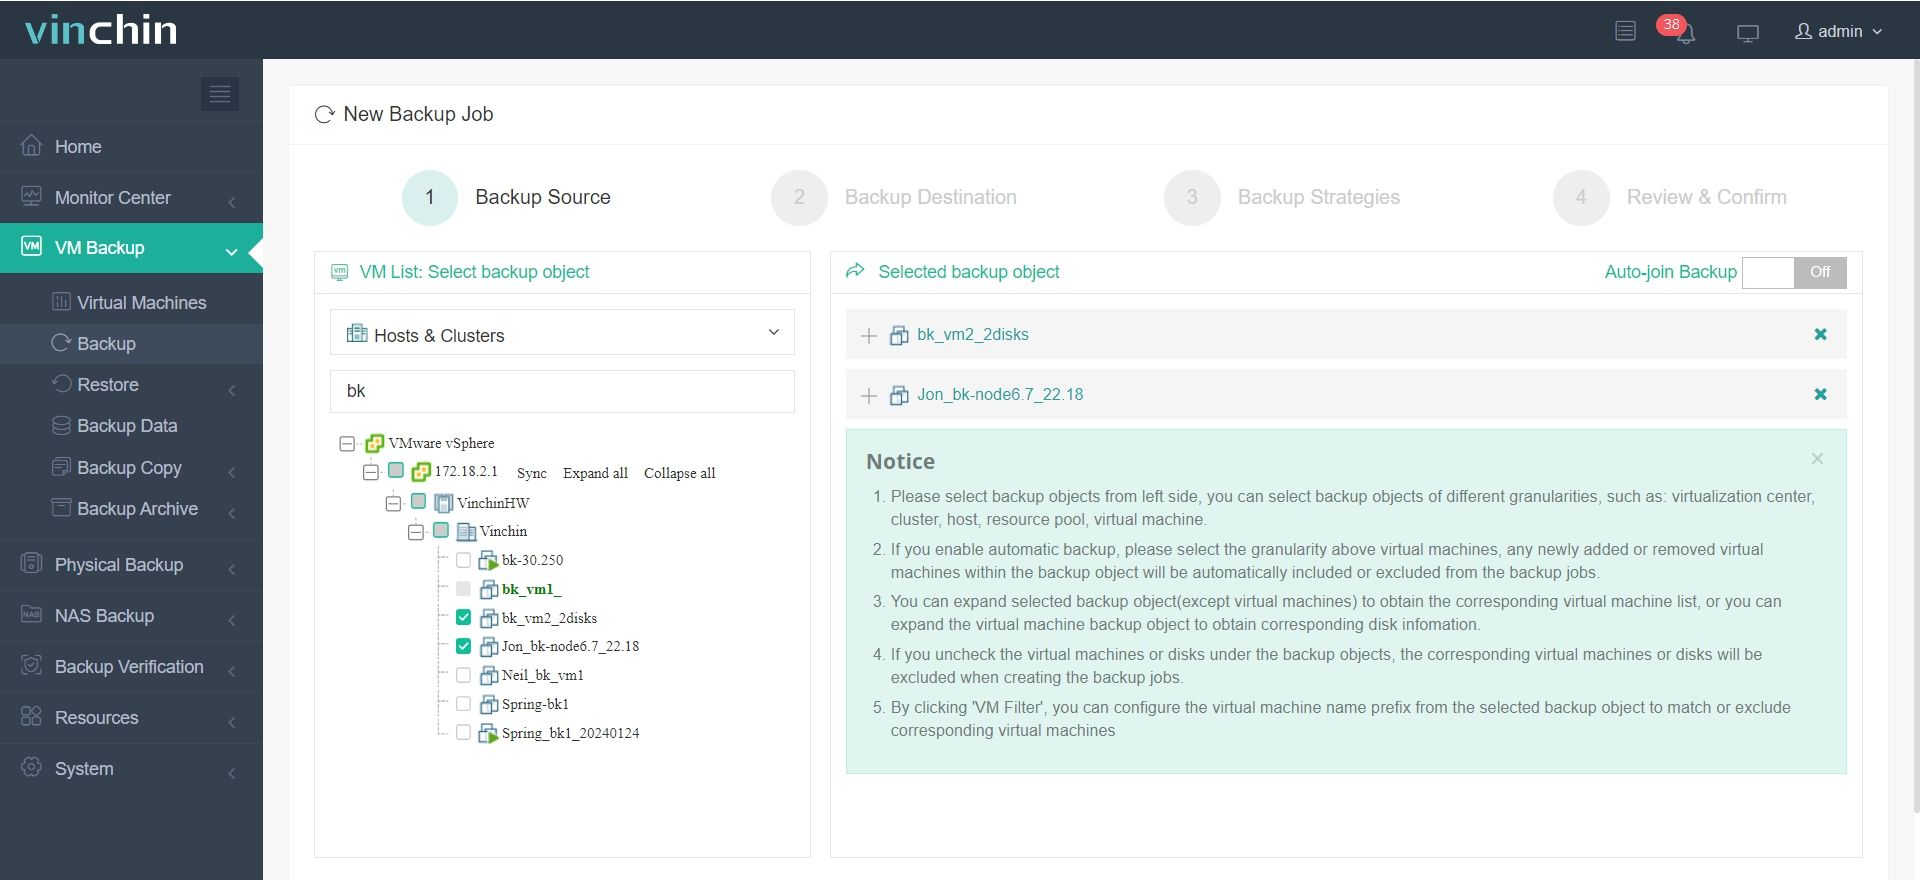
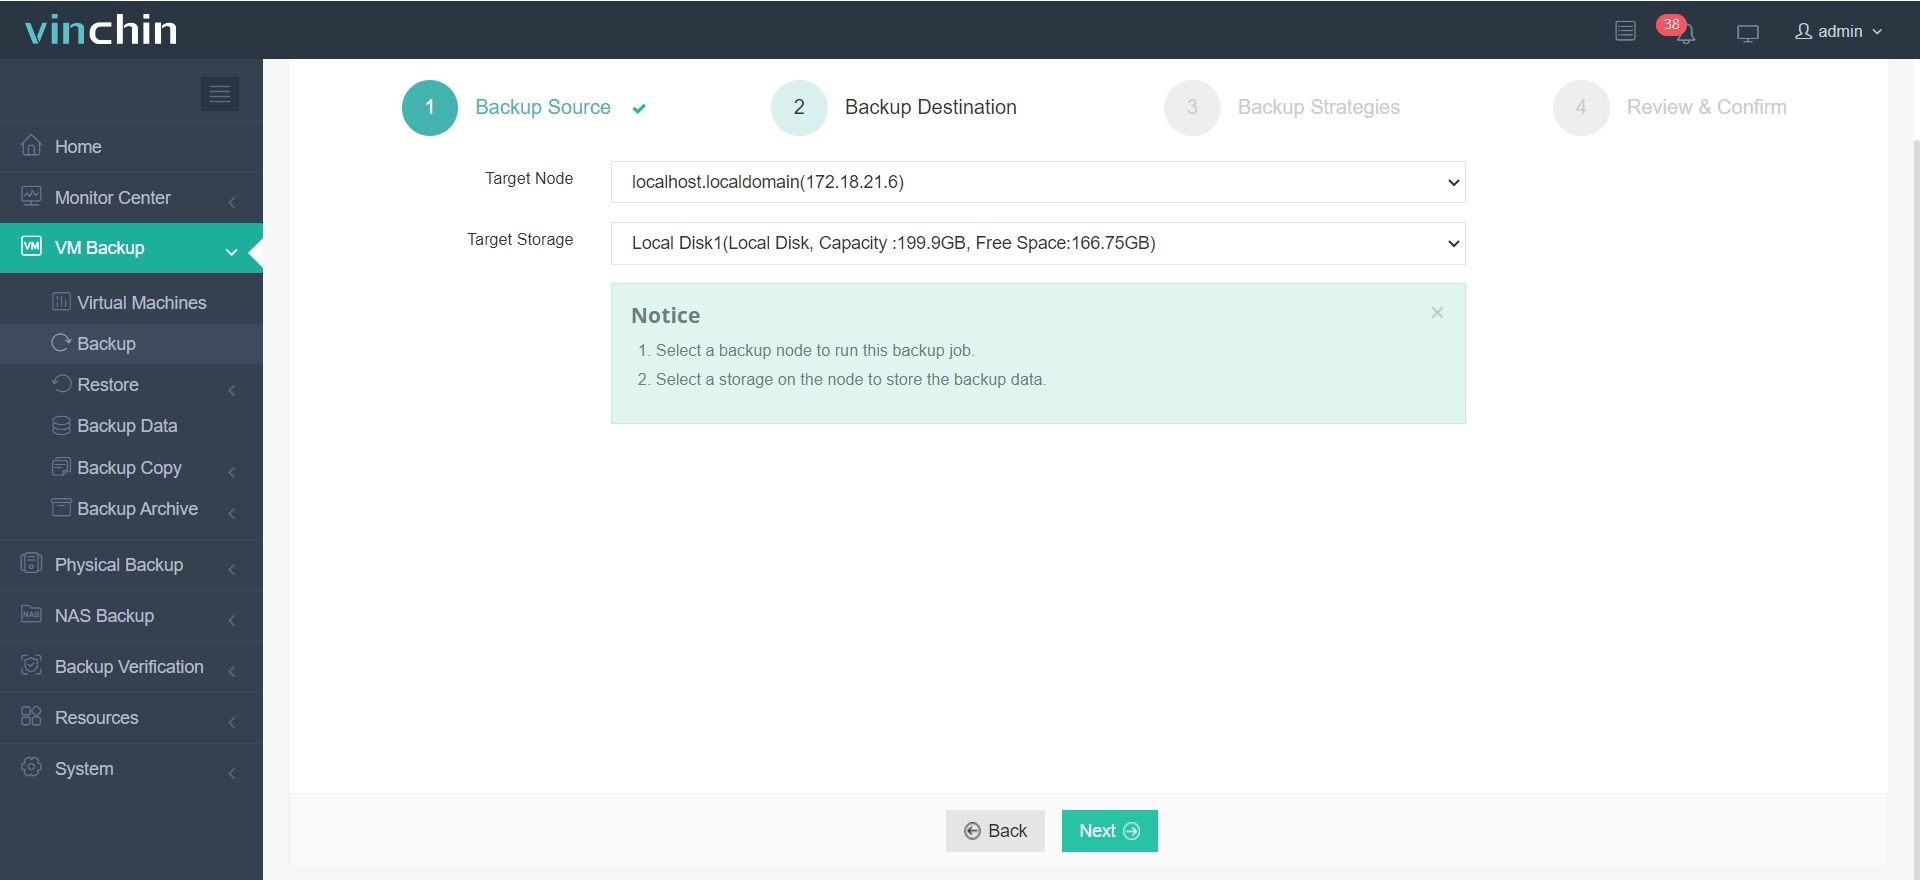
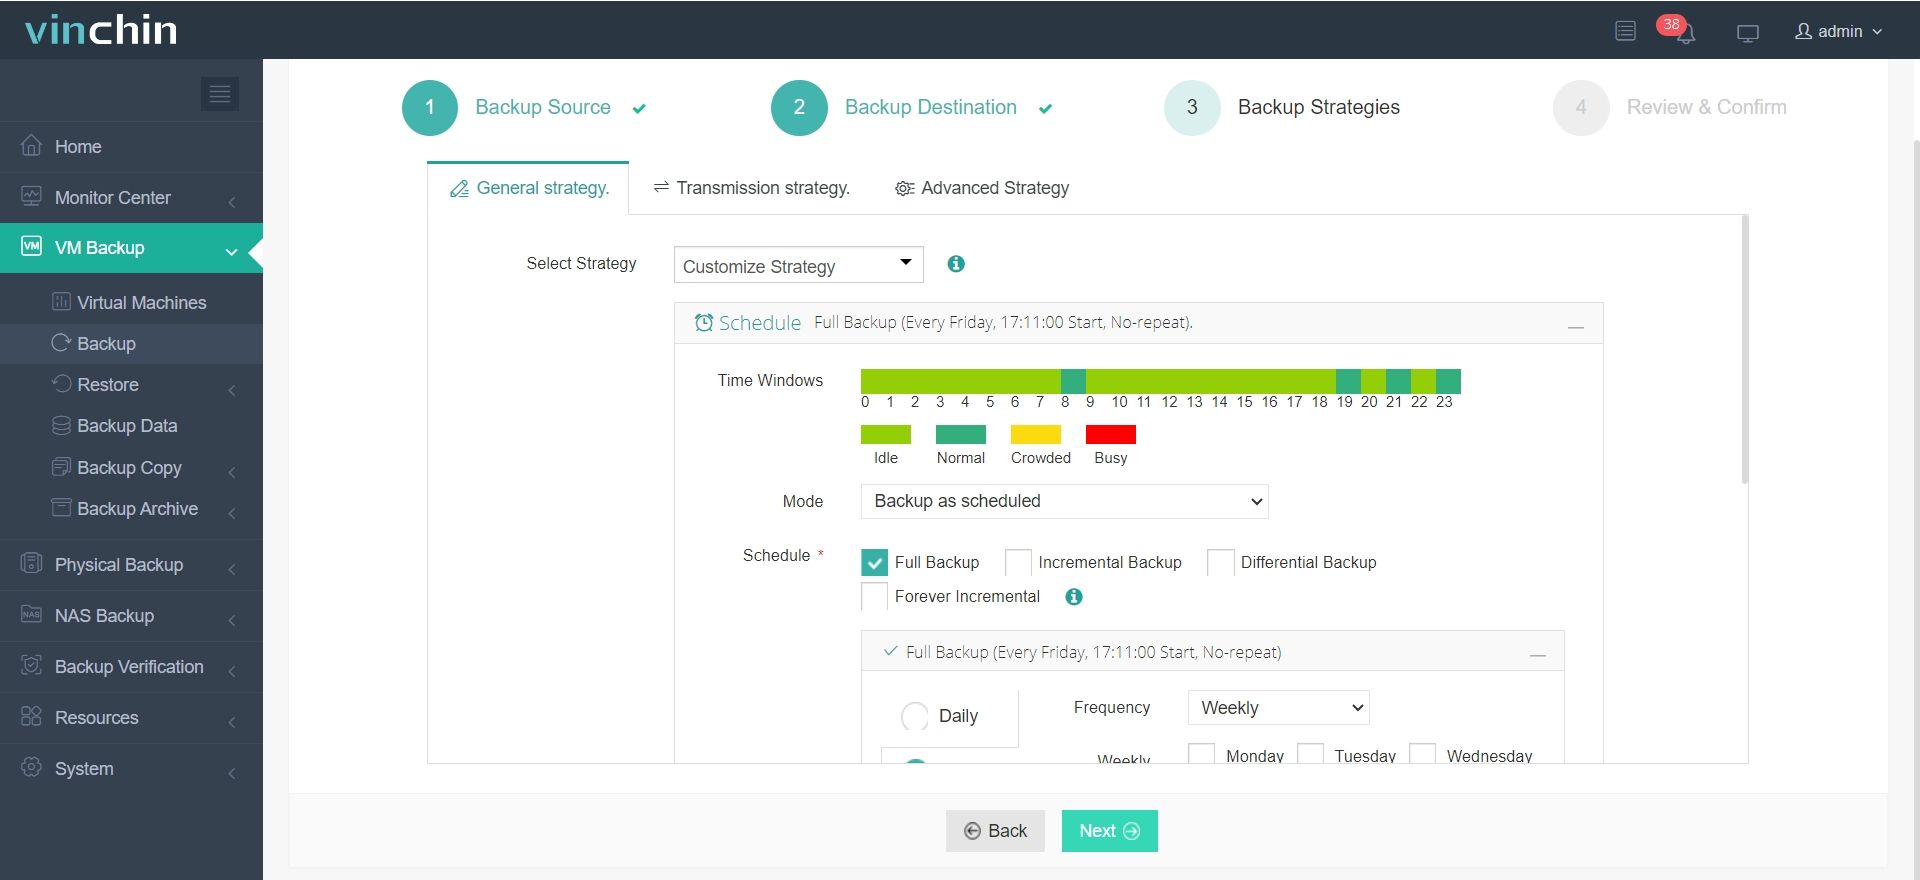
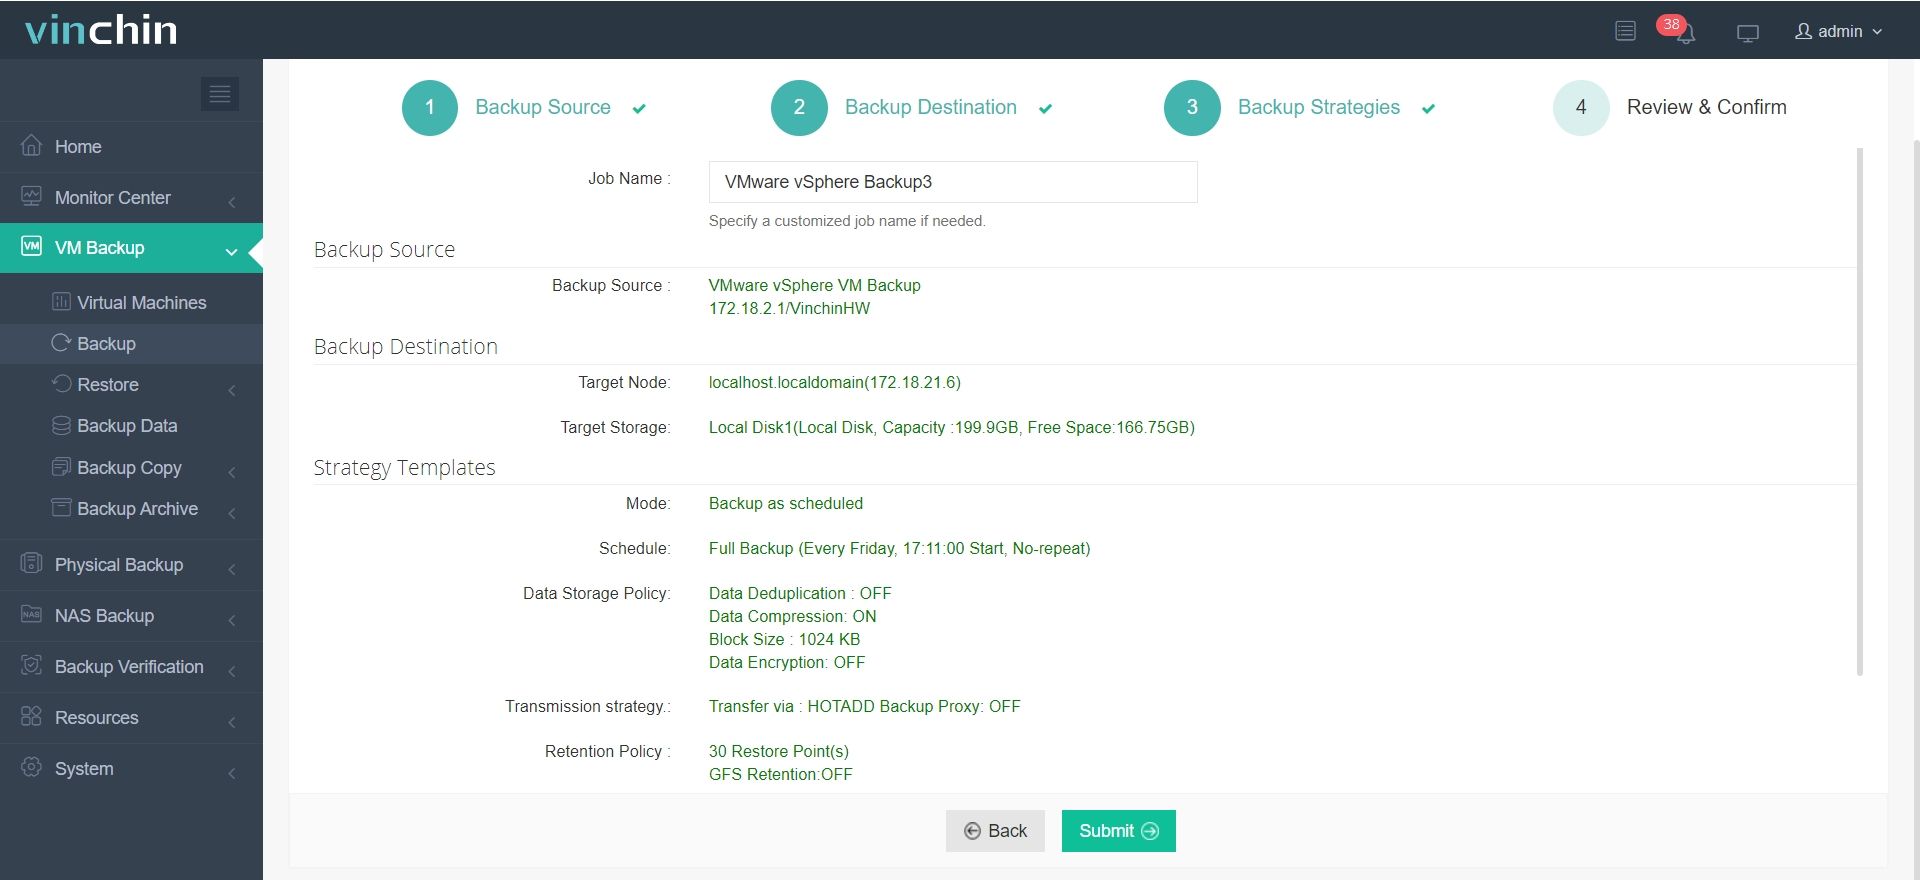
Vinchin Backup & Recovery's operation is very simple, just a few simple steps.
1.Just select VMs on the host
2.Then select backup destination
3.Select strategies
4.Finally submit the job
Beyond its core backup capabilities, Vinchin Backup & Recovery offers powerful features such as automated backup scheduling, email notifications, retention policy management, and cross-platform recovery, giving administrators greater control over their VM protection strategy. It also integrates seamlessly with various storage systems to optimize performance and scalability as your infrastructure expands.
Vinchin provides a free 60-day trial, allowing users to evaluate its full feature set in real-world scenarios. For more details, please contact Vinchin directly.
Initial ESXi configuration FAQs
Q1: How do you create a new virtual machine?
A1: In the vSphere Web Client, select the desired ESXi host or virtual machine resource pool and click Create/Register VM. Follow the wizard instructions to complete the process of creating a new virtual machine, including specifying the hardware configuration, operating system type, etc.
Q2: What is a VMkernel adapter and do I need one?
A2: VMkernel adapters are used to handle specific types of traffic such as management, vMotion, Fault Tolerance, NAS storage, and more. Depending on your needs, you may need to configure separate VMkernel interfaces for these services.
Conclusion
Completing the initial ESXi configuration ensures a stable foundation for virtualization management. By enabling network access and essential services, you're ready to protect workloads with tools like Vinchin Backup & Recovery—offering efficient, scalable, and automated VM backup solutions.
Share on:


