-
Method 1: Export as OVF/OVA File for Backup
-
Method 2: XenServer Backup with xe CLI Scripts
-
Method 3: XenServer Backup with PowerShell
-
Method 4: XenServer Backup with XenCenter
-
Method 5: XenServer Backup with Xen Orchestra
-
Method 6: XenServer Backup with Citrix Partner Tool
-
XenServer VM backup faqs
-
Wrap up
Citrix XenServer is a server virtualization platform allowing the deployment and management of virtual machines. It is open-source and community-driven with a complete suite of products and features, attracting thousands of companies to use XenServer as a virtualization tool in their infrastructures worldwide.
XenServer backup is a tremendous priority considering its large user base and the detrimental consequences of losing data from data corruption, hardware failure, system downtime, etc. This post describes 6 ways to backup XenServer (Citrix Hypervisor) VMs easily. And before that, you need to pay attention to every detail for XenServer backup.
Method 1: Export as OVF/OVA File for Backup
1. In the XenCenter, power off/suspend the target VM.
2. In the Resources pane> right-click the target pool or host > Export to open the wizard.
3. Specify the name and location for the export file > In the Format list, choose OVF/OVA Package (*.ovf, *.ova) > Next.
4. Choose the VMs to include in the package from available VMs and click Next.
5. Add an EULA document to the package for the legal protection of software optionally (Add > browse to the target file > choose from the EULA files list > View.) Click Next.
6. On the Advanced options page, specify options for a manifest, signature, and output file, or just click Next to proceed.
Check the Create a manifest box to create one for providing a list of files in the package.
Choose Sign the OVF package > locate a certificate (use X.509 and export as a .psx file, use“Microsoft Enhanced RSA and AES Cryptographic Provider” as CSP for SHA-256 digest export) > enter an export/certificate password in Private key password.
Select Create OVA package (single OVA export file) for a single file tar output. Or choose other formats.
Select Compress OVF files to compress .VHD files in the package.
7. Set up Transfer VM networking for XenCenter 8.2.2 and previous versions. In the destination host, choose a network and configure the settings automatically or manually by selecting Automatically obtain network settings using DHCP or Use these network settings. Click Next.
8. Review the settings, select Verify export on completion to verify the exported package, and click Finish to start.
Method 2: XenServer Backup with xe CLI Scripts
Xe CLI is a command line interface installed or included by default on Citrix Hypervisor and XenServer.
Backup the whole VM (offline):
xe vm-export vm=vm_uuid filename=backup
Backup the VM metadata only:
xe vm-export vm=vm_uuid filename=backup metadata=true
Backup Host configurations and software
xe host-backup host=host file-name=hostbackup
Run the following commands to backup the host:
xe host-backup file-name=filename -h hostname -u root -pw password
Method 3: XenServer Backup with PowerShell
This method is for running XenServer and XCP-ng and is tested on XenServer 7.0 and XCP-ng 7.5, you can go to the GitHub to see the source code.
Method 4: XenServer Backup with XenCenter
1. In the XenCenter, choose the server in the Resource pane > Server menu > Back Up Server.
2. Specify the location and name for the backup file> Save.
Note: Do not create the backup on the XenServer domain 0.
Method 5: XenServer Backup with Xen Orchestra
1. In the Xen Orchestra, select Backup > New to create a new backup job.
2. On the VM to backup pane, choose one or more target VMs.
3. You can configure a scheduled backup on the Schedule tab.
Method 6: XenServer Backup with Citrix Partner Tool
Vinchin Backup & Recovery is a backup solution certified by Citrix Ready, which automates scheduled VM backup for XenServer (Citrix Hypervisor), XCP-ng, VMware, Hyper-V, oVirt, Oracle OLVM, and other 6 platforms.
The software delivers multiple backup strategies such as 50% of data reduction, CBT, GFS retention, multithread, encrypted transmission, SAN, etc.
It also offers V2V migration across 10+ virtualizations, 15s instant recovery, offsite backup copy, and anti-ransomware data protection with AES-256 standard.
It is easy to create a backup job in 4 steps.
1. Navigate to VM Backup > Backup, expand the licensed list, and locate the VM(s) to be backed up.

2. Select a backup node and storage node on the list from the drop-down.

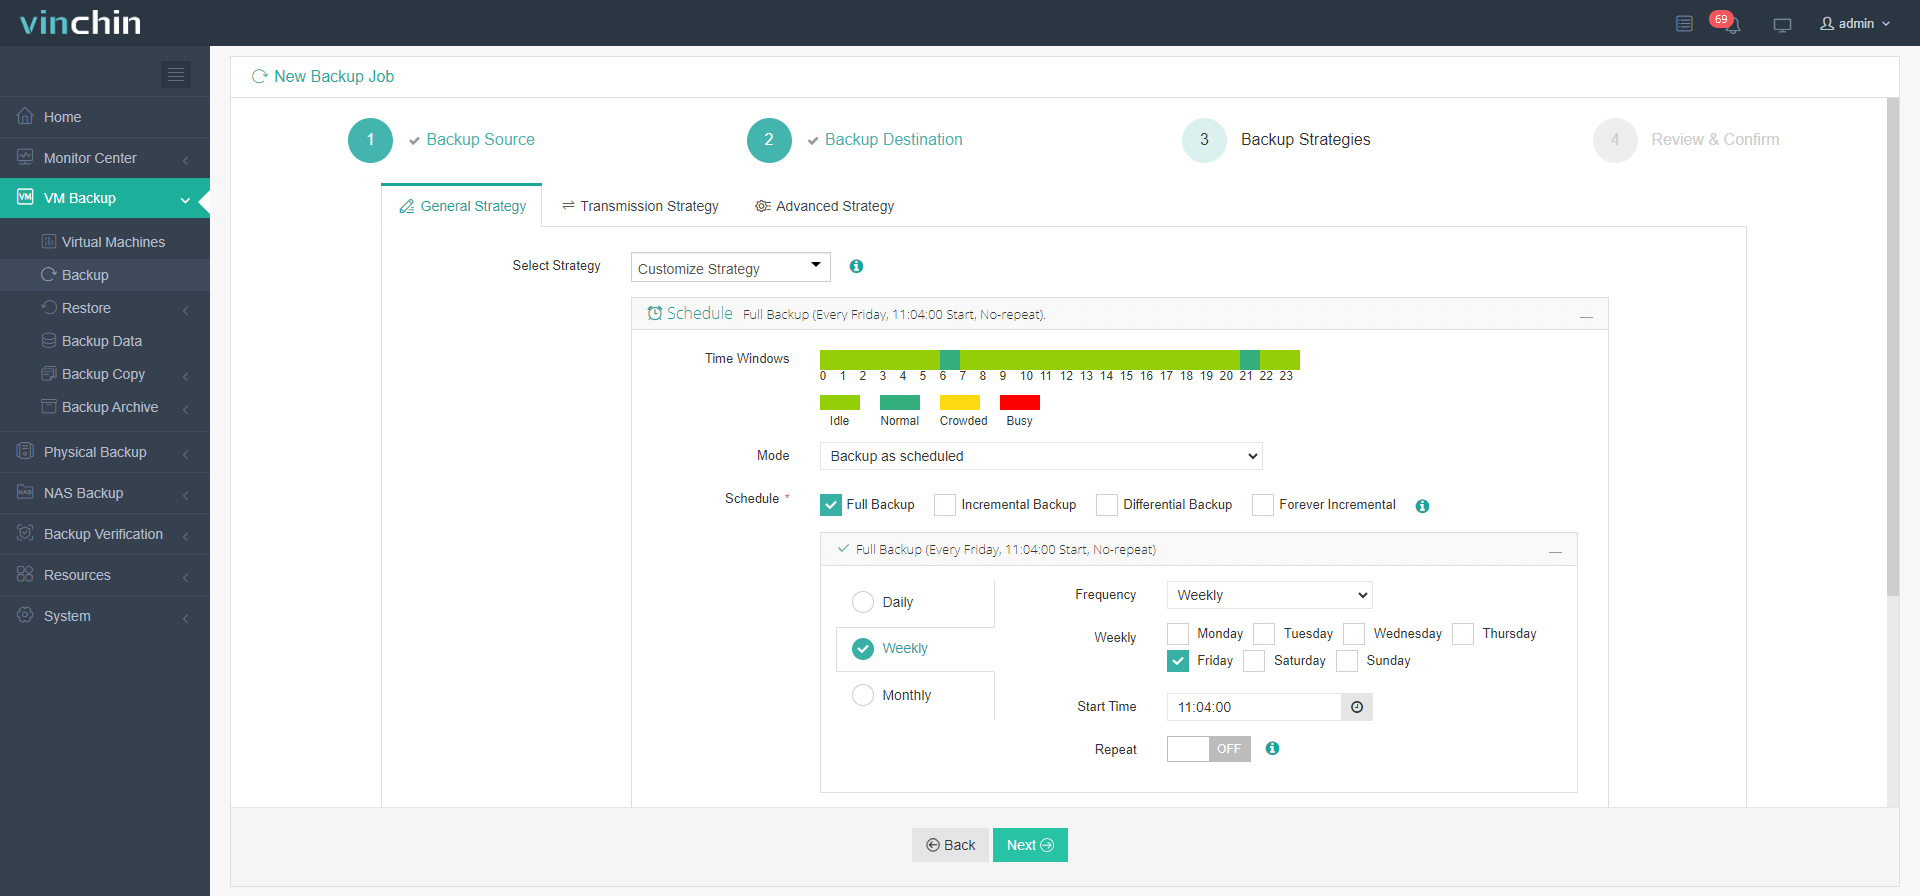
3. Set up backup strategies.

4. Review and click Submit. The job will run as scheduled.

Vinchin is chosen by thousands of comapnies to protect data and you can also test it in your environment with a 60-day full-featured free trial. Just click the button below to get the installation package.
XenServer VM backup faqs
1. Can you bulk backup XenServer VMs?
Yes, you can. With XenServer VM, you can create a backup job for multiple VMs to backup them with the same strategies.
2. Can you restore a XenServer backup to another host?
Yes, you can. Vinchin Backup & Recovery allows you to restore the backup of XenServer VM to another XenServer host or even to another virtualization platform for V2V.
3. Can you backup XenServer VM automatically?
Yes, you can. There is the schedule option in Vinchin Backup & Recovery to let you customize the starting time of every backup job.
Wrap up
I introduced 6 ways to backup Citrix Hypervisor/XenServer in this article, which involves manual export, command lines, the internal management tool, and a trustworthy certified partner backup solution. You can choose according to your specific business needs.
Share on:


